

With so many great-looking scale model ARFs to choose from today, one of the neatest ways you can make your particular Pitts Special or P-51 Mustang stand apart from the rest is to install a great-looking instrument panel for your pilot figure to look at. (You did install a scale pilot figure, didn’t you?) There’s something special about a model with added cockpit details, and everyone always takes a peek inside.
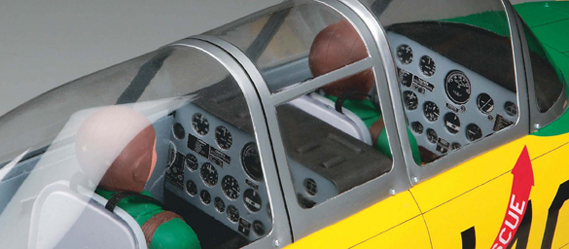
Top Flite T-34 Mentor with full cockpit detail.
To do a really good job of outfitting the front office, do a little research first to find out which types of instruments are appropriate for your model. Piper Cubs with wooden props would not have manifold-pressure gauges, and an F-86 Sabre Jet wouldn’t have a magneto switch. Some instruments have their bezels inset and flush with the panel, while others have the entire instrument face and the mounting flanges installed on the outside of the panel. You get the idea.
Decide how much detail you want to add. Sometimes, all you’ll have room for is an instrument panel and a pilot bust. But if you have sufficient space, you can extend it to a half- or full-depth cockpit. This way, you can add side panels, a pilot seat, a control stick and rudder pedals. The amount of detail is up to you.
Here are five great ways to add the magical details that will bring any model to life.
1: WOOD INSTRUMENT PANELS
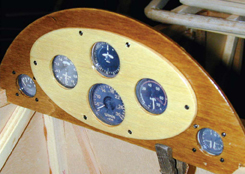
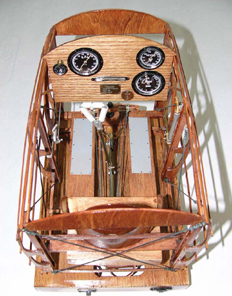
A homemade wooden panel for a 1/4-scale Pietenpol Air Camper.
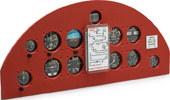
For vintage, open-cockpit airplanes, make your panel out of thin plywood layers. Cut the main back panel out of lite-ply or aircraft plywood, add a front faceplate with the instrument holes cut in it, add some photos of the instruments, and sandwich the entire assembly together with a thin sheet of acetate over the instruments to represent the glass plates. Stain and varnish the wood; then add some small screws to complete the look.
2: PHOTO READY
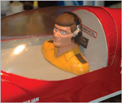
For an enclosed cockpit, bringing life to the model is as easy as installing a scale pilot bust. There are dozens available so pick one that’s appropriate for your aircraft. And for something for him to look at, add a simple photograph of an instrument panel. Take a photo of a commercial panel, or go on the Web and download an image of one. Print out the panel in the size you need on glossy, photo-quality paper. Cut the panel to shape, and glue it into place with some spray adhesive!
3: READY-MADE INSTRUMENT PANELS
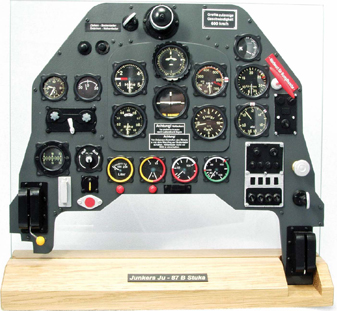

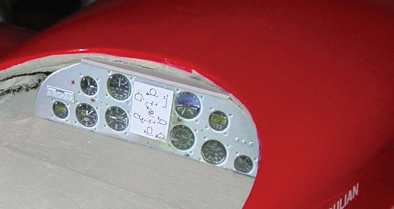
Ready made instrument panels are available from many sources and they add greatly to the realism of any scale, or sport scale model, kit built or ARF.
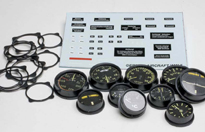
The easiest way to outfit a cockpit is to use commercially available panels and just stick them into place. Some manufacturers offer custom-made panels for specific airplanes, but others make generic ones. You can trim them to size and make them fit a variety of different models. Separate scale instrument dial faces are also available from companies such as iflytailies.com.
4: COCKPIT INTERIORS
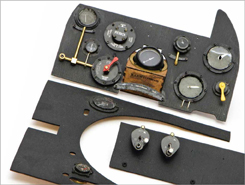
SE5a panels from Arizona Model Aircrafters’ kit.
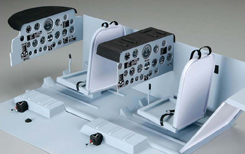
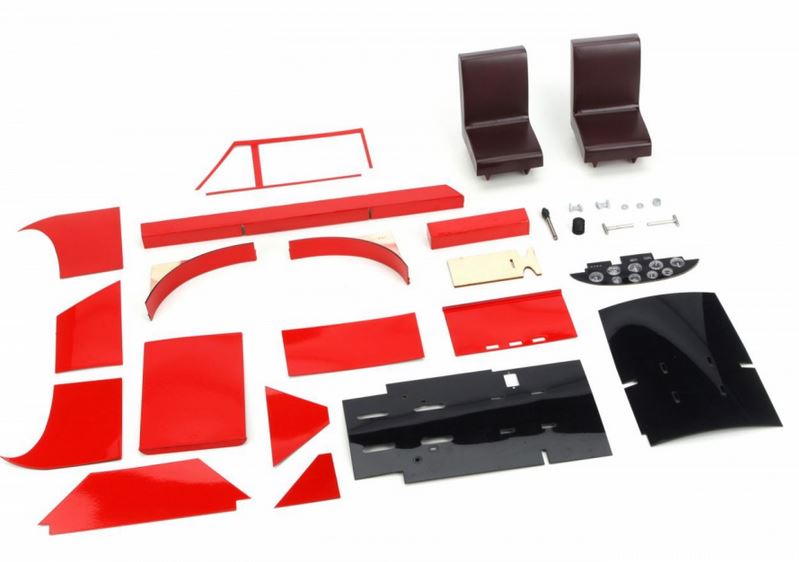
Top Flite T-34 Mentor cockpit interior kit
With enough room available, you can build an entire “stage” to support the instrument panel. Some kits are available, but you can also make the parts out of bits and pieces from the workshop. Cut out pieces of heavy paper or plastic to form templates for the sides, rear bulkhead and cockpit floor. Tape them together to form the final layout and to see how everything will fit. You may have to trim some existing bulkheads to allow the templates to fit. Use the templates to develop the separate side panels, and work on each panel individually until it is complete. You can add knobs, switches and levers made of pinheads and strips of wire or thin aluminum. Paint each of the completed sections, and then add them to the inside of your cockpit area. If you are using a full-length pilot figure, make the seat and seat belts to hold him in place.
5: FINE DETAILS
Above: Sopwith Camel interior kit from Arizona Model Aircrafters.
Above: Super Cub cabin detail parts from E-flight.
The little things add much to the realism of any cockpit. Designed to fit the Super Cub 25e, this kit will have your Super Cub looking competition ready.
Hiding the RC gear is a fringe benefit and besides, adding instrument panels and cockpit details is just plane fun.
Give it a try, and see what a difference it makes!


Do you have one for a instrument panel for a century Airwolf 600 size Hlicopter