
Buster Canopy How To
By Bud Roane
When doing a canopy for a sport model, where I want as light a weight as possible and a nice appearance, I usually just spray the inside of the canopy with plastic spray paint. This is a technique that I learned from Dick Sarpolis many years ago. The Carl Goldberg u-control models used a painted canopy, with a decal of a pilot head added on top. I wanted to try using a paper pilot cutout that resembled the decal used on the u-control models in addition to the inside spray technique
The technique I used was to scan a picture similar to the decal into the computer. I next used the computer to create a reverse image of the picture. Next through a series of print, cut, and fits I adjusted the size of the image to fit the canopy. I next used canopy glue (Wilhold RC 56 or Pacer Formula 560, both work well) rubbed through the paper pilot figure to glue both the original and reverse images to the canopy. The canopy glue is white in the bottle but dries clear. After the glue had dried over night I dusted an uneven coat of blue spray paint on the inside of the canopy over the glued in paper pilot image. Finally I sprayed an opaque coat of silver on top of the dusted on blue. When every thing was dry I attached the canopy to the hatch assembly.
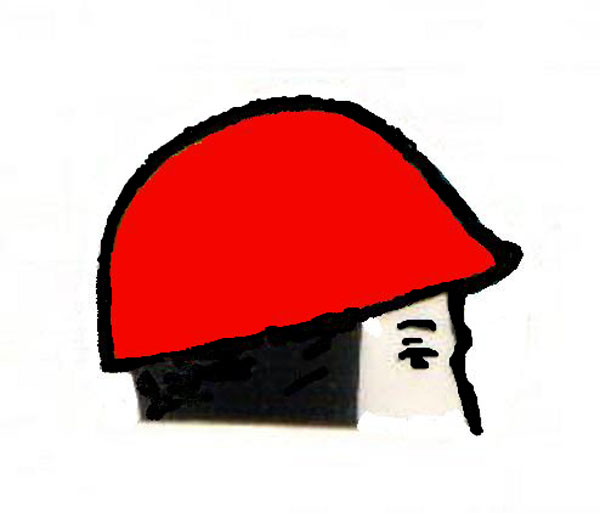
Pilot images sized and ready to be cut out and glued inside the canopy
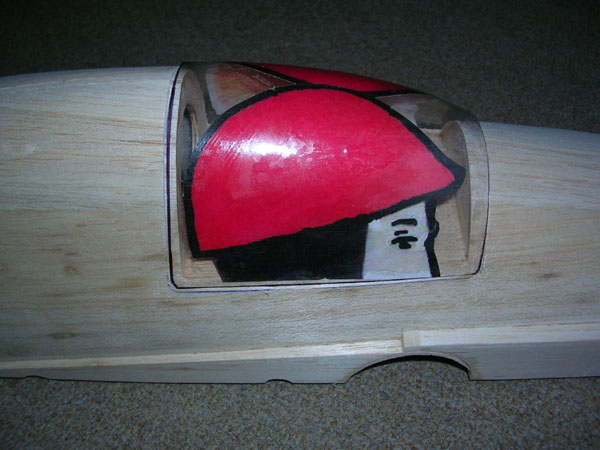
Pilot image inside of canopy after the canopy glue has dried
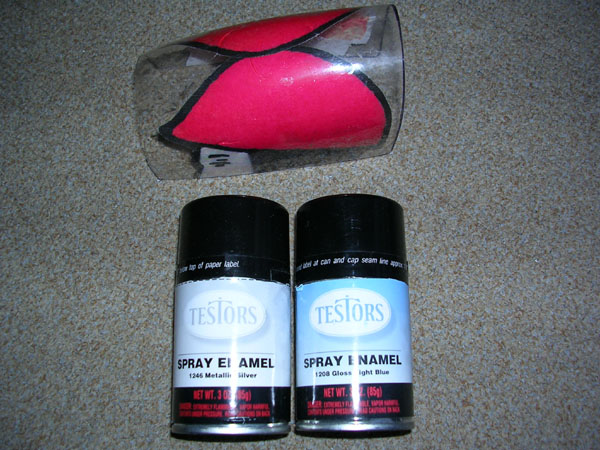
Spray enamel to spray the inside of the canopy
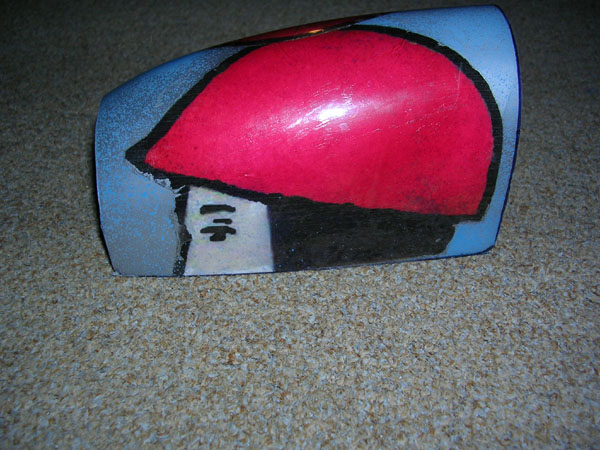
Inside of canopy sprayed with blue and silver over (inside) the pilot image
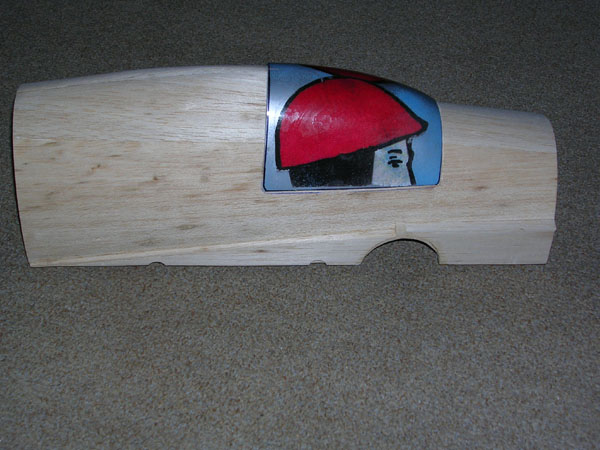
Canopy glued to the cockpit/hatch assembly
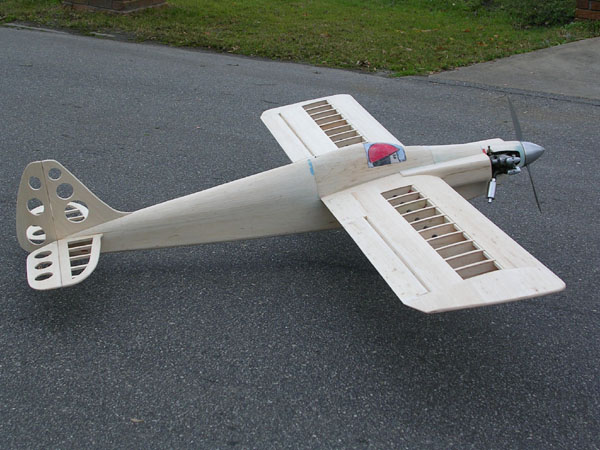
Cockpit/hatch assembly installed on framed out model
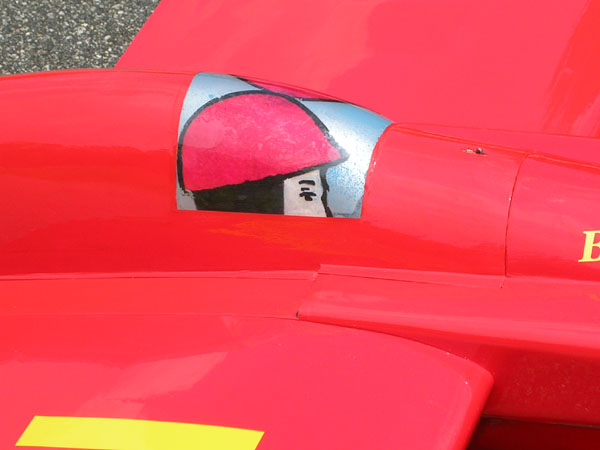
DSCN0724 – Covered completed cockpit/ hatch installed


