
Continuing his Workshop Build-along for the laser-cut Alien Aircraft FunMaster 72 kit, Jerry Smith presents his newest installment highlighting the construction of the wing. Here’s what Jerry reports.
Now that we have the tail and fuselage built we’ll move on to a little more work. The flat bottom wing is built in the traditional way by pinning down a spar, installing the ribs, then the top spar followed by the trailing and leading edge. Sheeting is applied to the LE, top and bottom and sheer webbing between the spars forming a “D” tube adding great strength. The wing tips are squared off. The wings are joined in one piece with fiberglass tape over the joint, top and bottom. A servo is required for each aileron and each flap. If you don’t want to use the flaps, build them and glue in place. However, don’t miss out on the flight performance and use them. I found no mistakes in the parts when building the wing; they all fit with perfection.
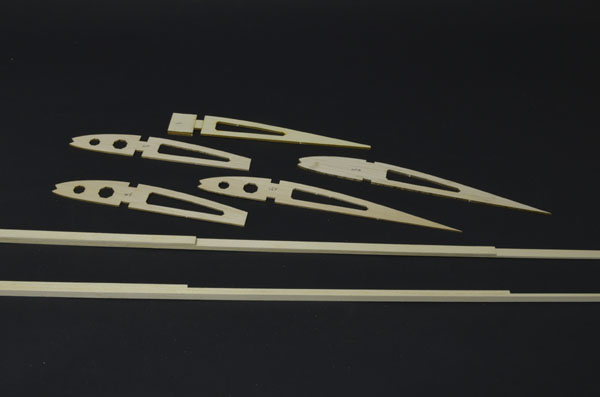
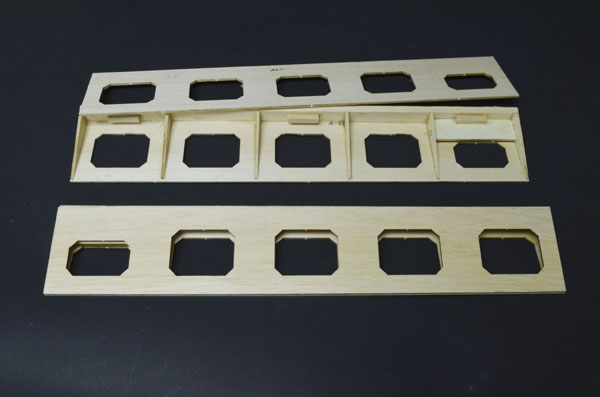
Before starting to build the wing some preparatory work is required. The hardwood spars must be laminated. They are made by laminating a 24” piece on to a 36”piece of 1/8” x 3/8”. Then a 12” piece is laminated a the root end. This is great engineering because most of the strength is required at the root of the wing. Also it cuts down weight as well.
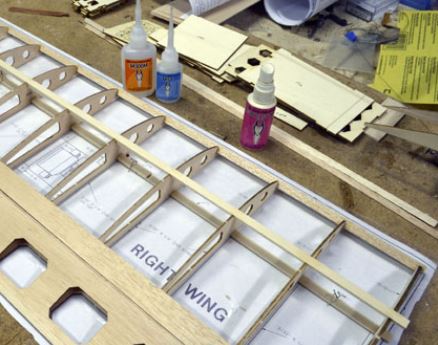
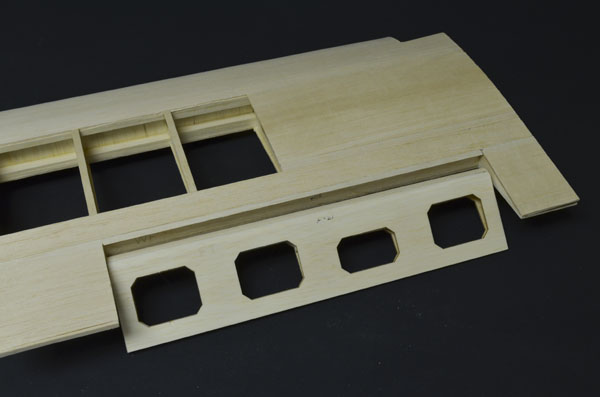
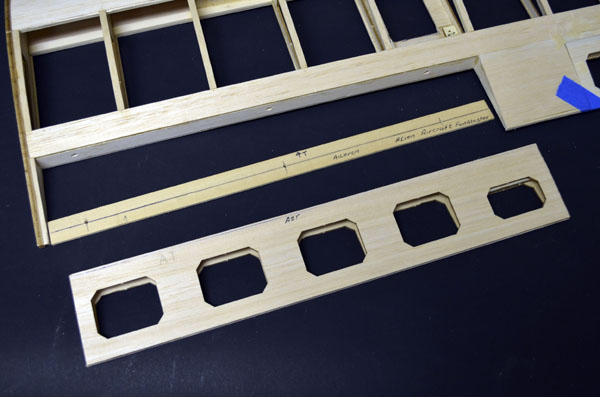
Here is the wing in progress. Make sure you have a good flat surface so as not to build in a warp. Marking the parts really helps here locating the ribs. I used 4 oz of Mercury M300 CA for the entire Fun Master build. A good performance glue.
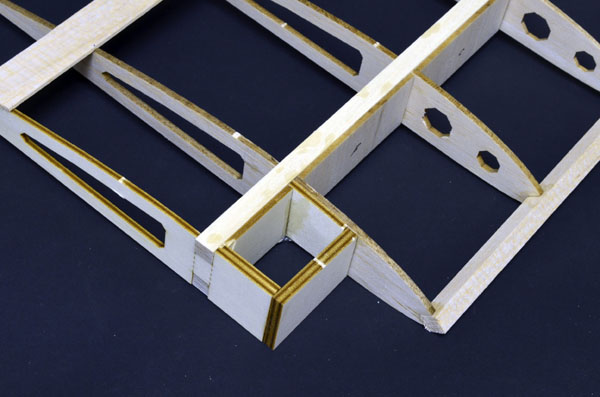
The only ply piece in the wing is the end rib. The first ply sheer web has a slight angle which determines dihedral. Read the instructions to get it right.
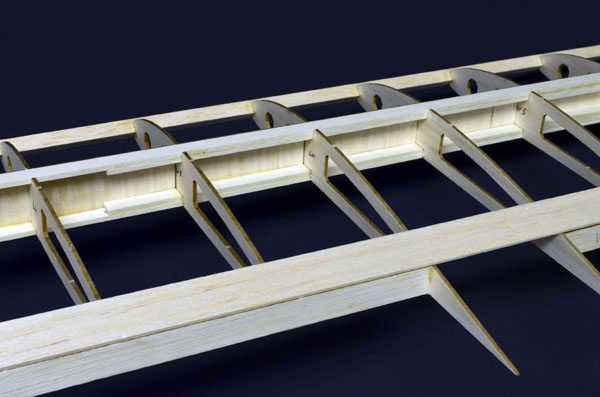
Note how the spar thickness is reduced as you move towards the tip. Sheer webbing does not extend to tip.
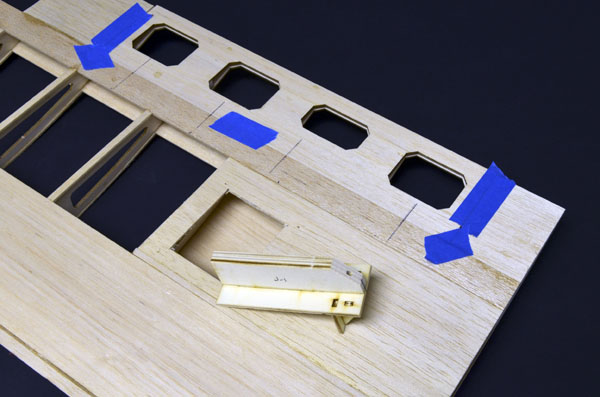
A drill jig is provided to help drill holes at the proper angle for the flaps. Follow the instruction on it use. Do this before shaping LE of flap.
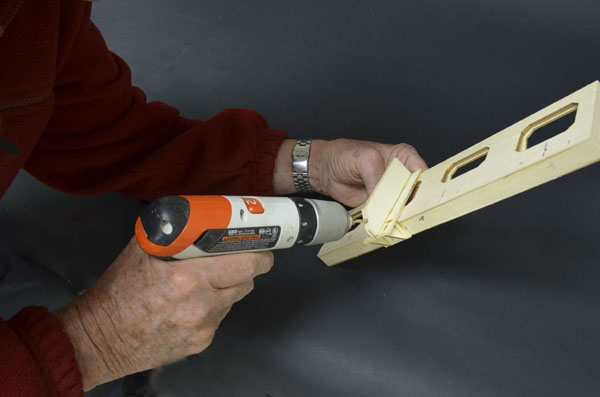
Hold the jig firmly and drill the hole. You could never do this without the jig.
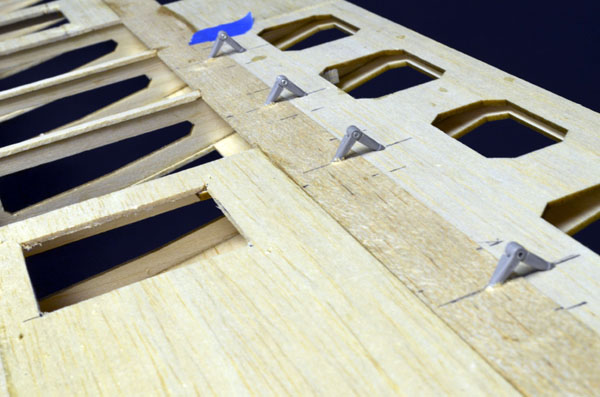
Pin hinges installed in flap and wing TE. This arrangement allows the flap to extend further and permitting more realistic movement.
Flap mounted and shown extended.
Ailerons build up fast. Note the hinge backing pieces and the hard point for mounting the control horn.
The kit recommends CA or hinge pins. I like the hinge pins where possible because they allow freer movement. Hinge pins require accurate hole alignment. To ensure this I make a drilling jig from thin hardwood. I make it the width of the wing TE and the length of the control surface. Find the center and layout and drill the holes.
Tape it to the wing TE and drill the holes. I use a block of wood to ensure the drill is perpendicular. Don’t worry about wearing out the holes. You don’t have that many to drill. Every time I use this method I smile to me self at how well the hinges fit.
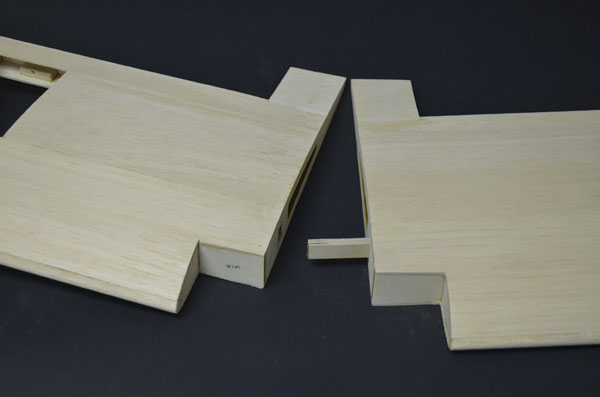
Joining the wing panels I used 30 min epoxy. The dihedral brace you see is nothing more than a locating pin.
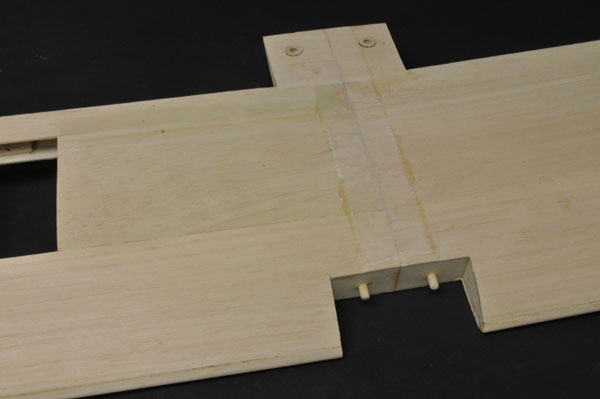
Wings joined with Fiberglas tape in place. I used Mercury CA to hold the tape in place. The real strength comes from the fiberglass tape applied to the joint. Don’t leave it out.
Stay tuned! Next I’ll show you some of the finished parts assembled and pictures of the completed airplane.
To see the previous post, click here.


nice hinge jig what about doing plans for one
Nice build. One minor point though, they are shear webs, as they take shear loads.
I got in late and missed your previous deomos for the construction of the tail and body. Is there any method to obtain these previuos information?
I would be most grateful, and definately in your debt.
Thank you for any possible information.
Al mackay–an 89 year youngster!!!!
amackay82@sbcglobal.net
Very nice Job Jerry!
You always do the best work!