
There’s a old saying that you’re never finished with a scale airplane, you simply stop working on it. And this is certainly true of my giant scale Triplane. I test flew and have attended some giant scale events with some of the scale detailing yet to be finished and added to the airplane. Examples are the scale pilot figure and highlighted here, a set of 33% scale Spandau machine guns. Here are some photos and comments of my experiences building and finished the laser cut kits available from Arizona Model Aircrafters.
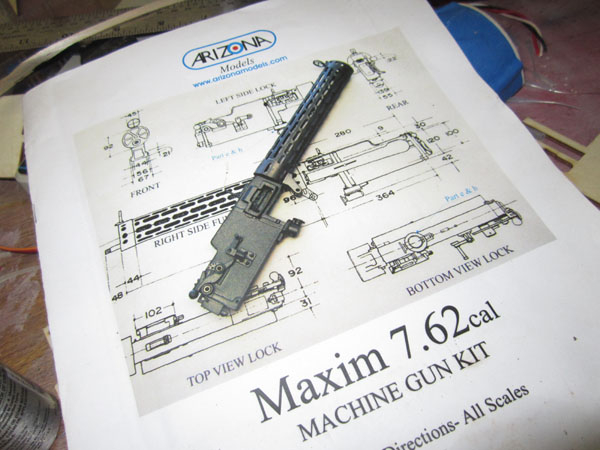
The Maxim 7.62 cal. Spandau machine gun kits are available in several scale sizes and I worked on two of the 33% scale kits in between working on my scale pilot figure. You can get more info at: www.arizonamodels.com
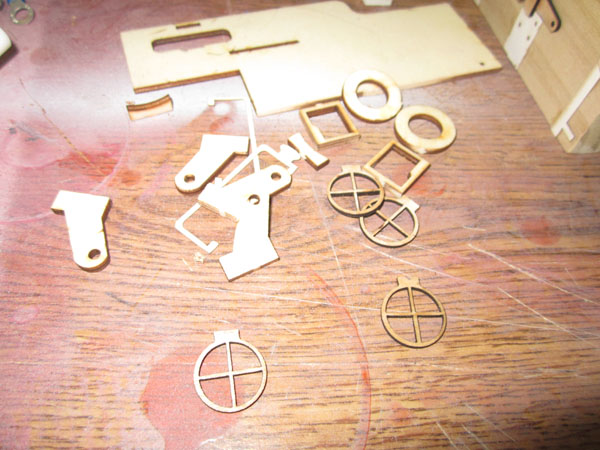
All the parts are laser cut and they come out of the carrier sheets fairly easily with the use of a sharp hobby knife.

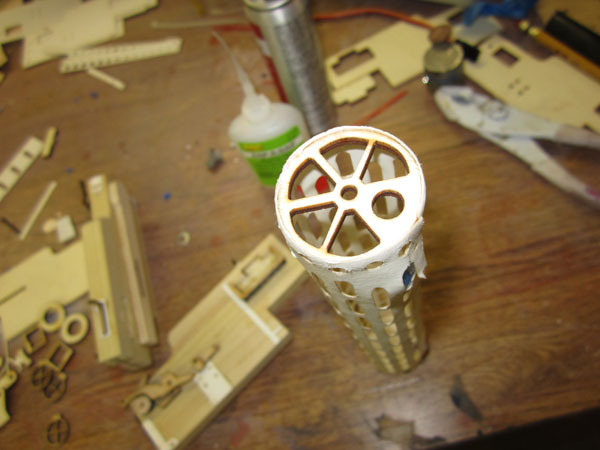
Several laser cut parts are also made from sturdy card (coated paper) stock including the cooling shrouds. Here I have the shroud taped to a length of pipe while it is drying. You dip it in water like a decal sheet, until you see the coating on the paper become fully saturated.
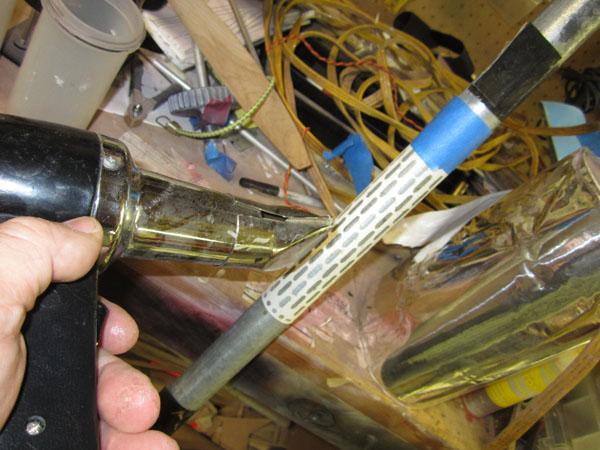
You can help “set” the paper using a hot air gun. But I have found it is best to let the paper dry over night by itself.
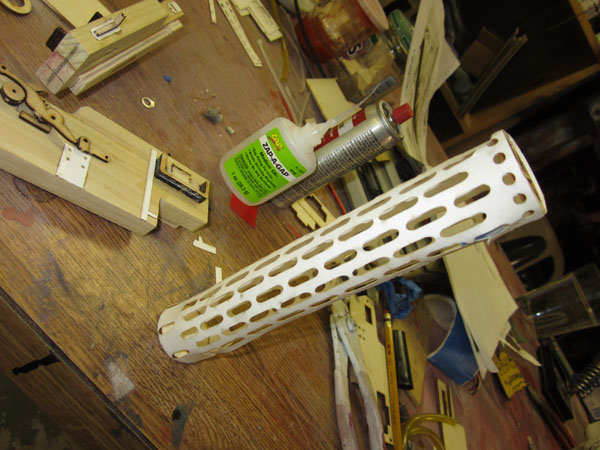
As you can see once the paper has dried, it holds its shape by itself.

The kit includes several laser cut layers that are used to form the main body of the machine gun and you glue them together and use as many layers as needed for your scale size. I found that for 1/3-scale the body thickness allowed the use of solid Bass wood so I substituted solid wood for the laminated lite-ply parts. The paper and thin plywood parts add surface detail.
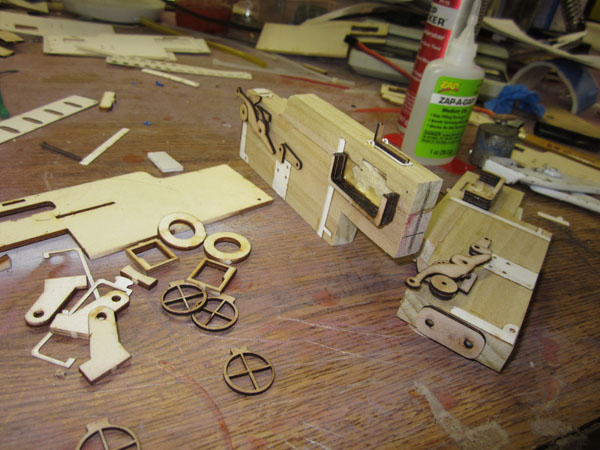
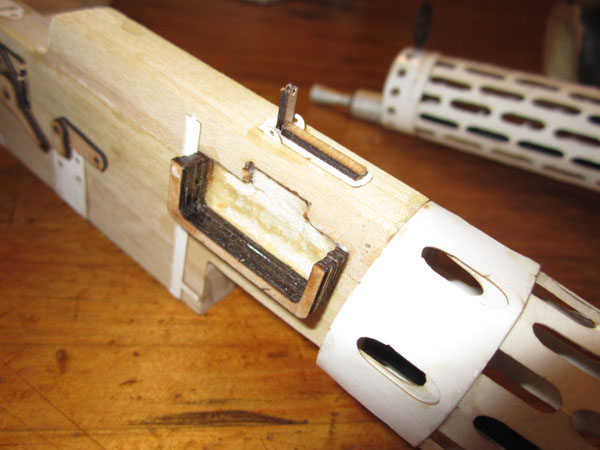
Where there were openings in the body, I used a Dremel tool and a grinder bit and cutoff disc to form recesses.
I found out that you must wait for the paper to be completely dry before working with it or it will deform. I fixed this with tape and the addition of the paper end collars.
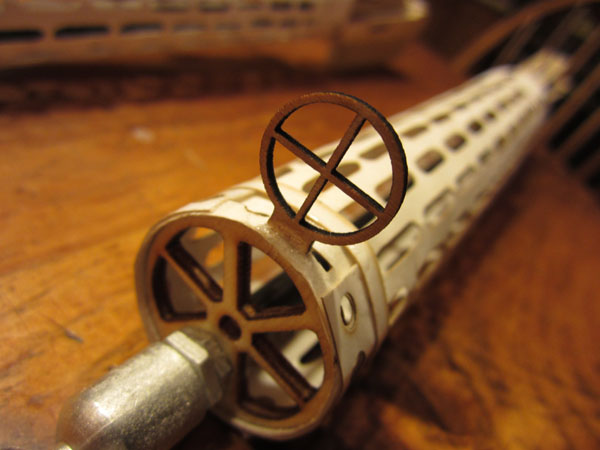
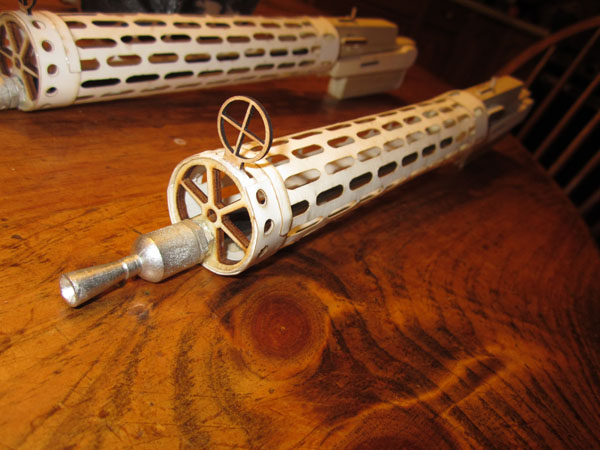
Here the end collar and the sighting ring has been added. Medium ZAP glue works great with a spritz of kicker to glue the wood and cast metal parts into place. The inner barrel tube is made from a length of carbon fiber 1/4 inch diameter pushrod (not included in the kit.)
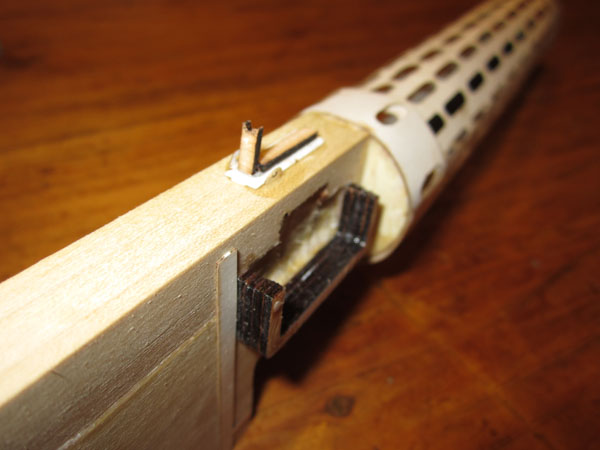
Here the aft paper collar has been glued in place and the shroud has been glued to the gun body. Notice the peek sight added on top.
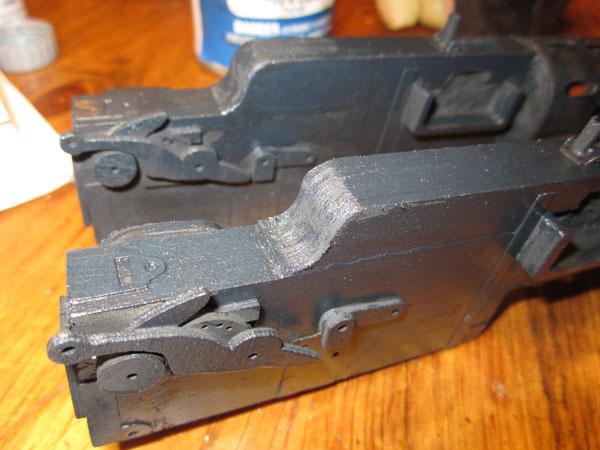
Several layers of laser cut plywood build up the bullet feed inlet.
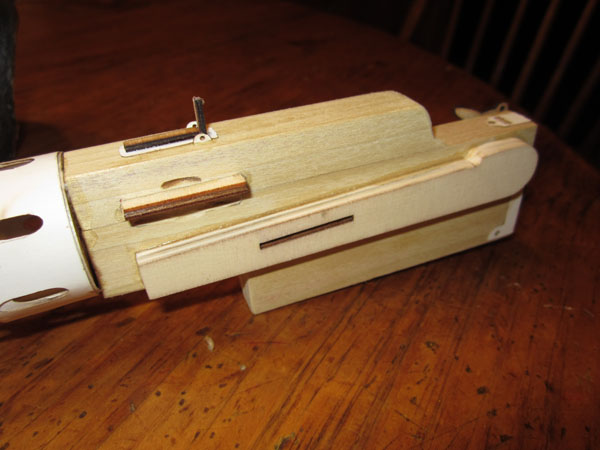
Here’s the other side of the gun body.
Two completed Spandau guns ready for painting.
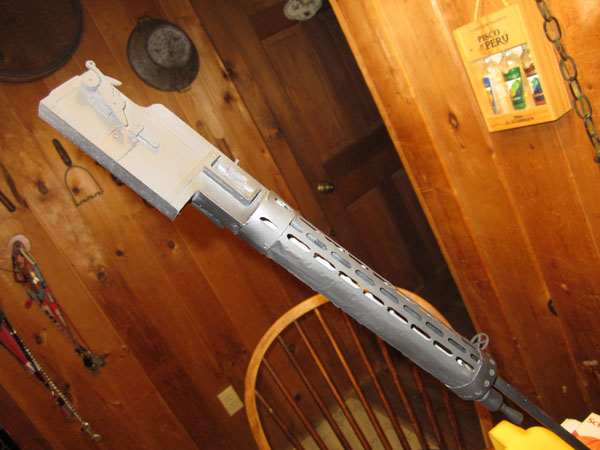
I shot on two coats of wood sealer and then two base coats of flat black and let dry.
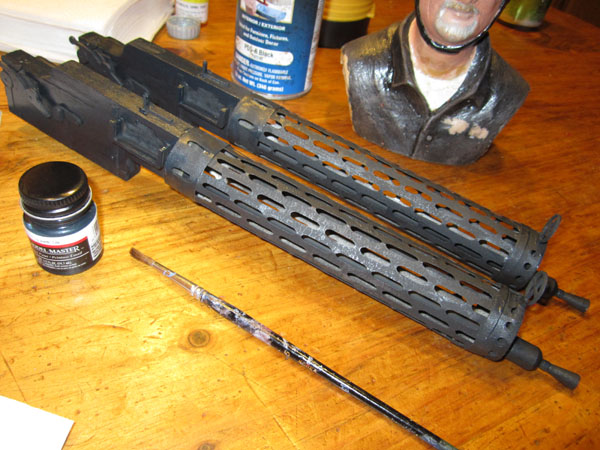
I then dry brushed on some “Burnishing” Gun Metal to help pick out some of the surface details!
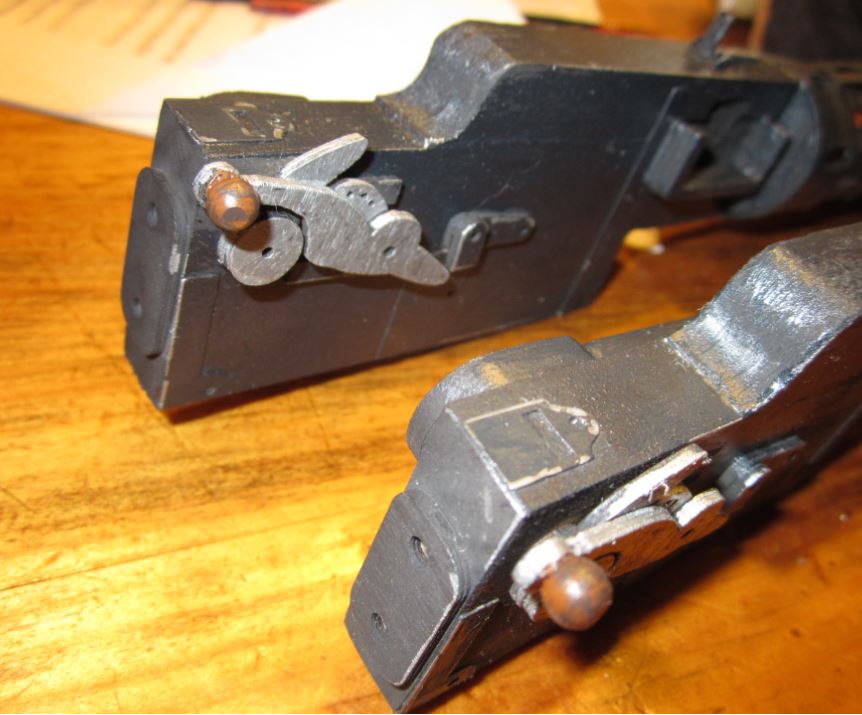
Some silver paint and a couple of wood beads will be added to finish off the cocking mechanisms.
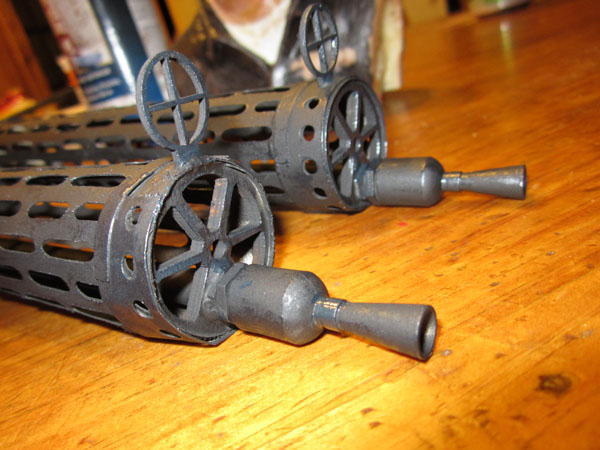
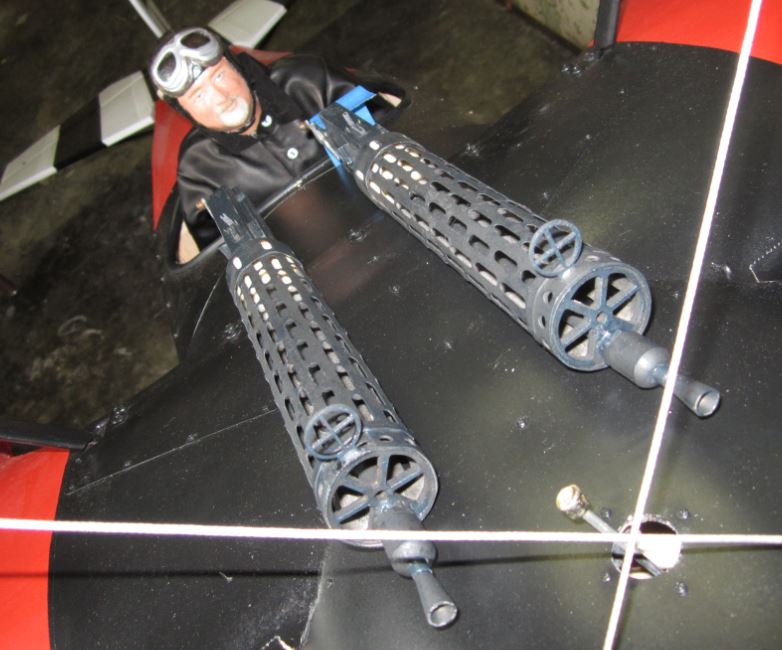
The business ends of the Spandau machine guns. Next will be adding the guns to the middle wing of the triplane.


Where will you get the 1/3 scale ammo belt/ammo to finish the effect????
Hi Steve. Arizona Model Aircrafters (where I got the gun kits,) also have ammo and ammo belts! :^)