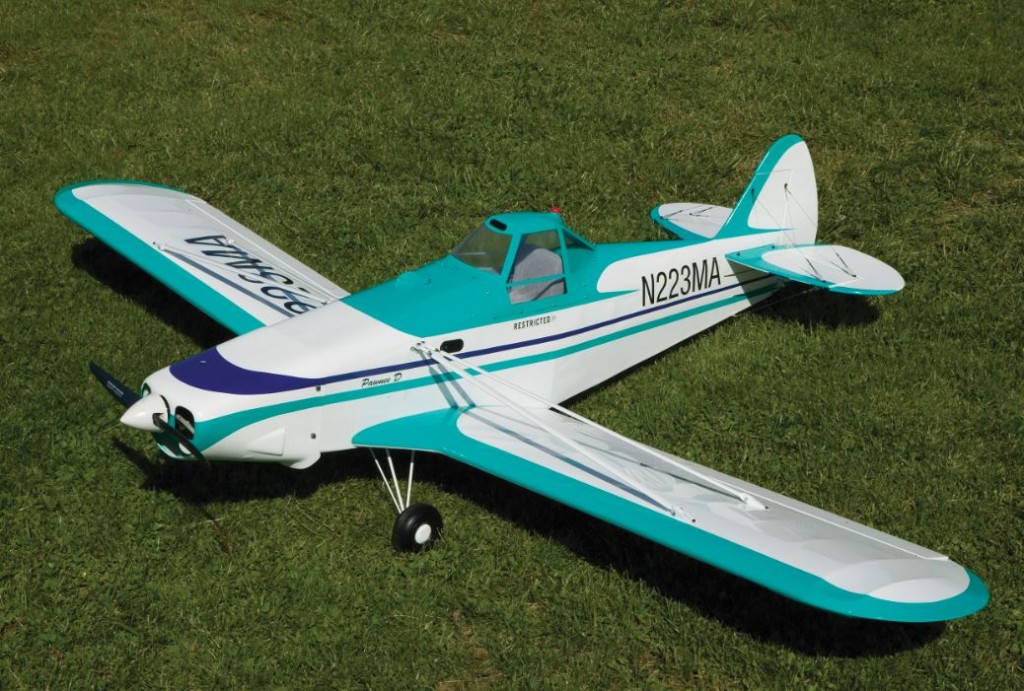
Recently, we had a MAN reader write in asking for help with repairing his wing which he damaged by running into the safety fence at his club’s flying field. The damage was not too severe but bad enough that he could not easily patch it up. Several years ago I wrote a How To article explaining basic repair techniques and I also shot a quick series of home videos to show how it’s done. Quality of my video (which is playing on my own “Gerry Yarrish” YouTube channel) is best described as “Homemade,” but it does get the basic points across.
This technique can be used for any built-up balsa model and really, once you get under the covering, is not at all that difficult as you’ll see here.
So, our newly repaired Pawnee ARF from Hangar 9 looks brand new. The repair to the wing is all but invisible. Check out this video series showing the repair from Gerry’s workbench.
Part 1
Part 2:
Part 3:


![Wing Repair for Built up Airplanes [Workbench Video]](https://www.modelairplanenews.com/wp-content/uploads/2014/06/repair2-058cc.jpg)


Excellent set of videos. To me this is what the Magazine is all about. And like always, more please.Thanks.
Nice job!
With the recent explosive growth of ARFs, newcomers to the hobby never had to develop the skills of following plans, building or finishing.
Once the inevitable happens, the owners are at a loss as what to do, or the tools and materials to make even the simplest repair.
Videos like this that seem obvious and simplistic to the seasoned builder, are manna from heaven to the newbie now that the long-time modelers are fading away.
Wouldn’t it be nice if some of us experienced builders shared a few of our many skills and tips we have developed over the decades with those that would love to learn some of our secrets to be passed down to the next generation?
Don
Very nice repair, the biggest thing is few will see this and how do you repair a lit ply fuse. We do not have RC modelers any more we have RC flyers. They crash and just reach in there pocket for a new one.
I had no volume on any of the videos,even raising it to max. Not worth watching if you cannot hear it.
Good videos. Being relatively new (again) to modeling I figured this out after damaging my trainer. Having a terrible time with trees. This series though did point out a thing or two that I did incorrectly. Thank you for that.
In addition I am recovering an older version of my trainer, and while the covering is off I am making a set of plans for the model. In the future I should be able to reproduce wings, and both stabilizers, as well as bulkheads in the fuselage.
Thank you so-o-o much!! These are the type of videos that are very much needed. As Alicia said in her comment; what do we do when the inevitable happens?? Most of the time we have too much invested to just throw it away and get another one (which calls for some very deep pockets). I hope you do a series on “covering”, because even the factory-installed covering comes with wrinkles and gets even more wrinkles as time goes by. Again, thanks for a great Helping” video.
Great comprehensive, instructional viceo. Takes the fear out of repairing a flight surface. I think Gerry got into the repair one step too late – I would have liked to have the removal of the damaged covering itself. I learned a lot; these vids were eye-openers.
This is a purely cosmetic repair that restores almost none of the original structural strength provided by the leading edge and leading edge sheeting. If the wing strength was adequate without the leading edge and sheeting (which is doubtful), the repair would be fine. However, if you stress the wing, you now know exactly where it will break.
Hi:
I see your point. There is a discontinuity in the leading edge. So, what would you suggest?
IF there isn’t a spar for the wind then, I would think scarfing a leading edge across 2 or 3 ribs on either side would be a good idea.
It might be easier if the end ribs of the repair section were sistered to provide support for the sheeting.
After 5 years, the wing (and airplane) are still flying nicely. I find that many tend to over think the engineering aspects of model structures. The old saying build them (and repair them), to fly and not survive crashes has served me well. Besides this being the wing to a Pawnee crop duster model from Hangar 9, it is a strut supported wing. So there you go. THanks your comments
Gerry,
I suspect the wing structure of the Pawnee has more than the required strength, as is the case with many (most?) models. The spar is probably strong enough to take the flight loads and the LE sheeting and LE are just providing extra strength, as well as torsional rigidity. A good tight film covering will add torsional strength also. I would not trust that type of repair on a winch launched sailplane though. End grain to end grain joints have very little strength. I would have spliced a new section of LE with something like a 4 or 5:1 scarf ratio. Since it is very difficult to get a significant scarf taper on sheet, I would have cut the sheet on an angle and backed it up with either balsa or thin ply, and made the new sheet span a couple of ribs. 1/64″ plywood has about the same strength as 1/16″ balsa, but is more flexible and often easier to install (but should be lightly scuff sanded to get good glue adhesion and penetration). I would make the backing about 6x the sheeting thickness on each side of the joint (a 3/4″ strip for 1/16″ sheet), with the grain running in the same direction as the sheeting. Also, cutting the repair pieces to exact sizes so you don’t sand the mating surfaces results in a stronger joint, as it will absorb the glue better than sanded wood. A razor plane is much better than sandpaper for getting the pieces to final size.
A good reference for wood aircraft repairs is: http://www.faa.gov/documentLibrary/media/Advisory_Circular/Chapter_01.pdf Model aircraft generally do not require the same scarf ratios and similar as full scale aircraft, but the same concepts are applicable to model aircraft repairs and structural design.
I enjoy your posts and articles in MAN and am just trying to add useful information to this great hobby.
Thanks for your comments Dennis, after all it is our hobby and is meant to be fun. Your comments and suggestions add to the conversation. Everyone get their joy from different aspects of the hobby. I try to keep things as simple as possible and as easy as can be to encourage others to try their hand at something new and different. Thanks for reading.
GY