
The final installment of this scale building techique finishes up the Windshield with the addition of the clear plastic panes and installing the units on the fuselage. After the frames are painted, you need to make a template for each of the individual panes.

(Aboved.) Flip the framework over and place a scrap piece of paper under it so you can trace the opening.


(Aboved.) To have an edge to glue to the inside of the framwork, you need to cut the template bigger all around by abut 1/8 inch.

(Aboved.) Now do the same for the remaining two side frame panes. Here are my completed templates. Be sure to mark them so you know where the finished cutout panes will go.

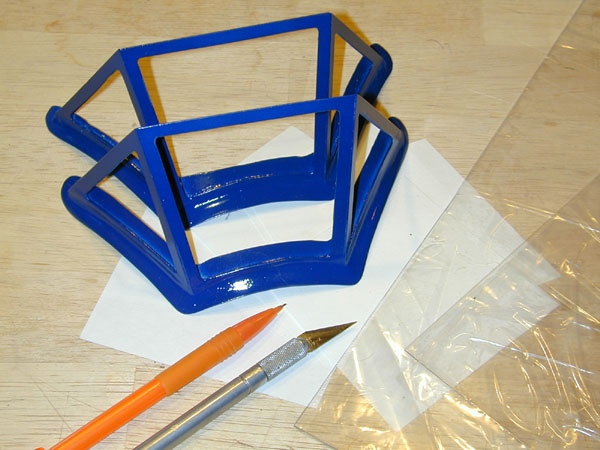
(Aboved.) For the clear plastic sheet I use the material from K&S from the hobby shop and I use Super RC Z-56 canopy glue, or similar adhesive. This glue sticks really well to metal and plastic and it dries clear.

(Aboved.) To keep the plastic sheet from being scratched, (I use 0.015 inch thick material,) I cover it with cling food wrap. I then use a glue stick to paste the template into place so it won’t move while cutting out the material.

(Aboved.) Here’s the cutout clear pain. Now cut out all your remaining panes.

(Aboved.) Apply the adhesive around the edges of the pane sparingly. Now place it centered over the framework opening and use some stationary spring clamps to hold it in place until the glue dries.

(Aboved.) For the side panes, you won’t be able to use clamps all around since the center pane is already in place. I use a large D-size battery of other heavy object to press the side panels into place. A single clamp hold it in place until you add the weight. Wait a couple hours and then install the last remaining side panes.

(Aboved.) Using the same canopy adhesive, glue the windshield frame into place and let dry. Here you see the finished installation with a scale pilot figure ready for action. An addition of black cockpit combing around the opening will give the model a completed look. If you like, you can also use small screws to attach the framwork to your model so it is semi-removable.
For a new model, you can also add details like rivets or screwheads to the frame to add realism. A bit of silver paint here and there will also add some “wear and tear” for a used look.


Very nice tips!