

Topping off at just under 400 hours now, the kit built Balsa USA 1/3-scale Fokker Triplane is finally looking like a real WW1 aeroplane. This past weekend, I installed the interplane struts as well as the tail feathers. Here’s a recap.
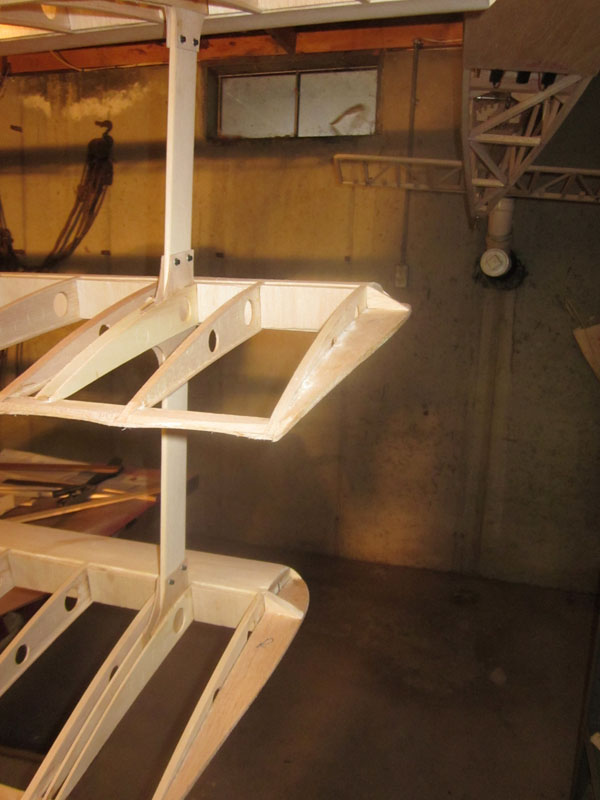
Actually before installing the interplane struts, you first have to make sure the top wing is installed and bolted in place properly.

Of course like everything else in the build, you measure and remeasure to make sure everything is straight, true and centered.

The interplane struts are made from two layers of basswood glued together. The first thing you do is insert them into their respective locations between the lite-ply strut support ribs in the wings, and mark their length and cut them to size. 
You might remember that during the wing assembly, great care was taken to make sure all the support ribs lined up with each other by centering the wings on top of one another. They were tack glued until everything was measured and aligned and then glued in place before adding the leading edge sheeting.

Next the thin plywood attachment brackets were slid into place between the interplane struts and the support ribs. Again, check and recheck the wing alignment and spacing to make sure it is equal on both sides of the plane.

Once everything is set in the correct location, glue the plywood brackets into place, making sure not to glue the struts into place in the process. Glue the brackets by applying CA to the parts using the holes in the ribs and run a bead of glue along the tops of the support ribs.
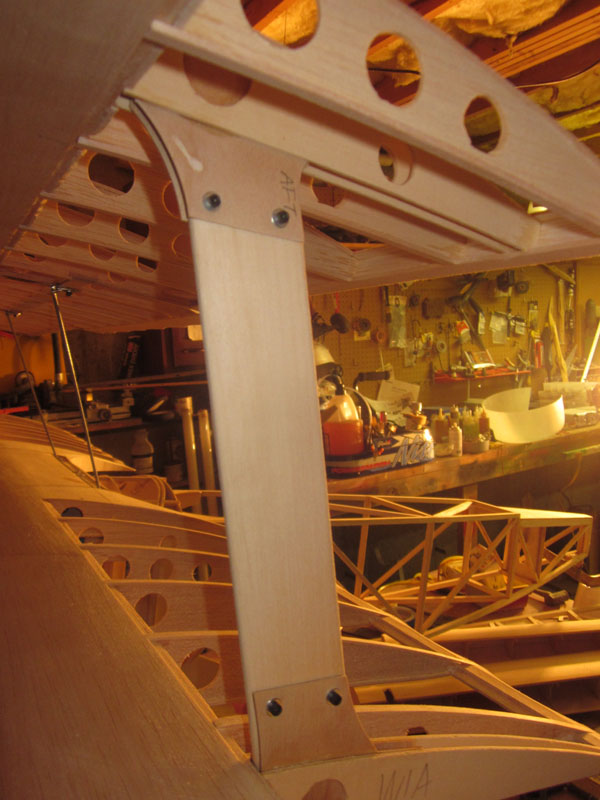
Once the glue has set, start drilling the holes for the strut attachment bolts. Drill a hole and install a bolt. Check alignment and do it again and again until all 8 bolts are in place.
Now do the same for the other side of the airplane. again, check and recheck wing alighment before drilling the bolt attachment holes.
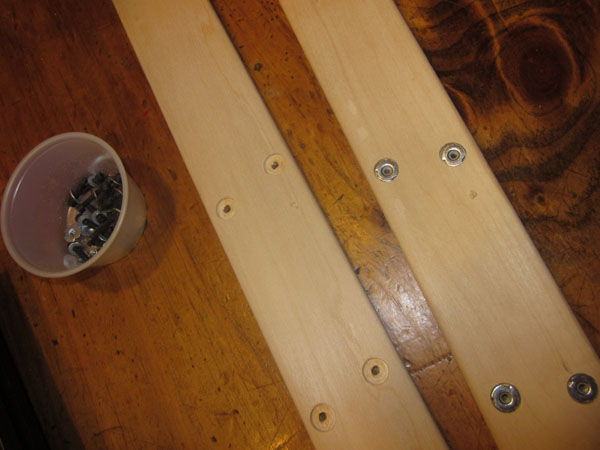
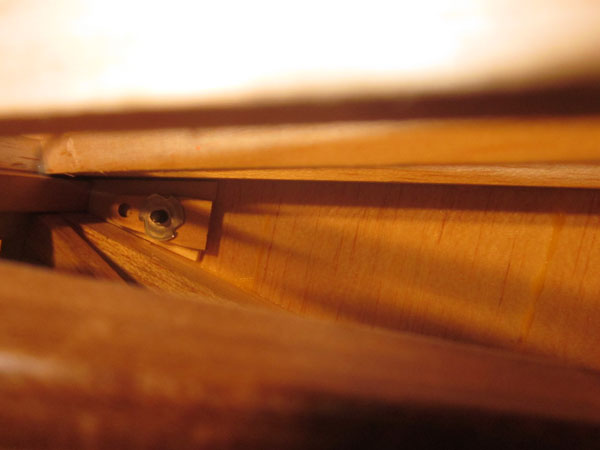
So you don’t have to fiddle with lock nuts every time you assemble and dissassemble the triplane, the instructions show the installation of blindnuts as shown here. I used a 3/8-inch Forstner bit to counterbore the struts so the blindnut can be inserted flush with the strut surface.
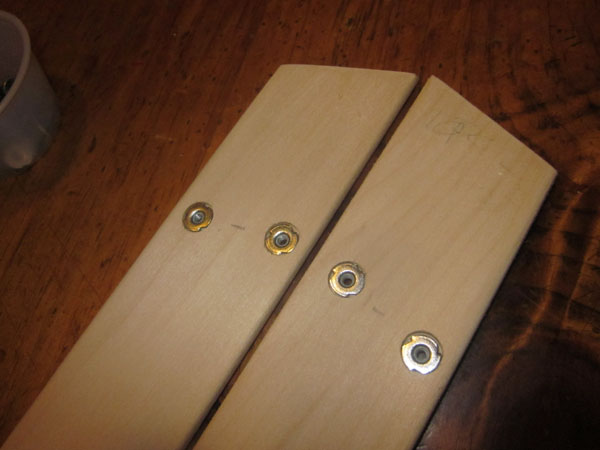
Set the blindnuts into place and then use some medium CA to glue them in place. The struts are now ready for a final sanding and some staining and varnishing to match the tailskid.
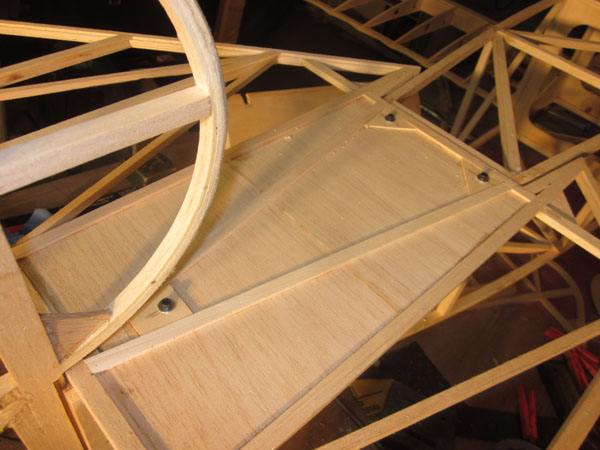
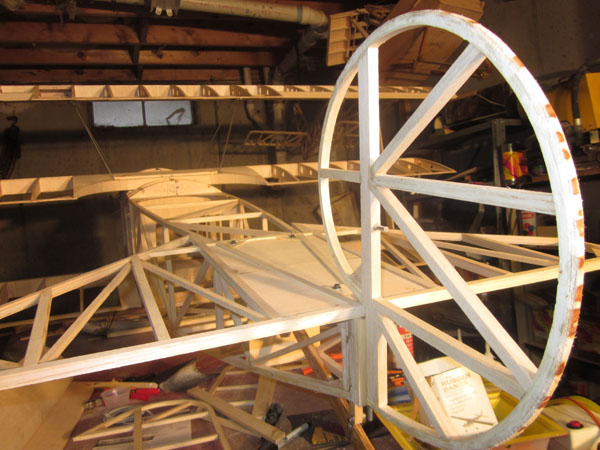
I installed the horizontal stabilizer with three 6-32 bolts and blindnuts. Making it removeable instead of just gluing it into place as the instructions suggest, allows for getting to the bungee cord for the tailskid as well as allows you to fine tune the stabilizer incidence. You can add washers to increase positive incience if needed.
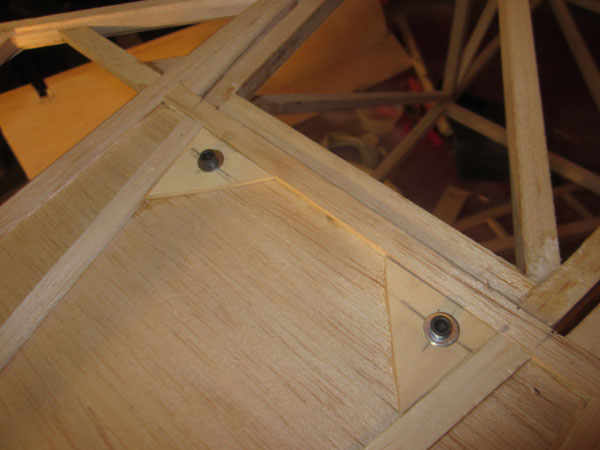
Two triangles of lite-ply make the front hardpoints for the bolts and washers.
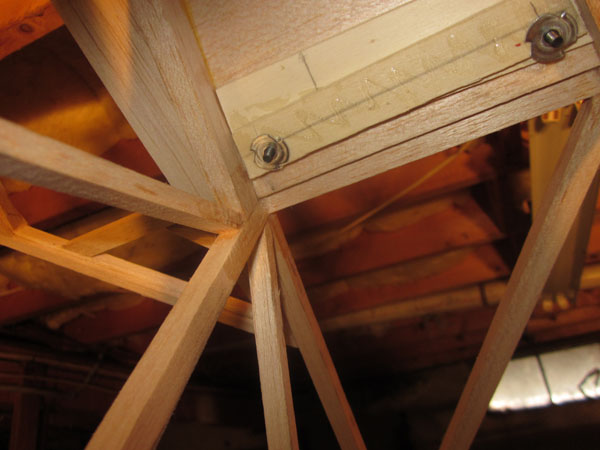
Lite ply makes the internal support bracing for the blindnuts under the stabilizer
Small lite ply wedges support the aft most stab attachment bolt.
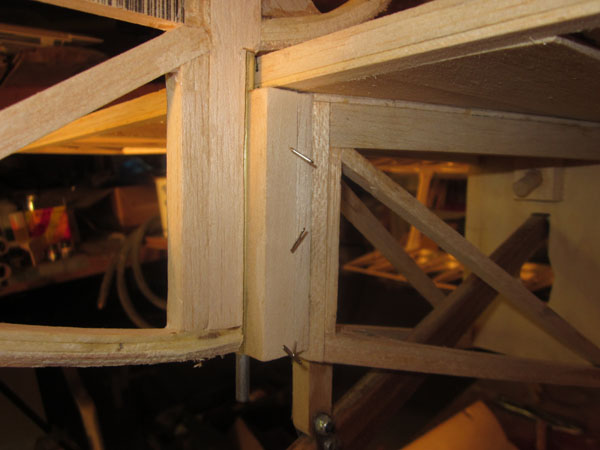
The rudder pivot attachment block required a 1/4 inch shim block to clear the stabilizer. I used 20 minute epoxy to glue the blocks in place.
Click the link for more details: https://www.modelairplanenews.com/blog/2013/06/04/workshop-tips-giant-scale-hinging-made-easy/


