
When it comes to making a scale model look real, or at least, realistic and a little less like a model, it’s all in the details. My basic plan is to look at the model and all the visible RC hardware has to be either painted to cover up plastic and soldered parts, or it has to be replaced with Static Scale (not for flying,) parts. So, looking at my 1/3-scale Fokker Triplane, the most obvious improvement is to remove the Zenoah GT-80’s RC prop bolt and washer and replace it with a scale, multi-bolt hub faceplate. For the Triplane, the faceplate is just a little bit smaller than the diameter of the wood propeller’s hub area, it has eight attachment bolts and eight lightening holes.
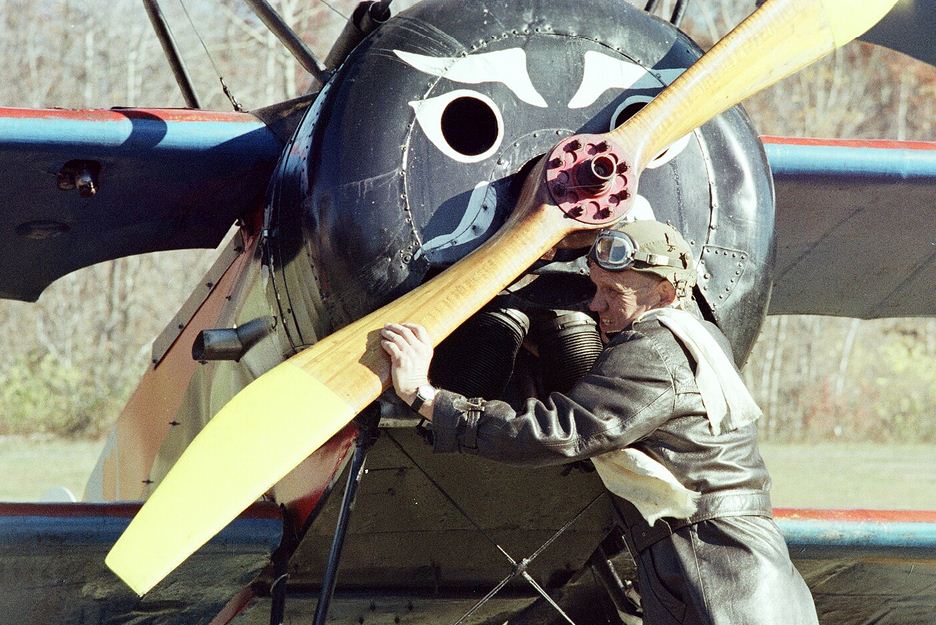
Here’s Cole Palen turning over his rotary engine back in the 1970s. The faceplate here has been painted red. It is now black on the airplane in the Old Rhinebeck Aerodrome museum hangar.
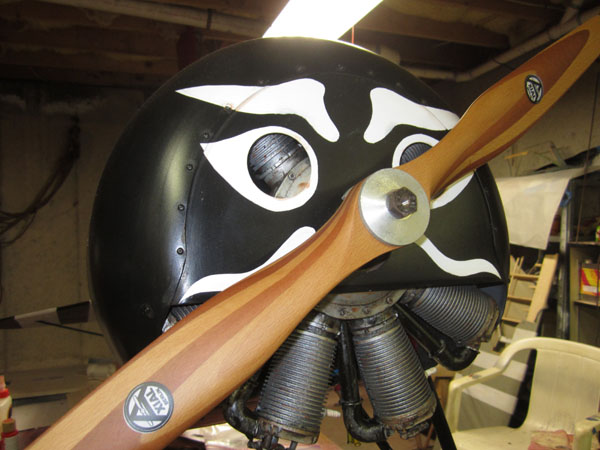
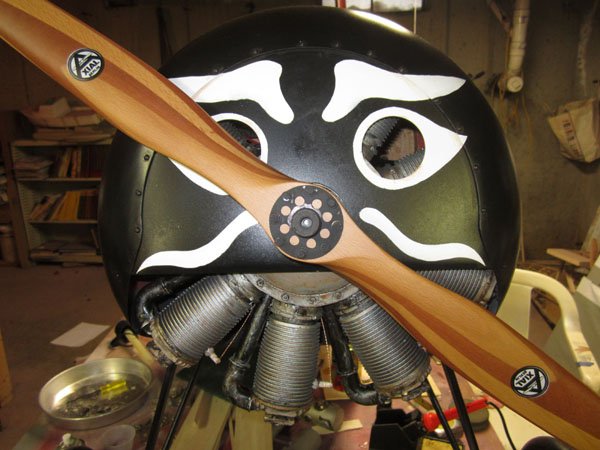
So here even though the scale rotary engine is installed and a nice scale Axial propeller from Xoar Propellers is attached, that Zenoah GT-80 prop bolt and thrust washer have to go!
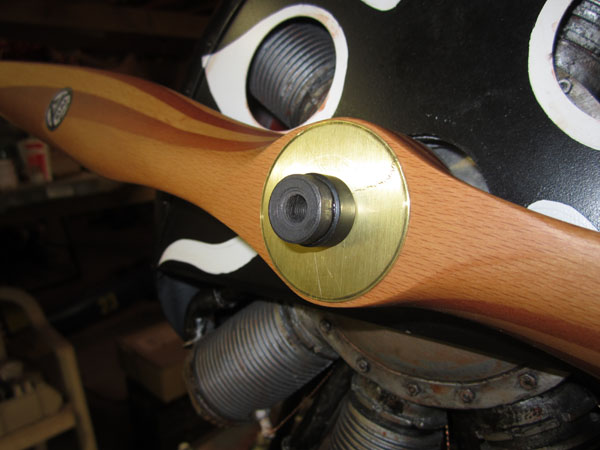
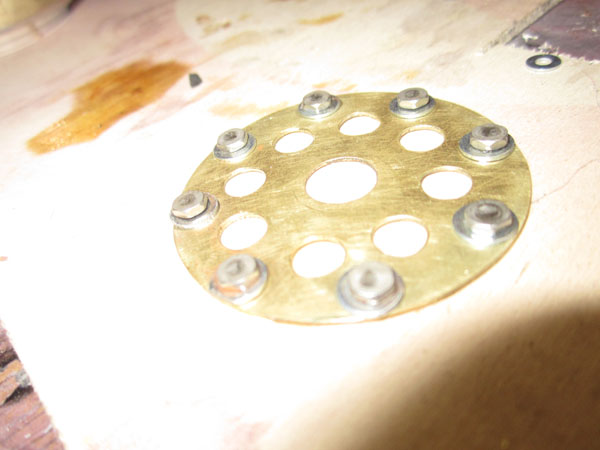
I turned an old engine bolt in my lathe to a round profile and made a faceplate disk from sheet brass. Notice it is just shy of covering all of the propeller hub.
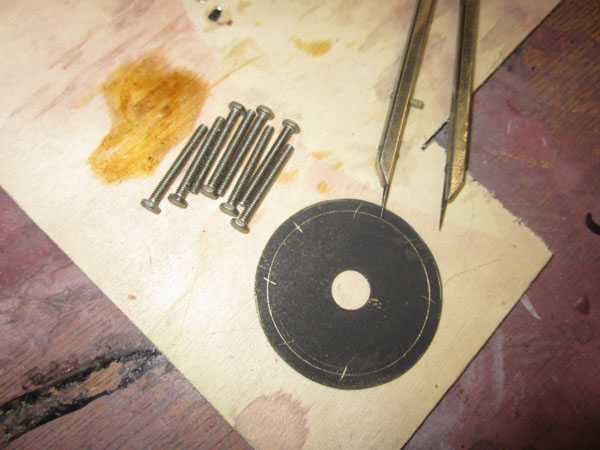
To evenly space the bolt heads (I used hex head 4-40 bolts from Micro Fasteners,) I first sprayed on some dark primer on the back of the disk and used a set of dividers to evenly space out eight bolt holes.

After center-punching each of the bolt hole locations, I drilled and taped the holes for a 4-40 thread so the bolts could be threaded into place.
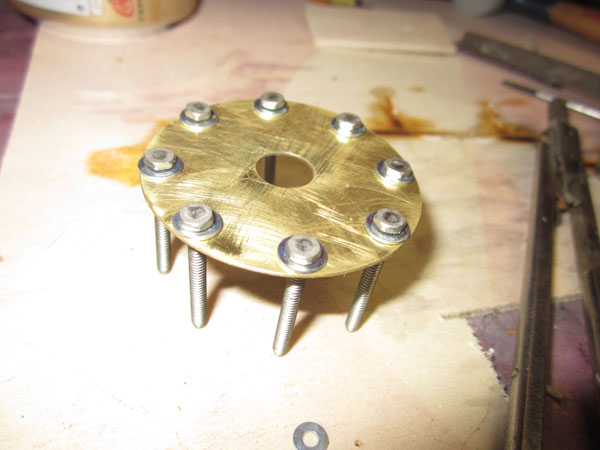
I added washers under the bolt heads which are flush with the outer edge of the face plate.
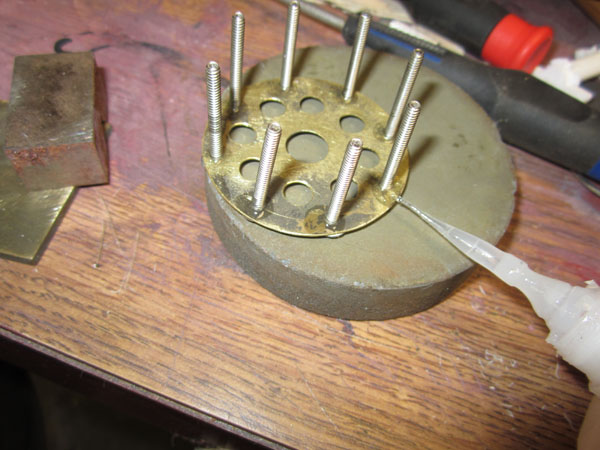
After laying out and drilling the larger holes in the same manner, I used thin ZAP CA glue to lock the bolts into place.
With a thin cutoff disk in my Moto-Tool, I cut off the bolt’s threaded section so that everything was flush with the back side of the face plate.
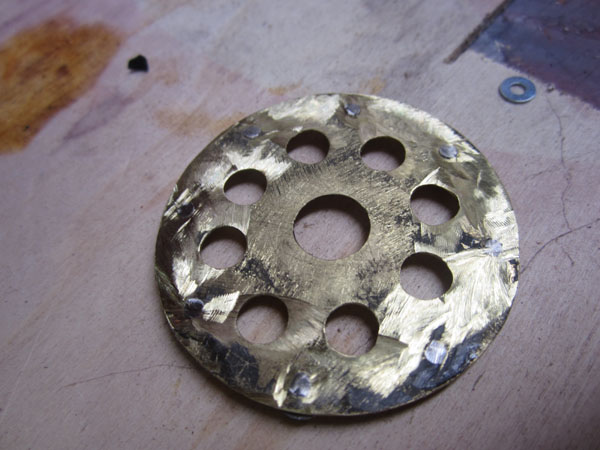
Here’s the finished faceplate ready for painting. The only hole that is critical is the center bolt hole as it must match the engine’s prop bolt and center the faceplate on the propeller.

Though not 100 percent exactly scale, the new propeller faceplate and modified prop bolt, greatly improve the looks of the propeller installation. I used Krylon flat black paint for the faceplate and the attachment bolt. A little weathering and scuffing with some brown (rust) and silver, will add even more realism to the finished model.
Thought the propeller is a Xoar “Flying Prop” the attachment bolt and scale faceplate are not. You could be tempted to fly with the brass face plate, but it is not strong enough to spread the loads while the engine is running. If you want to make a flying faceplate, you would have to make it out of steel at least .100 inch thick for safety.


Gerry, I am an author, soon to be published, and creating a webpage. I’d like to use the picture of Cole Palen as an image for my “Contact” page. Where would I address that request for permission? Do you know who owns the photo or is it in the public domain? Thanks so much!
David, For commercial use of any of the Cole Palen images on the web, I would check with the museum at the Old Rhinebeck Aerodrome.
GY