
Another weekend and a little more work has been done on the 3-blade Ham/Std. Propeller for my upcoming Top Flite Giant Scale Corsair Review. It took about 4 or 5 hours to prep the three blades and get them ready for paint. Here’s what I did:

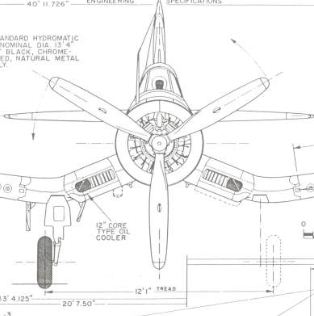
1. Using a good set of 3-view drawings (I used Paul Matt) I copied and enlarged details of the Hamilton Standard propeller and then made a poster paper template to check the shape of the Ziroli kit blades. As you can see here, the stock blades were a little bit fatter than I wanted. They would be ideal for a 4-blade setup as the blades were shaped and sized differently for the type and power of the engines they were used with.

2. I used the template and traced the desired outline on the resin cast blades and then sanded them to shape.

3. Here you see the flat edged that is formed when sanding the blades to their new shape. The edges have to be rounded and sanded smooth again. I used an 80 grip paper on a long Great Planes sanding bar. Then as the sblade gets closer to the desired shape, I swtiched to 150 grit.

4. Lots of sanding and lots of sand paper later, the three blades are ready for prepping to smooth their surfaces. All the little white dots are small dimples in the resin. They all have to be filled and resanded.

5. I use red Spot puddy to fill all the imperfections and just lather it on, let it set up for a few minutes and then use the popcicle sticks to scrape most of it off, leaving the dimples and pinholes filled.

6. The first sanding will take everything except the puddy filling the scratches and dimples. Keep doing this again and again until you have all the blemishes filled in and the blades have a smooth surface.

7. Once you have all the blemishes filled, start sanding the blades smooth with progressively finer and finer sandpaper. I do most of the heavy sanding with 150 followed by 220 grit. Then when everything is filled I switch to 320 grit paper until the blades are ready to prime! I then use white primer and 400 grit sandpaper before applying paint!
")
That’s it for this weekend. Come back soon as I will highlight the detailing of the Hub structure and continue with painting and decal application.
Stay tuned!
To See Part 3, click the like: https://www.modelairplanenews.com/scale-3-blade-propellers-%e2%80%94-building-a-ziroli-static-scale-kit-%e2%80%94-part-3/


