
So after the cabane (and the landing gear), are soldering together, they have to be filled out with wood fairings. To do this on the Camel I bought some 1/2 inch wide grooved basswood stock. These fit nicely on the wire and are a lot easier to use than trying to groove wood yourself on the thin edge.
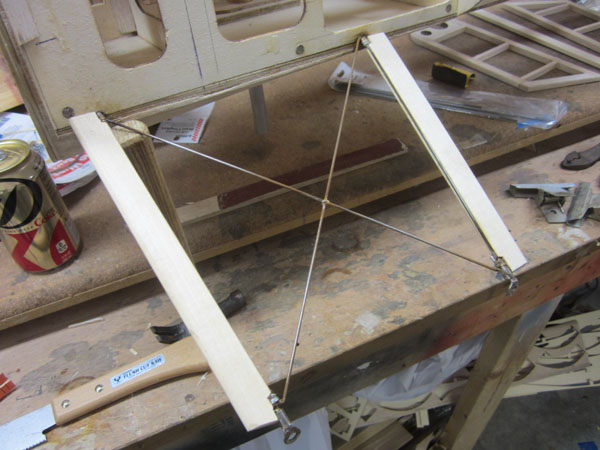
After rounding the none grooved edge and cutting them to length, I used thick ZAP CA glue to attached the strips in place.
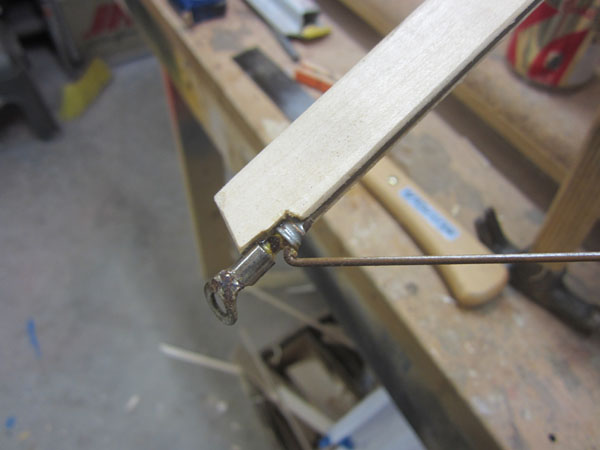
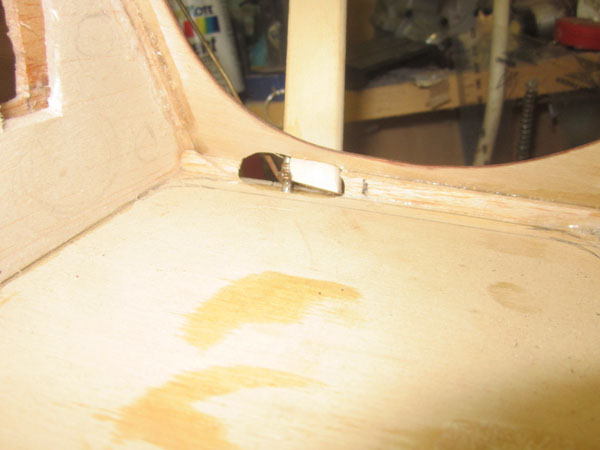
Around the attachment fittings, I notched the wood and will fill in the area with a mixture of micro-balloons and ZAP 15 minute epoxy.
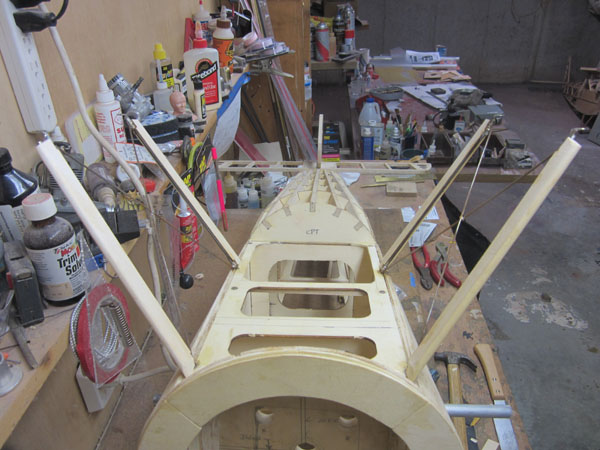
Here all four cabane struts have been done.
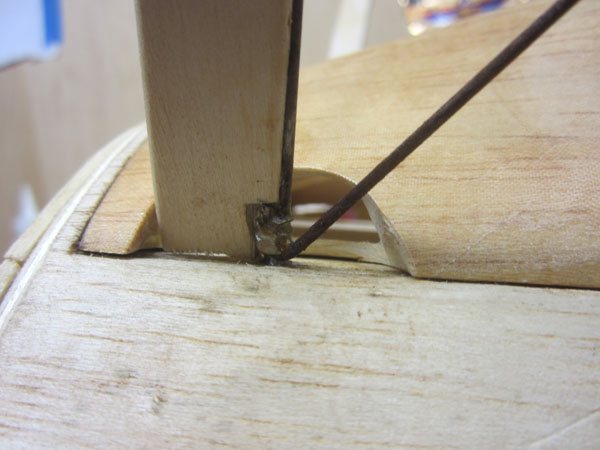
The removable hatch top from the firewall to the cockpit, has to fit between the cabanes, so the bottom edges have to be cut away for clearance. Here’s the front left cabane detail.
Same goes for the aft cabanes which are right up against the cockpit panels.

Here the removable hatch cover section is shown in place. It is easy to remove and is held in place with magnets.
Now on to the landing gear, which is just as easy but with a few twists.


