Spirit of “Ob” : Wing Construction

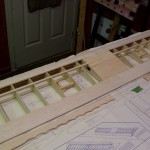
Wing finished, on to the fuse.
 

Construction of the Das Little Stik began with the wing.  This is a 30 year old die cut kit, the quality of the balsa and die cutting was good.  If a kit is properly stored in a dry place it can be built many years later.

The building board is as important as the quality of the kit.  If the surface you are building on isn’t flat & true don’t expect a warp free airplane.  A interior home door laid horizontal across a couple of saw horses will work for a model this size, topped with ½ inch sheetrock or rigid insulation foam.  Pin or tape the plans the building board.  Protect the plans with wax paper, plastic wrap or the clear backing from monokote.

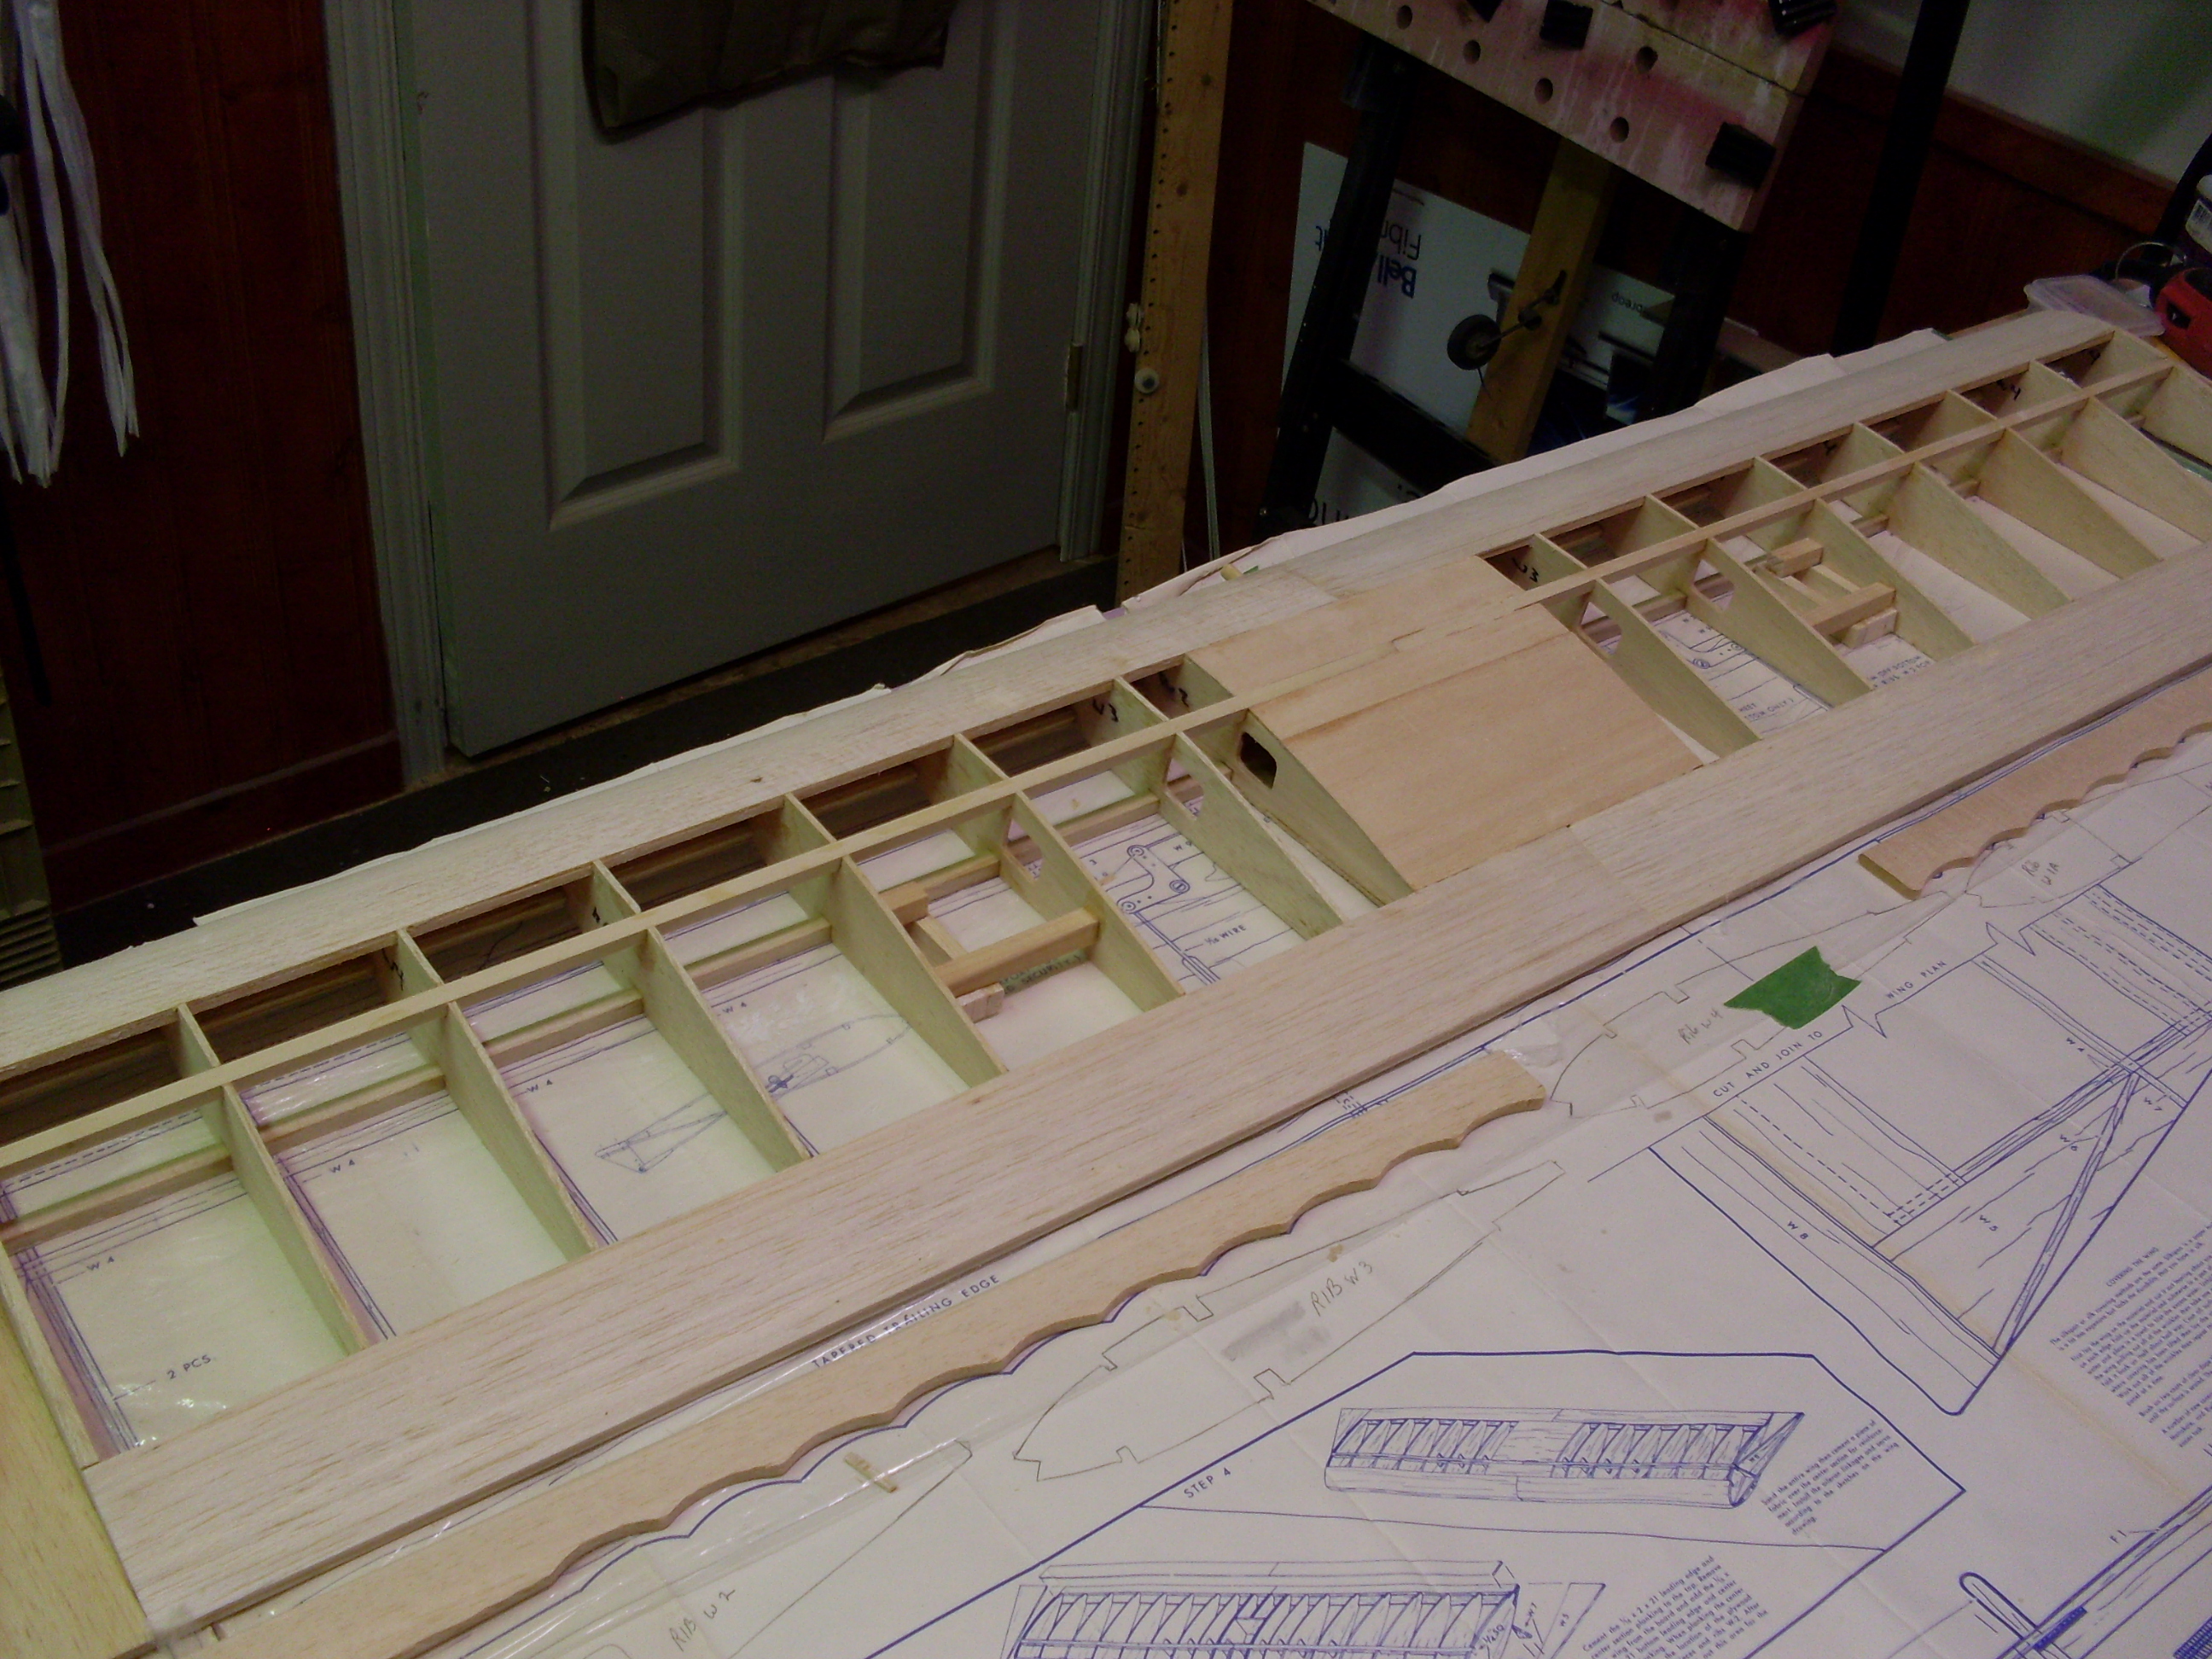
I followed the instructions on the plans for the wing construction, with a few changes along the way.  Most of the construction thin CA with slower setting medium used for the sheeting. The wing is built in two halves, beginning with the right.  The ribs were removed from the sheeting, using two scrap pieces of ¼ x ¼ the ribs W4 & W3 were stacked then sanded to ensure each had the same shape, the same was done for W1 & W2 ribs.  The first change was to replace the balsa spars with ¼ x ¼ pine spars.  Follow the instructions for wing construction, however don’t glue W1 into place I also omitted the bell-crank bits as there will be two servos used for ailerons.  In this case the wing will have zero dihedral, before gluing the top spar into place use a square to line it up with the bottom spar.  Finish the construction of the left wing then build the right, make sure you build a right and left wing.

 
Model Airplane News - RC Airplane News | Spirit of “Ob” : Wing Construction

Stack the like ribs sand to the same shape

Model Airplane News - RC Airplane News | Spirit of “Ob” : Wing Construction

Replace stock balsa spars with pine.

The wings were joined using a dihedral brace.  This was cut from 1/8 ply to reach from the first W2 rib in each half and the same width as the wing spars.  Before joining the wing halves check to make sure the sheeting on both is square and the two will join without gaps making a straight wing.  Sand as required to make sure you have a good fit.  Using epoxy bond the 1/8 ply wing joiner to the tailing edge side of the spars.  Use clamps ensuring a good bond.  Use medium to thick (gap) CA for the sheeting joints.   The wing will be converted to a bolt on type, at the trailing edge at wing center glue a wedge shaped piece of balsa between the trailing edge sheeting.  The wedge should be at least 3 inches long & 2 inches wide, tapered to fit snuggly under the sheeting.  Glue W1 ribs into place at wing center.  Once the epoxy has fully cured sheet the center section of wing.

Model Airplane News - RC Airplane News | Spirit of “Ob” : Wing Construction

Epoxy 1/8 ply brace to wing spars

Model Airplane News - RC Airplane News | Spirit of “Ob” : Wing Construction

After epoxy is cured finish sheeting center

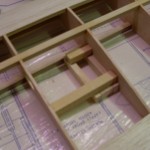
The next change was to enable installation of separate aileron servos (Hitec HS-81). Using 3/8 x ¼ balsa a box was built to fit around the servo including the tabs.  The servo will be ‘sunk’ into the wing.  Locate the wing bay between W3 & W4, glue the balsa servo box to W4, the bottom wing spar and flush with the bottom of wing.  The next step is to install a two short beams for the wing servo to be securely screwed.  For the servo tab closest the trailing edge epoxy ¼ x ¼ pine between ribs W3 & W4 and the servo box, epoxy another piece of ¼ x ¼ pine to the servo box for the other tab.  Check that the servo will fit in balsa box between the pine rails.  Repeat procedure for servo in other wing half.
Model Airplane News - RC Airplane News | Spirit of “Ob” : Wing Construction

Box made from 3/8 x 1/4 balsa, built to fit HS-81.

Model Airplane News - RC Airplane News | Spirit of “Ob” : Wing Construction

The rails are spaced to allow servo to be screwed into place from bottom of wing.

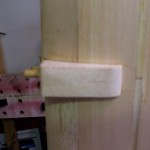
For a bolt on wing a ¼ in. dowel needs to be installed at the leading edge.  Cut two ½ inch balsa blocks 1” x 2.5”, glue the two block together to make a 1”x 1” x 2.5” block.  Using the wingtip as a guide mark airfoil shape on side of block, cut out shape, epoxy the block to bottom of wing at the leading edge center.  The front of block should be 1/8” aft of leading edge.  When the epoxy has cured sand a 1/8” notch into leading edge making it flush with the block.  Glue a 1” X 2” 1/8” ply doubler to joining the leading edge & balsa block.  Mark the ply doubler for the location of ¼” dowel, center of wing, 3/4” below top edge.  Carefully drill ¼” hole in wing, hole should go through ply, balsa block and be a 2” deep, epoxy a 2 ½” dowel into hole leaving ½” protruding.

 
Model Airplane News - RC Airplane News | Spirit of “Ob” : Wing Construction

Epoxy block to bottom of wing to support wing dowel.

Model Airplane News - RC Airplane News | Spirit of “Ob” : Wing Construction
Dowel through ply 2 inches into balsa block. This needs to be a strong joint everything is epoxied together.
The last part of wing construction is to sand a ‘V’ notch at the leading edge of ailerons.  Another way is to achieve the same effect is glue ¼ triangle stock to the leading edge of aileron.

That’s it for wing construction, next will be the fuselage.  This is an older design the wing construction is the most challenging part of the kit.

Model Airplane News - RC Airplane News | Spirit of “Ob” : Wing Construction

Wing finished, on to the fuse.

Updated: June 11, 2012 — 5:00 PM
Air Age Media ©
WordPress Lightbox