With a little bit of travel out of the way, (I just got back from Top Gun 2012!) I finally got back to my workshop to get back to my static scale Hamilton Standard 3-blade propeller. This is an accessory I am making for my upcoming Top Flite Giant Scale F4U Corsair review that will be featured in a future issue of MAN. I figure if you want an ARF to look more impressive, you start at the front and work your way back.
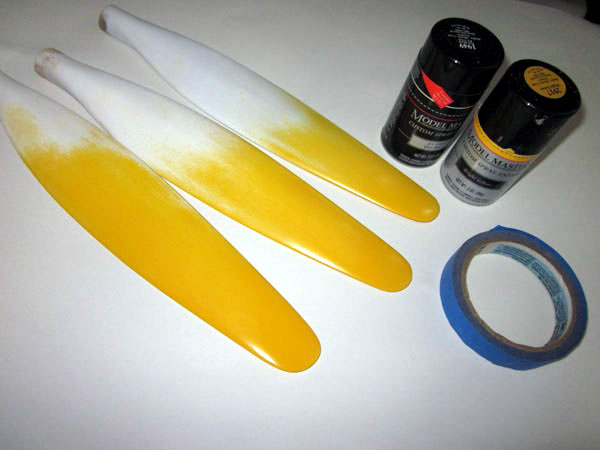
Up to this stage, the blades have been sanded and primed and filled to produce a smooth and blemish free surface. So, now I started painting. I used Master Modeler enamel sprap paint and matched the color reference numbers to a 3-view drawing from a scale plastic model kit. For stand off scale and for sport flying, getting the colors exact is not important, But the colors are flat black and glossy yellow for the tips.
(Above) Start by cleaning off any grease or finger prints with a little alcohol and let dry. Now spray on a few mist coats of the yellow from the tip to about half way down the length of the blades. Let the paint dry and then the yellow lightly to blend it in and eliminate any thick blotches that come from the spray can.
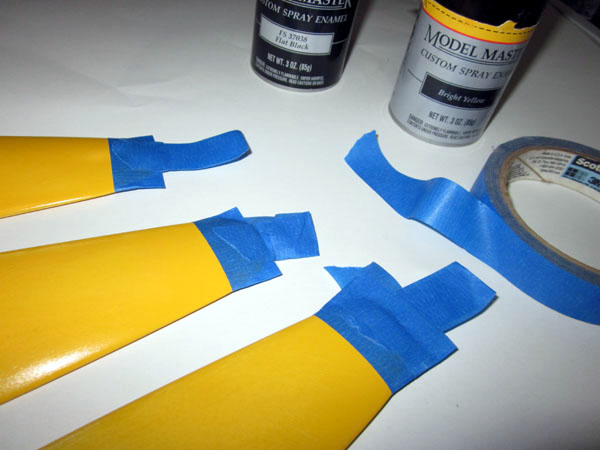
(Above) Now, after the yellow has dried overnight, use a tack cloth to clean off the blades and mask off the tip portion and form a small “handle” using more tape so you can hang the blades while the paint dries. I use 3M Blue Painter’s Tape.
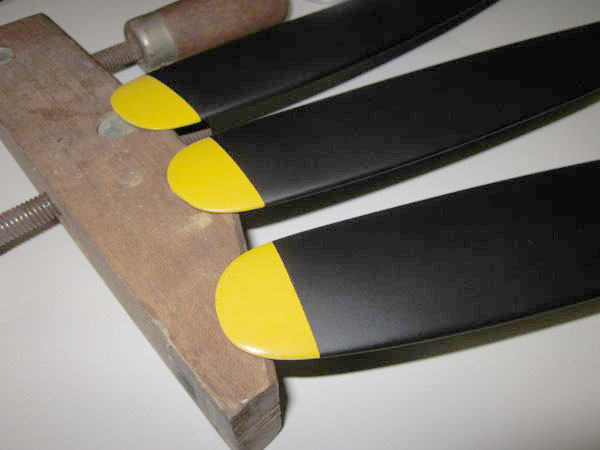
(Above) Mist on 3 or 4 light coats of the black, making sure to get both the leading and trailing edges covered. Hang the blade in a dust free area until dry. Once the paint has dried for about an hour, remove the tape masking and set the blades so they black does not touch the working surface. I block them up at the tips as the yellow is already dry.
Graphics/Decals
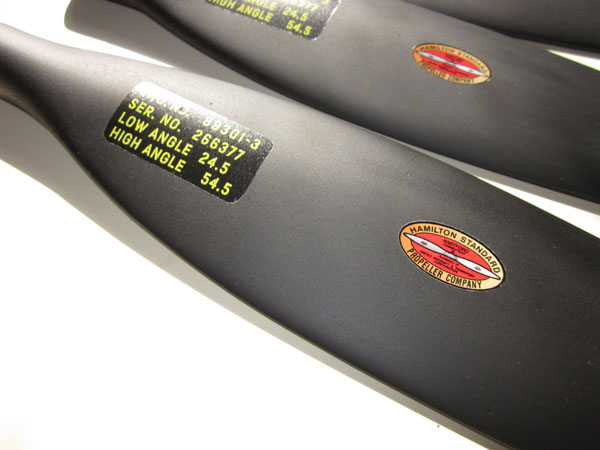
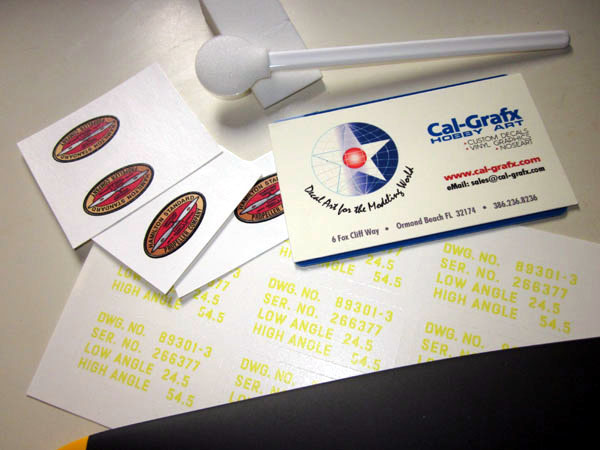
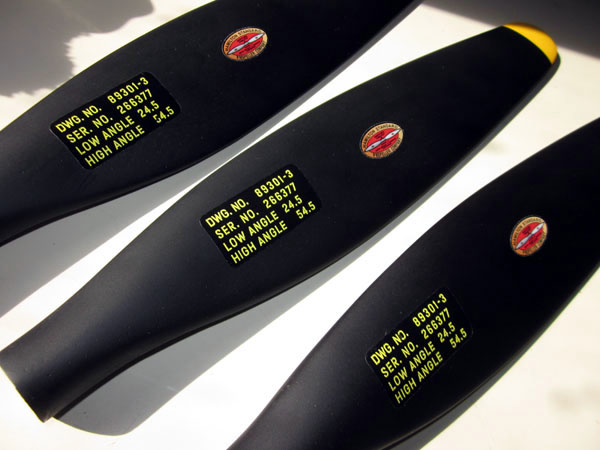
The finishing touch that really makes the propeller blades look scale is the manufacturer’s logo and the nomenclature markings at the base of each blade showing the pitch information. For this project, I used water-slide decals from Cal-Grafx.
(Above) These are really nicely done, and are different from the norm as they have pre-trimmed clear coat. That is to say, when applied, they have a very neat and professional appearance. Most water-slide decals have an overall clear covering and when you cut out your markings, they show the cut-line you made with the scissors.
(Above) To apply the markings, first cut the graphic from the master sheet and dip into some room-temperature water for a few seconds. THis allows you to peel away the entire decal from the bigger sheet along with its pre-trimmed clear coat. Now place the grapic back into the water bowl and after about 30 seconds or so, slide your graphic into place while keeping the backing paper flat so you do not damage or fold the decal over itself. Now, important point! Do not wipe the water away, but rather blot the water away while pressing the marking into place. Cal-Grafx supplies small sponge material designed for this and they work great. Now let your decals dry overnight and if you want, you can clear coat the entire blade to seal and protect the decals. As is they are fuel resistant and very durable, but a little more clear enamel doesn’t hurt anything.
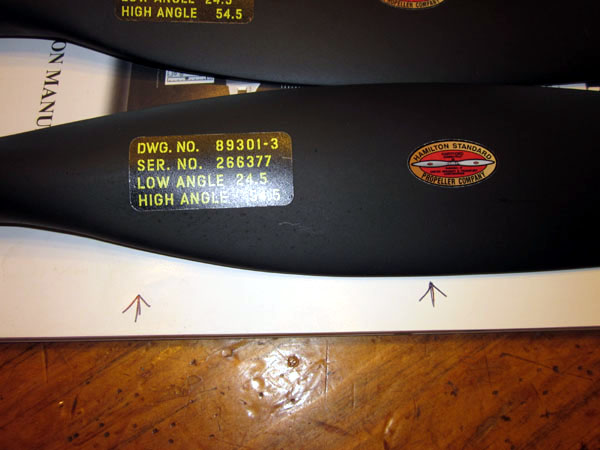
(Above) Since we are doing several blades, I put guide marks on a piece of paper to help get all the decals in the same location. If you do add your own clear coat, be sure to make a test to make sure it is compatible with the decals.
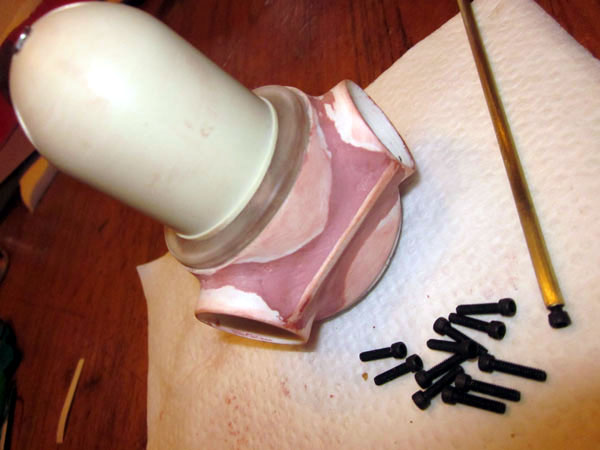
That’s it. Next time we’ll add some final details to the hub assembly and assemble the Hamilton Standard 3-Blade Propeller. Using the Nick Ziroli Plans kit and the upgraded hub, the final product is going to look awesome on any warbird in the 1/6 to 1/5 scale size range.
Stay tuned! Here’s Part 6: https://www.modelairplanenews.com/blog/2012/05/31/static-scale-propeller-part-6/


