Well, the Corsair build is going nicely, and yesterday I basically finished the wings. That includes installing the flap and aileron servos and linkages and bolting in the new electric retracts from Robart.
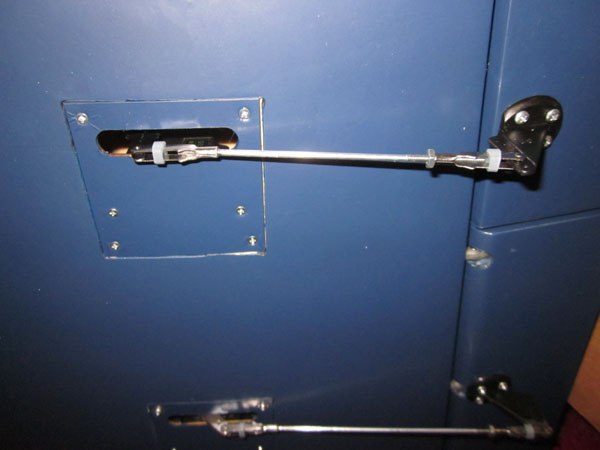
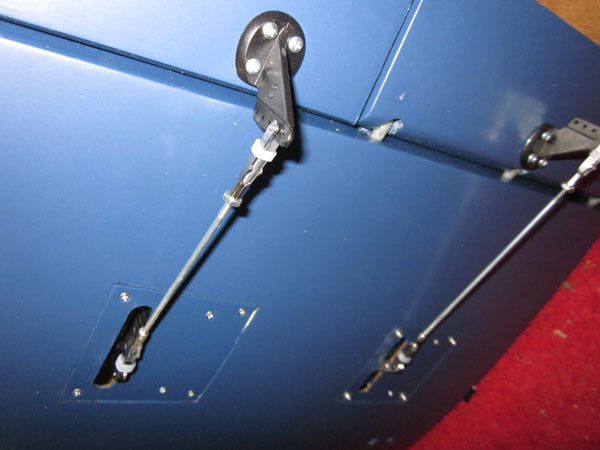
The first thing to do is to unwrap the servos and center them with the radio and receiver. After that, setup the servos with the proper servo arms. The aileron servos require a 3/4 inch arm and the flap servo uses the 1 inch metal arm from Futuba. Once I installed the servos and screwed the servo hatches into place in the wing, I set the control surfaces to the neutral postions and soldered up the control linkages.
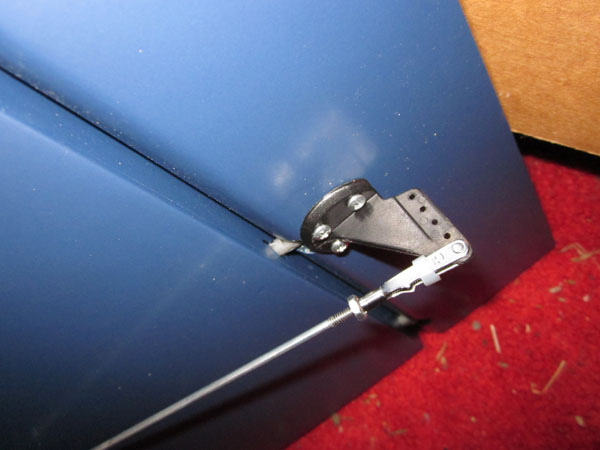
There are plywood hard points in the control surfaces so be sure to install the control horns in the proper locations. Also, after all the horns are installed, I removed the screws, treated the screw holes with thin CA Zap glue and then reinstalled the screws.
An interesting detail is the flap control horns have to be installed facing aft. This gives the proper leverage for the servos to move the triple flap surfaces more easily. Also, the top of the horns have to be sanded to thin the cross-section so the control clevis fits and snaps properly into place. For all the soldering, I used an 80 watt soldering pen and high-silver content solder with Stay-Brite liquid soldering flux.
Note: After all the joints have been soldered, remove them from the plane and clean them all with Acetone or MEK to remove all the flux. If you do not, it will corrode the metal and weaken the joints.
Electric Retracts
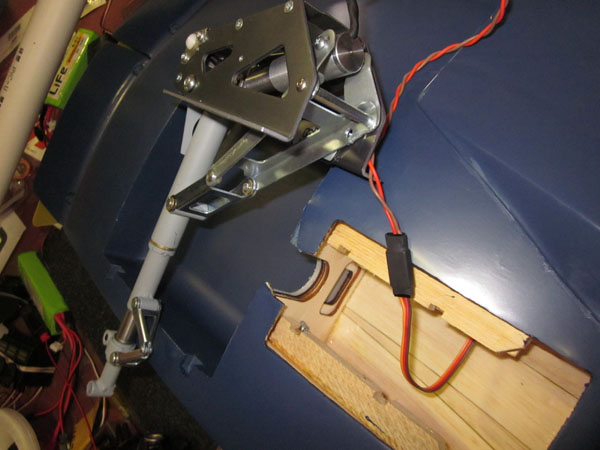
The Corsair is Robart Ready! Meaning the gear drop right in without any modifications needed for them to fit into place. The wing center section is comes with the hardwood mount rails and plywood ribs and reinforcement parts all glued into place. The only thing different from the installation of the Air-driven gear is that you install the servo wire leads instead of air lines in the wing before bolting the gear into place.
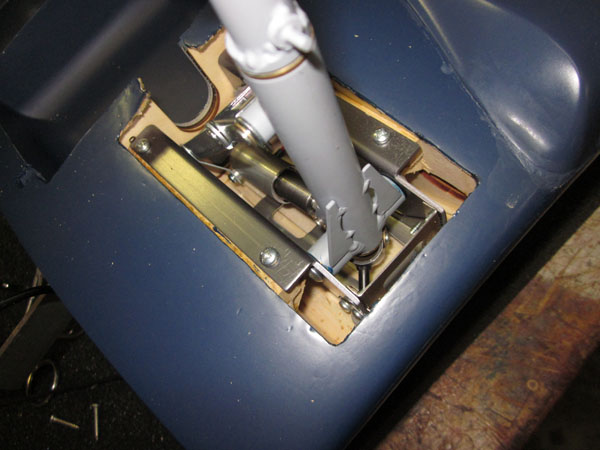
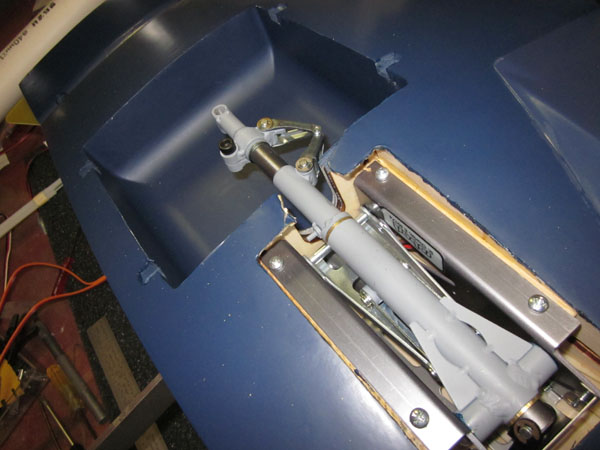
Four #6 x 1/2″ screws are used to secure the gear to the rails. Here again, you should remove each screw and then treat the threads in the holes with thin ZAP CA glue. I found it helpful to reun the gear a few cycles to make sure the gear clears all of the wing structure before screwing the gear in place. This way, should the gear it a part of the wing, it caused no damage and it does not jam as it would had the gear been solidly fixed into place.
Here the gear is in the retracted position. It clears all the wing structures nicely. Note: When you slip the gear into place, be sure the wires coming from the electric actuator does not touch the top wing sheeting. On mine, it did and so, I used a covering heat gun to soften the heat shrink tubing around the wires and then repositioned the wires slightly to one side. Once the tubing cools, it holds the wire clear of all wood surfaces.
Once the gear are in place I assembled the gear doors and snapped them onto the gear struts. You need to do this so you can position and install the think fiberglass wheel well trim pieces. The instructions say to screw the parts into place, But I am using some canopy glue to tack glue them in place. This will give a nicer appearance and still allow their easy removal later on should it be necessary.
These gray plastic brackets are glued and screwed to the gear doors. They snap over the gear struts to hold the doors in place. I found that they touched the lock levers in the retracted postion so I sanded off the outer corners of each snap bracket as shown here.
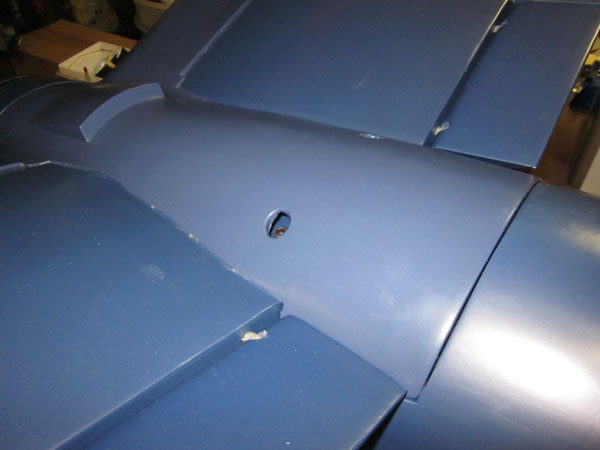
Finally, I checked the wing center section’s fit to the fuselage and then screwed it in place with the included cap head screws.






Score card for this Post: I found that all the parts are built very well and that all the parts fit together nicely with the exception of one of the left center section flaps. When installed one of them has the hinges a little too far into the wing. This is limiting the travel and so I will trim away some of the flap leading edge and will recover the exposed balsa wood. No biggie but a little disappointing!
Also, you will notice the top of the fixed gear door has been trimmed away. I did this because the door does not clear the Robart retracts’ frame when extended down. I think this is a slight difference between the air driven gear and the new electric gear I have installed. Takes only about 25 seconds to sand the door with my bent sander. I will be touching it up later with my airbrush.