
Starting with the throttle, let’s first take a look at the servo. There are those pilots who believe the throttle servo should be just as fast and powerful as those used on the swashplate so rapid throttle changes can be made for 3D flying. However, I am not of this belief for the following reasons. First, the throttle on the engine requires very little force to move from idle to full power, negating any requirement for a powerful servo. And, since all helicopters require a high-power setting for even normal flight, the throttle barrel is always open to at least 70-percent power. This means the throttle barrel only has to open another 30 percent to sustain any type of maneuvering. The advantages of a fast servo are therefore lost because of the small movement required. This is not to say you can’t use a more expensive servo on the throttle, but rather that it is just not required.
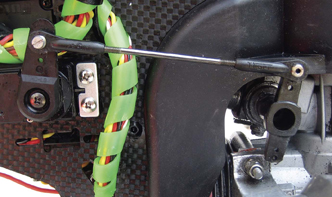
A standard/sport servo is sufficient for the throttle. Attaching the pushrod to the outer hole on the carburetor arm will provide very fine control of the idle rpm.
Most carburetor control arms have more than one mounting location for the throttle pushrod. I recommend mounting the pushrod to the longest arm possible because this will give you the finest control possible of the carburetor. This is not important at high-power settings but is very beneficial at idle, where one or two clicks on the throttle trim will give you that perfect idle. Then mount the pushrod to the servo, bring the throttle trim to full idle, and hold the pushrod to the throttle servo arm at both full idle and full throttle. With a little experimentation, you will find the proper location for the throttle push-rod on the servo arm. If necessary, use throttle sub trim to make minor adjustments. Using this technique, the throttle barrel will be full open at full throttle, fully enclosed at idle and idle trim, and the engine should idle nicely when the trim is in the mid-range position.
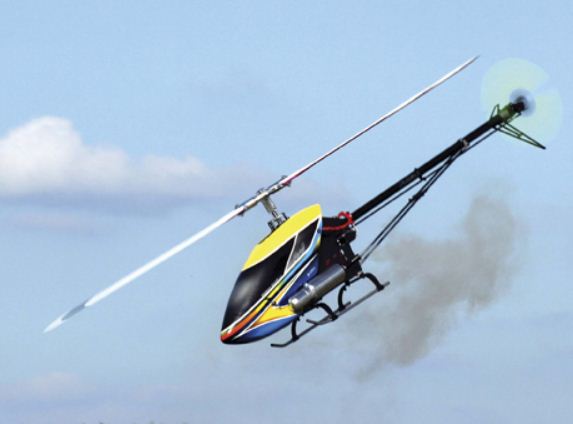
ENGINE TUNING
The engine instruction manual should give you initial settings for both the main and idle needle valves. However, I always want to make sure I break in my engines by running them slightly rich, and this excess fuel provides extra lubrication and cooling. To ensure I’m running the engine rich enough, I use an infrared temperature gauge to measure both the backplate and head temperature, and I have read from engine experts that head temperatures of up to 220 degrees are acceptable. However, I like to run my engines somewhat cooler. As a general rule, I’ll use a temperature of about 175 degrees for break-in and a maximum of 200 degrees for normal flying. New telemetry systems make this information available while flying, or you can use an infrared thermometer immediately after landing.
Adjusting the idle mixture requires a little more technique than setting the main needle valve because no temperature information is available for this process. The technique I use is to pinch the fuel line and listen to the response of the engine. If engine rpm immediately increases and the engine starts to die, then the idle mixture is too lean. Richen the idle mixture 1/4 of a turn and repeat the test. If the rpm increases rapidly for several seconds, then the idle mixture is too rich. Close the idle mixture 1/4 turn and repeat the test. When I pinch the fuel line, I’m looking for the engine to increase in rpm for 3 or 4 seconds and then start to die. However, the final evaluation of the idle mixture is how the engine accelerates from idle. If the engine bogs down or accelerates in a rough manner, then the mixture is too rich. If the engine starts to die as the throttle is advanced, then the mixture is too lean. A well-adjusted engine will advance smoothly from idle.


