
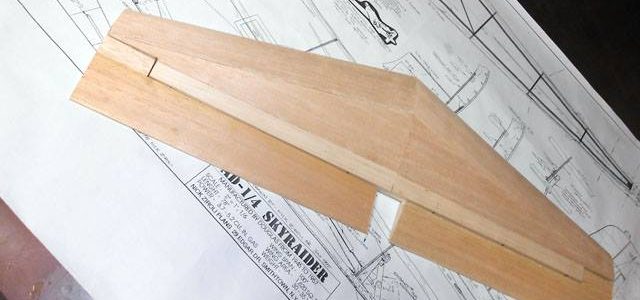
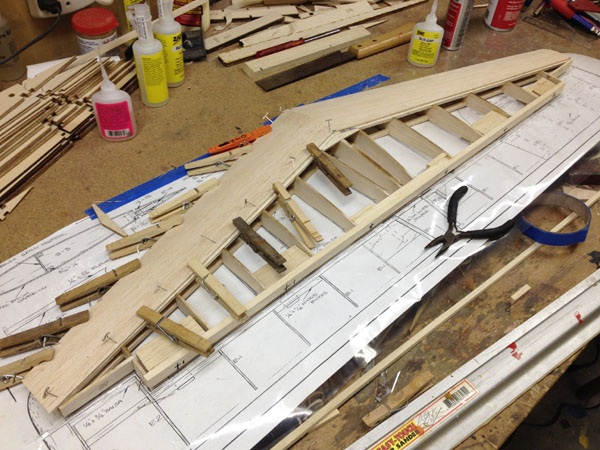
Well, it has been a busy summer and flying season and with the weather getting cooler and the days shorter, I thought I’d get back into the workshop and make some more sawdust with the Douglas Skyraider project. As a reminder, I am building a 15% reduced version of the popular 100-inch Ziroli Skyraider. My version has an 85 inch span and will be powered by a Fuji 43cc gas engine. The last time we left off I was working on the tail feathers specifically the horizontal stabilizer and elevator halves.
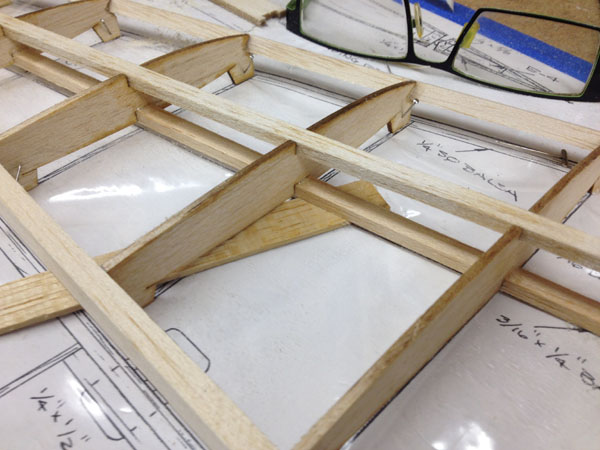
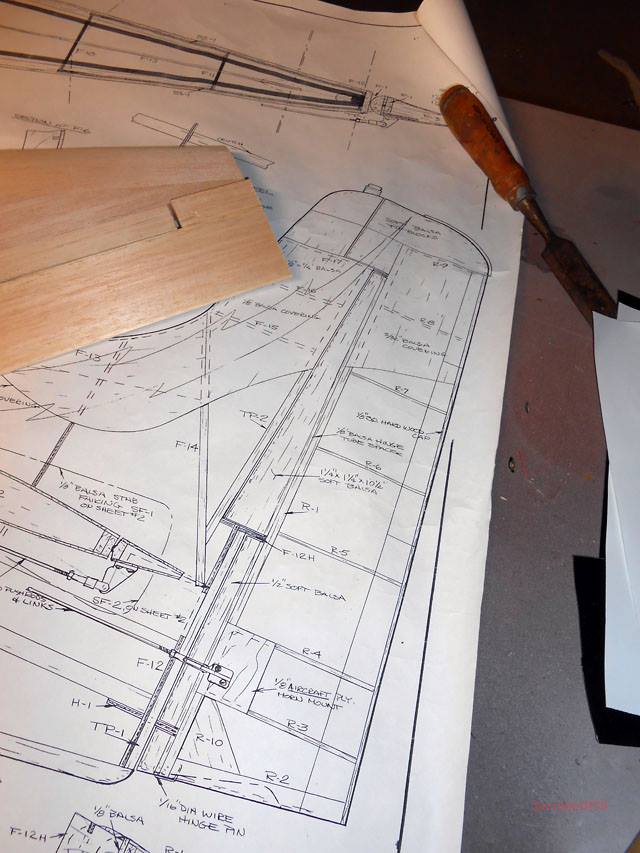
Here the stabilizer assembly has been planned and sanded so the leading and trailing edges blend smoothly into the ribs. Notice that the ribs have alignment tabs that lift them off the bench and keep them straight and aligned.
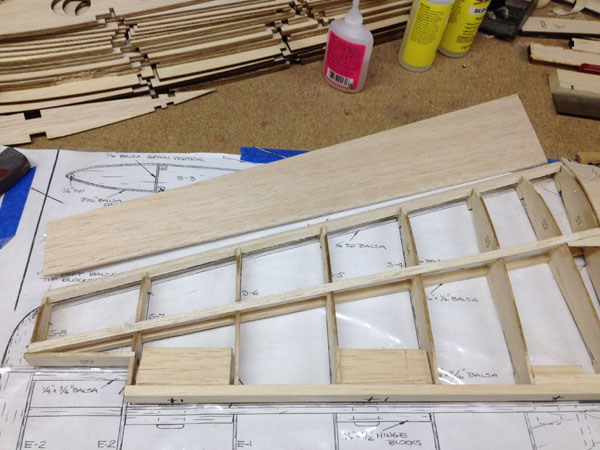
Before removing the stabilizer from the boards, I installed the hinge backing blocks and started sheeting the top surfaces.
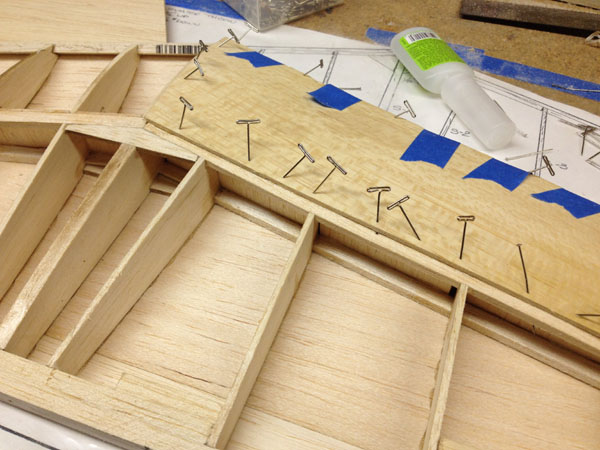
Using the grain direction shown on the plans I cut the sheeting so it is parallel with the leading and trailing edges. This places the sheeting seal along the main spars. I used Slo Zap, pins and cloth pins to secure the sheeting into place.
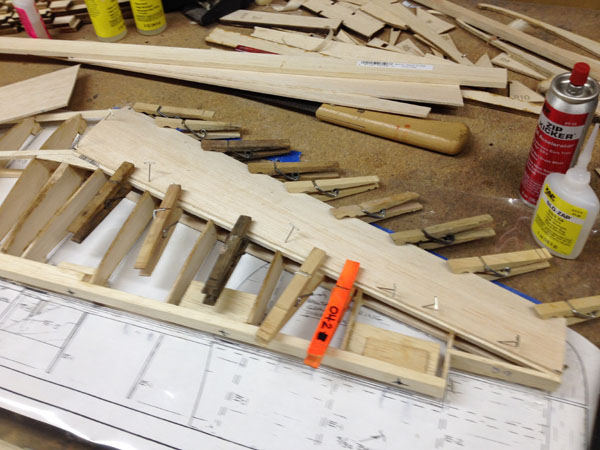
Here the second leading edge sheeting is being glued into place.
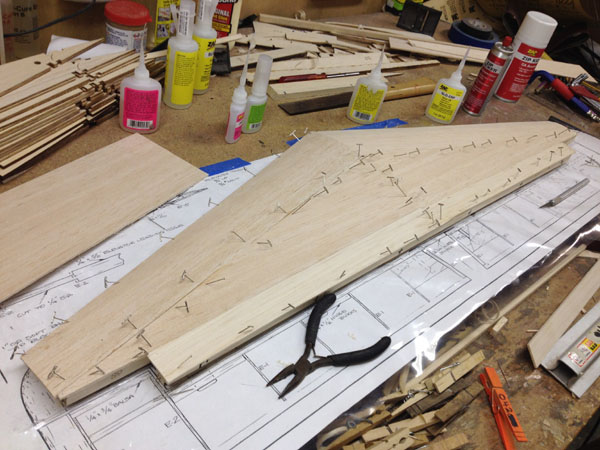
The sheeting goes on a piece at a time making sure it is securely pinned in place for a good bond to the structure under it. All the seams and joints should be clean for a minimal gap where ever possible.
With the glue dried, the stabilizer assembly is removed from the building board and the alignment tabs are trimmed off of the ribs. Everything is then sanded smooth.
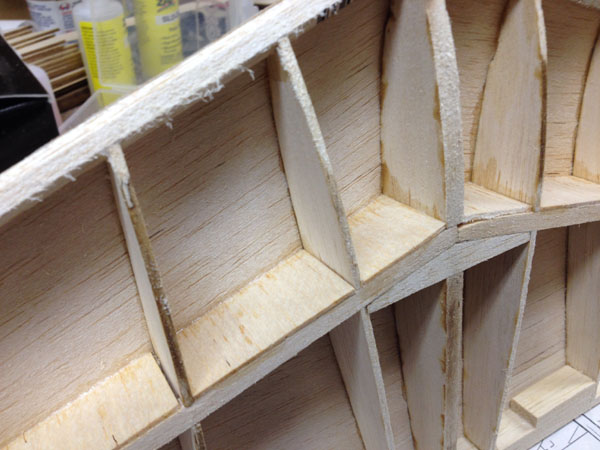
To add strength, there are also 1/16-inch balsa vertical-grain sheer webbing added to the spar between each rib.
With the stabilizer flipped over, you start the sheeting process again just like before.
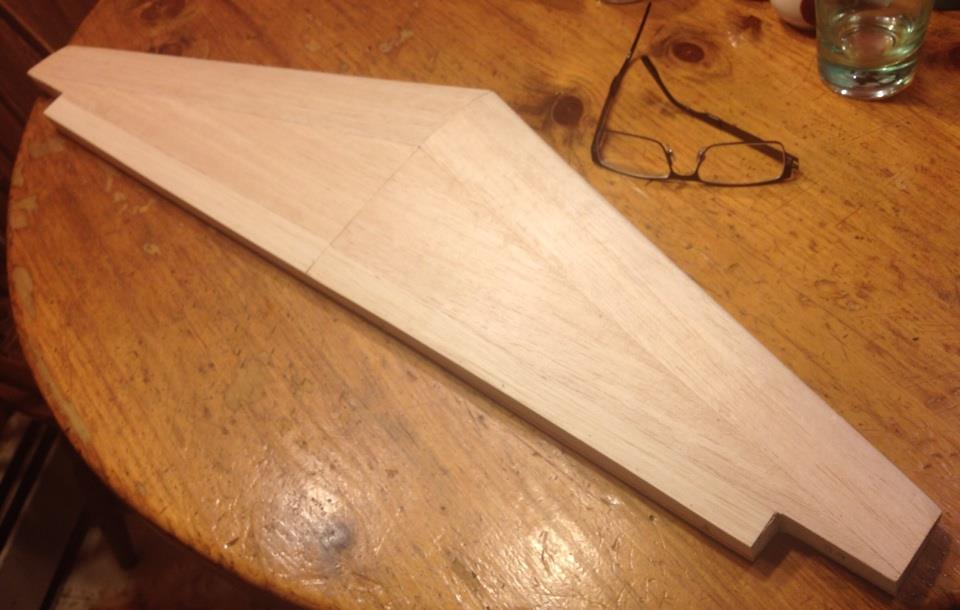
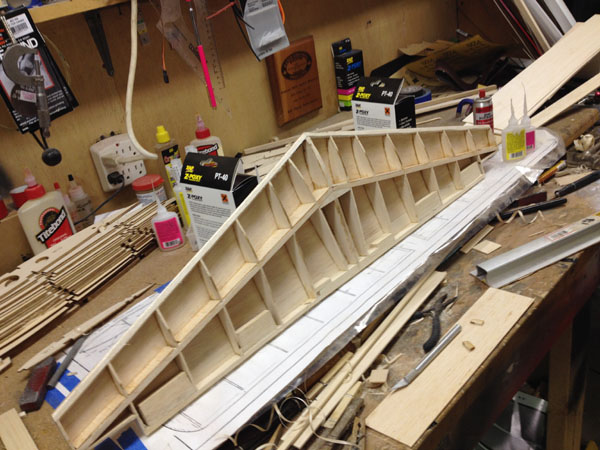
So here is the finished stabilizer all sheeted and planned, and sanded smooth. Making neat seams between the sheeting pieces minimized filling and saves weight.

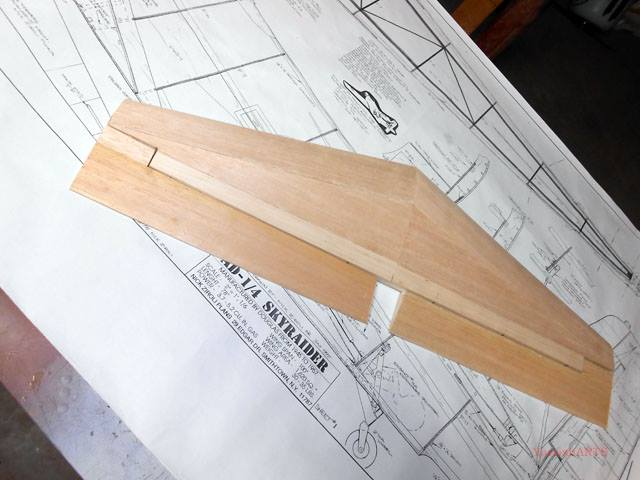
The elevators are built up on top of the sheeting as shown here.

The same process is used, you glue the ribs in place, sand them smooth and flush with the trailing edge and then add the hinge backing blocks to the leading edge. When the glue dries you sand everything smooth and flush and then add the second side sheeting.

Do it twice and you’re ready to move on.
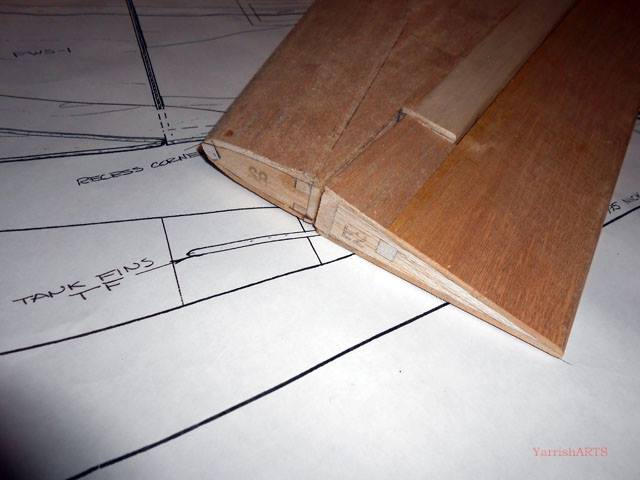
Here you see the tip ribs. They have been sanded smooth and flush. There will be tip blocks added later in the build.
Stick a fork in it! We’re done.
Next step will be the rudder with its recessed wire hinging. Stay tuned.
For the next installment Click Here


