
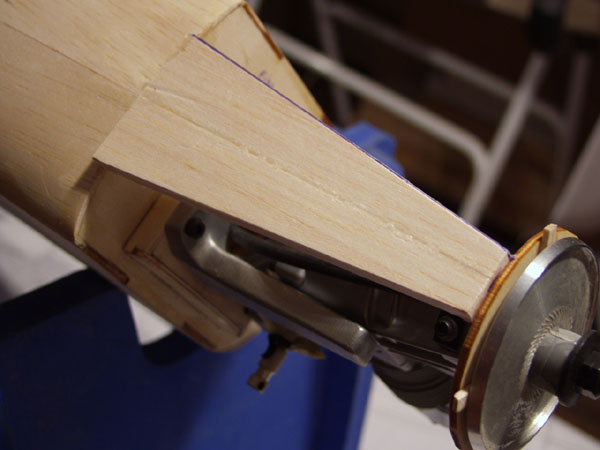
Now that most of the fuselage construction has been completed, it’s time to tackle the nose section of the ArrowMaster. This is accomplished by using several pieces of 1/4 inch thick balsa glued between the firewall and the model’s spinner backplate. This is a tried and true modeling technique that works very well and makes for a strong and sleek nose “cowling.”
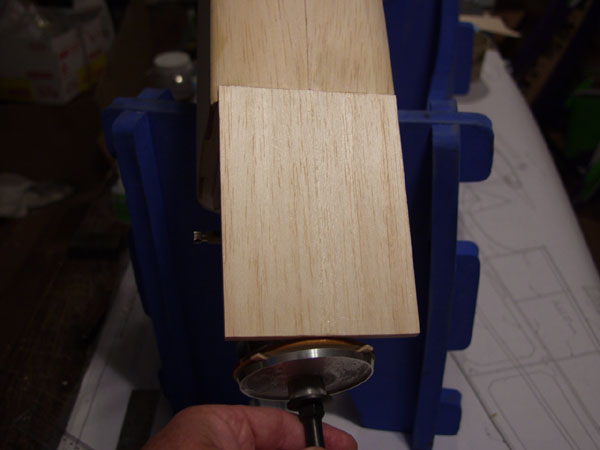
Start by tack gluing the plywood nose ring to the spinner backplate with some spacers, I used some scrap 3/32″ plywood and then installing it on the engine. A 6″ wide piece of 1/4″ balsa is then fitted on the bottom and centered between the firewall and the nose ring and glued into place.
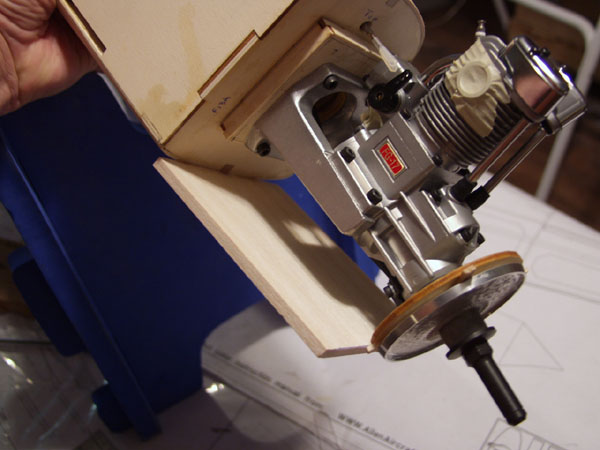
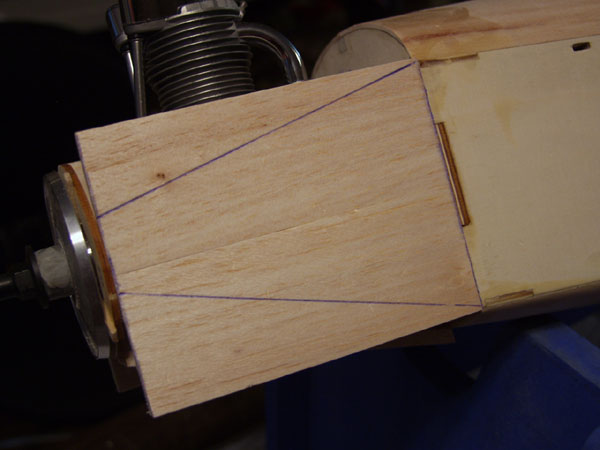
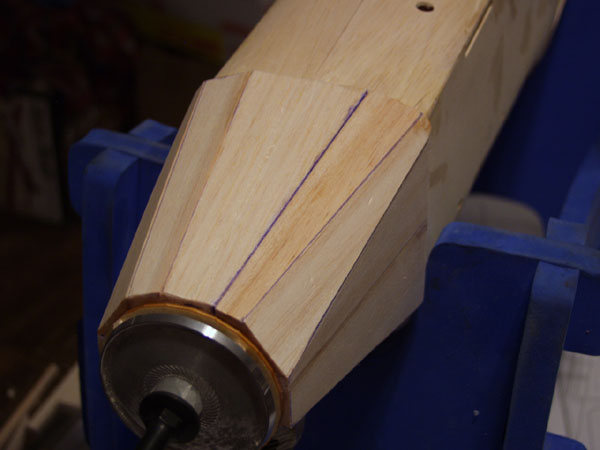
This view shows the angles that are needed to properly fit the balsa. Be sure to cover all openings on your engine.
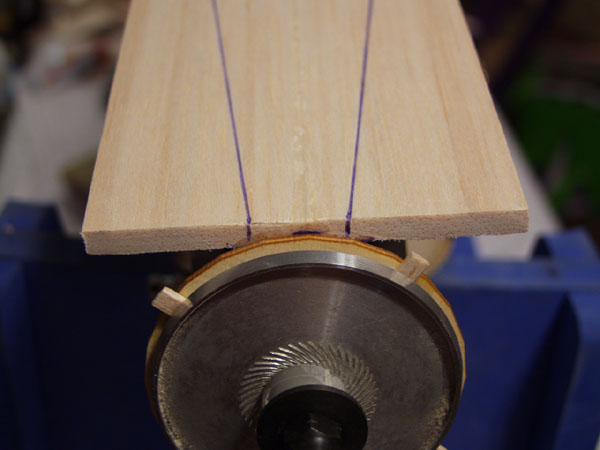
Following the instructions, marks are placed 3/32″ inboard of where the balsa contacts the nose ring and the firewall. Lines are then drawn connecting the marks fore and aft.
This view is from behind the firewall looking forward.
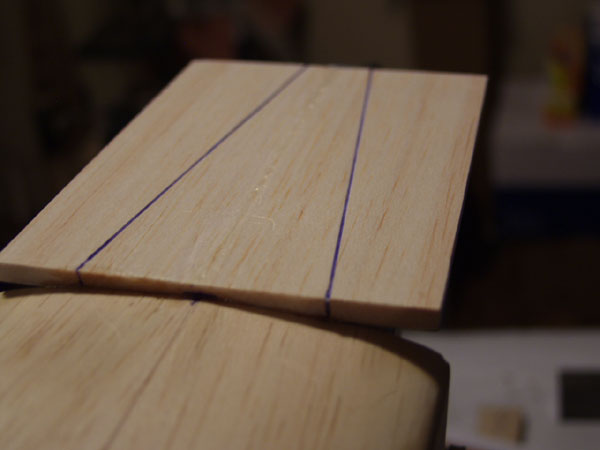
The excess balsa is now cutoff. Save the scrap for use later.
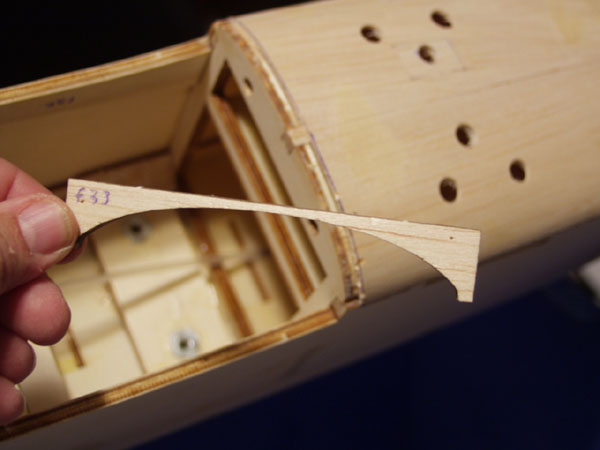
The sides of the nose are glued and trimmed just like the bottom piece.

Here’s the left side trimmed.
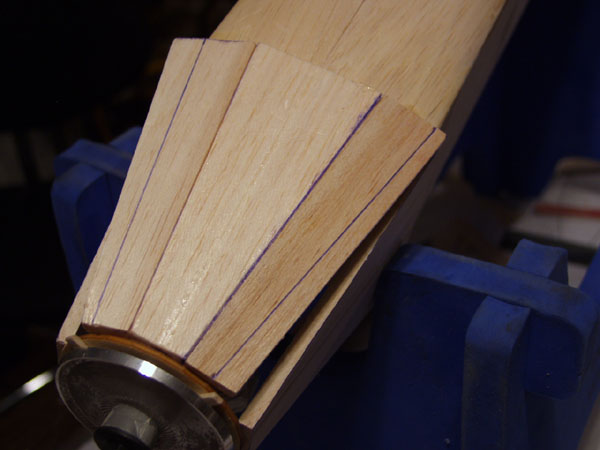
Here’s where I made a slight change. The instructions have you use the 3/8″ square shim that was used on the top wing construction, instead I used the scrap pieces trimmed from the bottom. This accomplished a couple of things, first it was easier to work with than the 3/8″ square stick, and second, using a wider piece of balsa meant less pieces of wood and seams to deal with. I used the same technique to draw the trim lines.
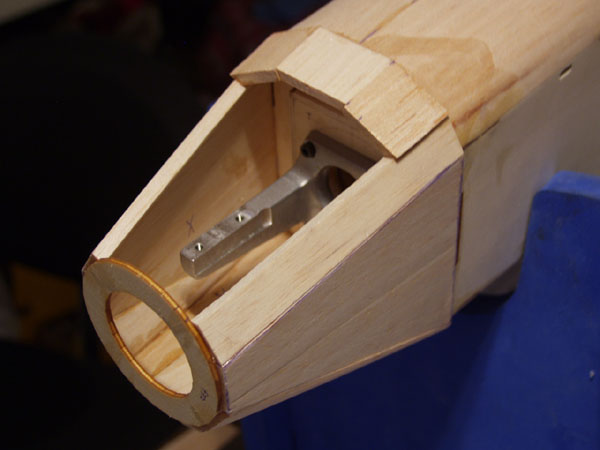
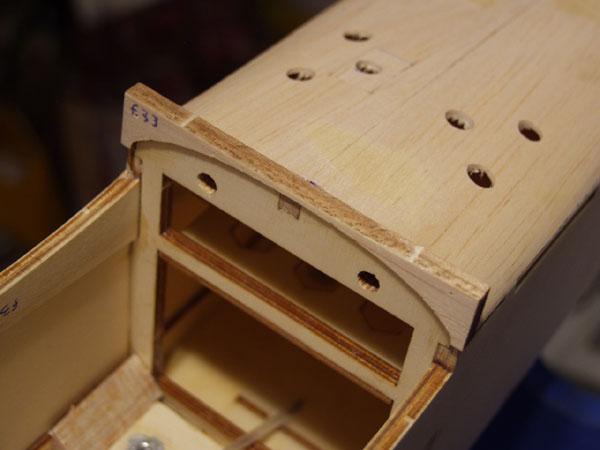
Both left and right pieces have been trimmed to size.
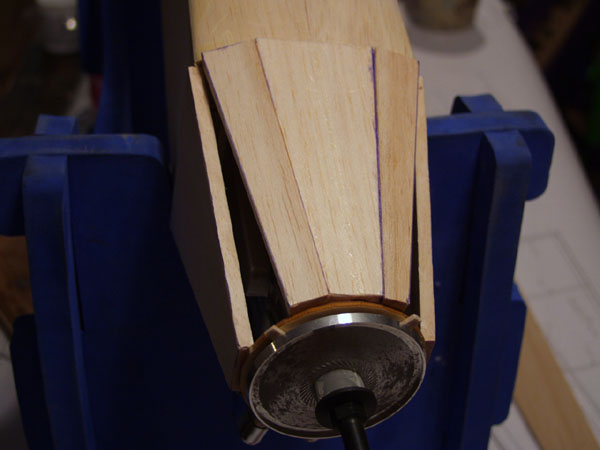
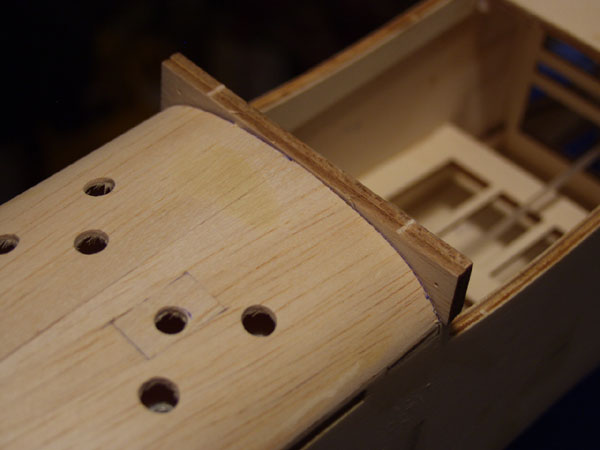
I used some 1/4″ sheet from my excess wood box to fill in the remaining sections on the bottom. By the way, I forgot to mention that I used a Master Airscrew razor plane to cut the angles on the balsa for tight glue joints.
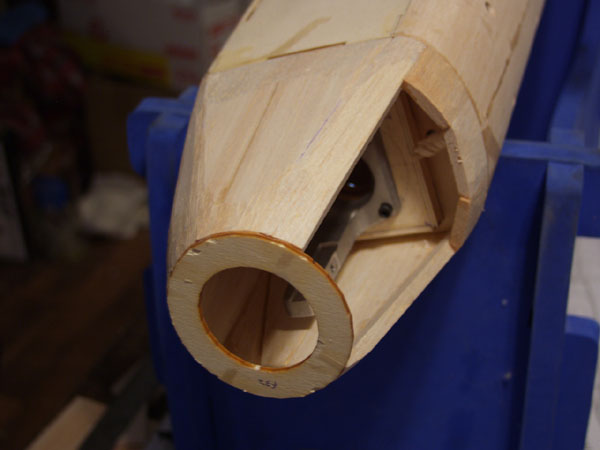
The engine is removed and the top pieces are glued into place.

This is where the magic starts; craving and sanding the shape from hunks of balsa. Again, I used my razor plane to crave the initial shape of the nose. The razor plane allows for very fine cuts so you don’t remove too much material at a time.
Here’s the right side of the nose before final sanding. The shape of the nose pretty much falls into place by carving the balsa to the shape of the nose ring.
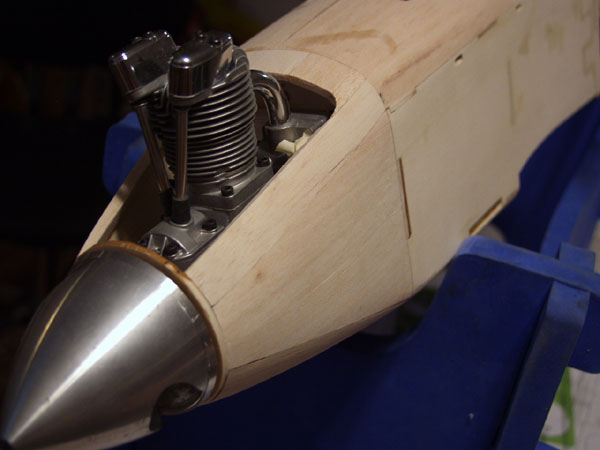
I fitted the spinner for a final check of the shape of the nose. The whole process took a little under 2 hours from start to finish.
Tail Feathers
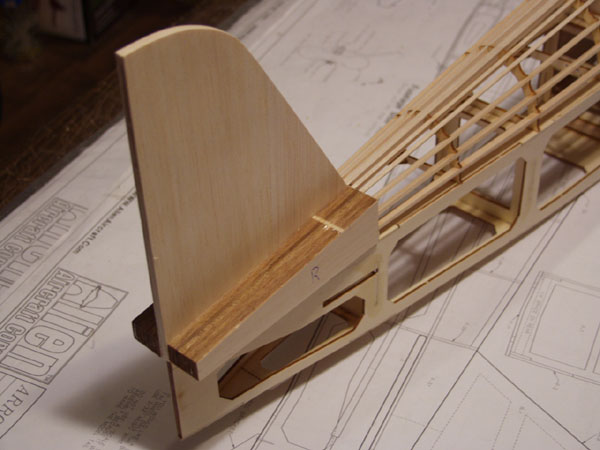
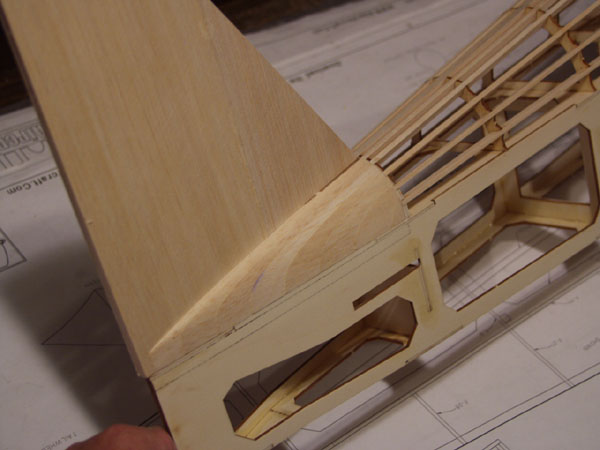
Our attention now turns to the rear of the fuselage. The rear blocks are laminated from several pieces of laser-cut balsa and glued into place. I used the vertical fin as a guide to glue the blocks into place. Make sure you don’t accidently glue the fin in place!
The fin is removed and again, use a razor plane to remove the excess balsa.
Looks pretty good!
Wing to Fuselage Fairing

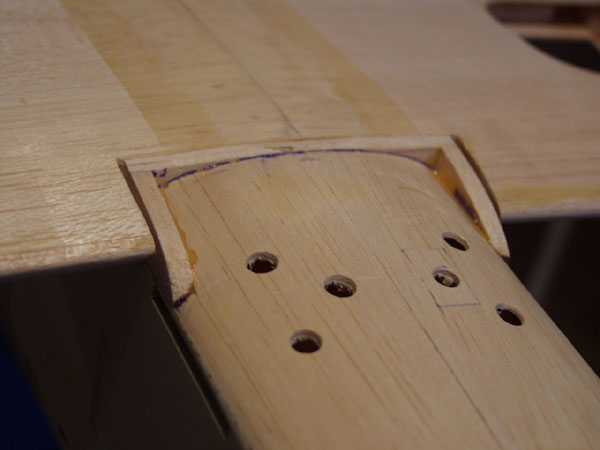
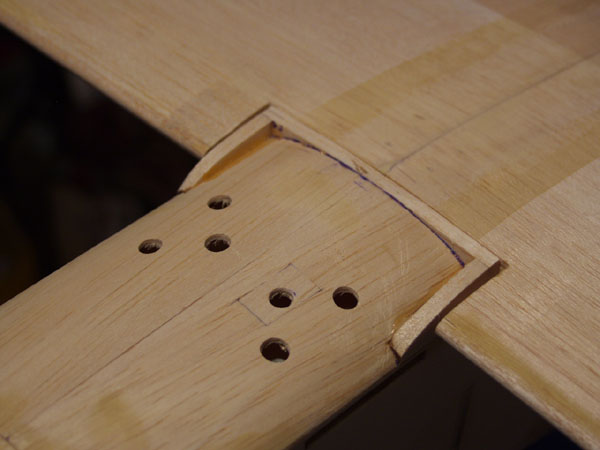
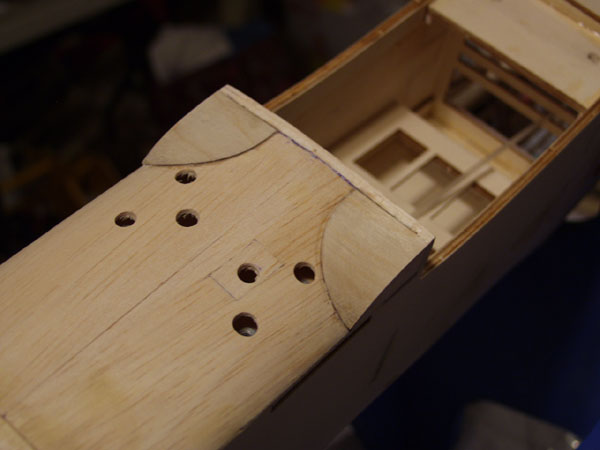
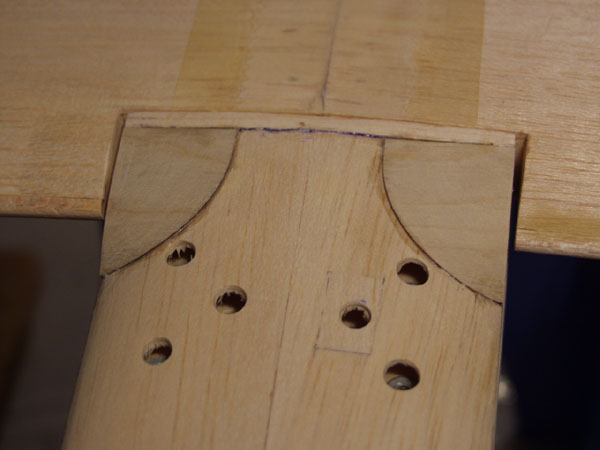
Next a small fairing is built to fair the bottom of the fuselage to the bottom wing. You start by drawing a line 1/4″ forward of the back face of the bulkhead.
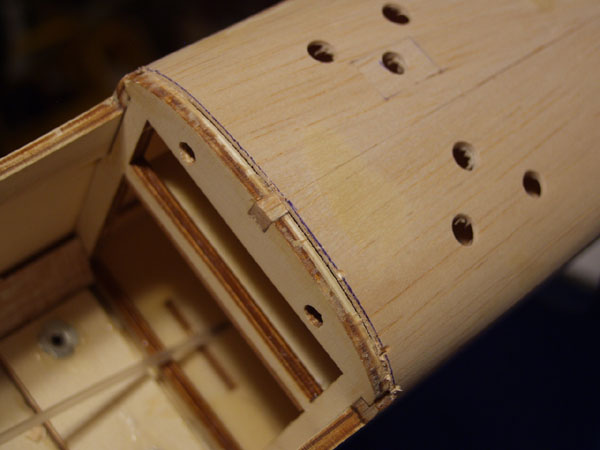
Cut along the line and carefully remove the wood from the bulkhead.
Again, 2 pieces of wood are glued together to form the base of the fairing
Here’s the part glued into place looking from the rear forward.
A view looking from the front.

Balsa is now removed from the bottom sheeting for the sides of the fairing.

The sides of the fairing are glued into place. They should be flush with the sides of the fuselage.
Once the glue has dried, fit the wing into place and sand fairing flush with the wing.
Note how I’ve sanded an angle on the sides, this will allow the 1/32 plywood covers to seat properly.
When I glued the fairing covers in place, because of the curve of the covers, I let them overhang sides of the fuselage a little. This allowed the front tips of them to mate nicely with the bottom sheeting. Per the instructions, you can now use some scrap balsa to fill in the gap between the wing and the fuselage.
To see the previous installment of this build, click the link: https://www.modelairplanenews.com/blog/2014/08/26/workshop-build-along-alien-aircraft-arrowmaster-bipe-5-fuselage/


I’m old school and have just about given up on today’s r/c enthusiast’s really getting into the sport by actually building an airplane instead of “box to field” in a few hours. Nothing compares to spending months in the workshop building and finish a model then heading out for a maiden flight,.. thumbs shaking and mind racing as you pull off the runway and trim out something you created, has a lot more meaning than pulling something out of a box. Thank you for taking the time to educate people stuck in the ARF and RTF mode.
I was taught to Fly R/C by a WW2 PILOT , who instructed me on a KEIL KRAFT New SUPER SIXTY. My woodwork teacher at my Intermediate SCHOOL helped teach me to build it . An awesome ,flat bottomed 60″ high wing AIRPLANE ! About three or four years later I was allowed to progress to a QUADRA Spark ignition engine on a >>>—–>>>> really , REALLY BIG BIG STICK ! ! ! that essentially ALSO FLEW very WELL Indeed . BOTH OF THESE MODELLERS HAVE SINCE Sadly PASSED AWAY BUT THE AIRCRAFT THEY ALSO FLEW / INSTRUCTED ON / OR DESIGNED and HAND CRAFTED Remain with us today !! I was retaught to fly R/C by my YOUNGER Brother following a fairly severe HEAD INJURY , Off a DAM motorcycle whilst in the RNZAF ( Training to be an AIRCRAFT ENGINEER) . Well that concussion ENDED My RNZAF Career . My brother at that time whilst becoming a COMMERCIAL PILOT (FIXED WING) Used a TELEMASTER 70″ to reinstruct me WELL IT WAS A TRAINING AIRCRAFT IF EVER A SAW ONE ( Believe me it was easy to SEE it ! ) There was another COMMERCIAL PILOT that I bought the TELEMASTER off , he even told me that one day the elevator seemed not to be working . So being a skilled pilot he just simply used his throttle to land . DISCOVERING THAT THE ELEVATOR PUSH ROD Had in FACT UNCLIPPED/UNBUTTONED !! NOTHING I NO OFF COULD FLY AS WELL AS THAT TELEMASTER could AND STILL DOES !!!