
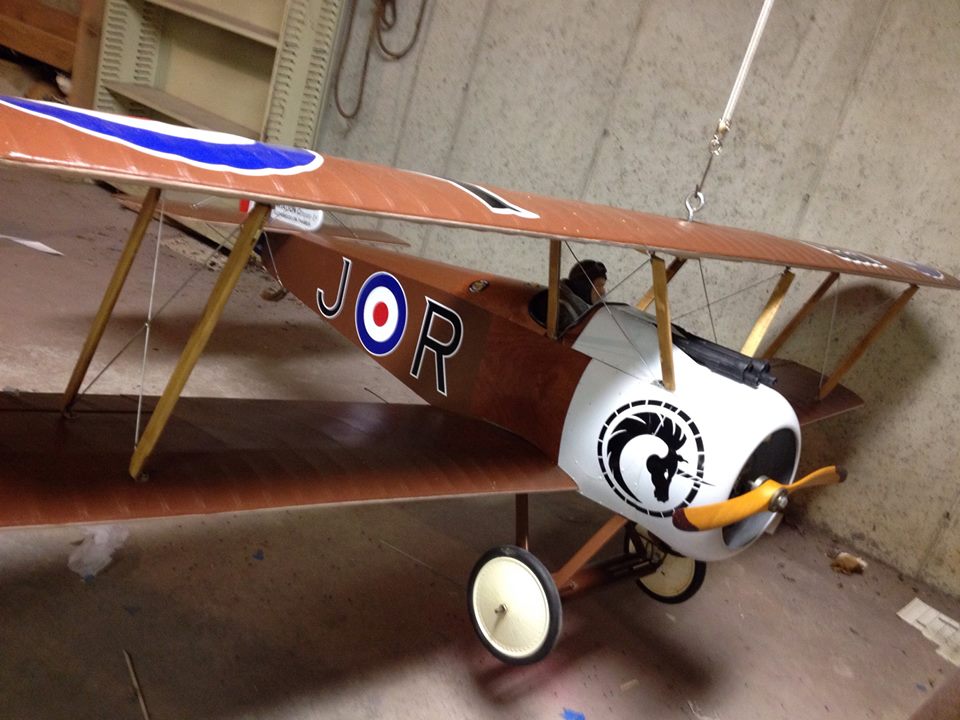
Well, this is the very last workshop segment from this Sopwith Camel Build-Along. After getting the model balanced, it will all be about how it flies, and that means a trip to the Club’s flying field.
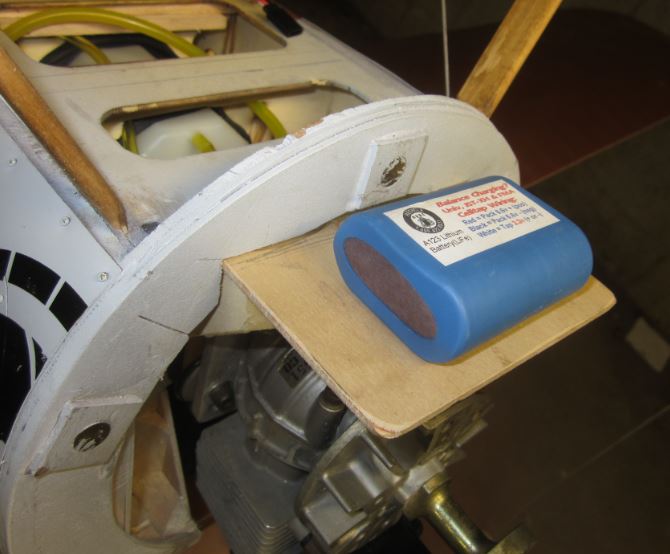
To balance the model, I used scuba weight and lead shot installed in the engine compartment. I built a plywood shelf and epoxied it to the top of the compartment. The battery pack usually set like it is here but my Cowling ring gets in the way so it will be moved to just behind the firewall.
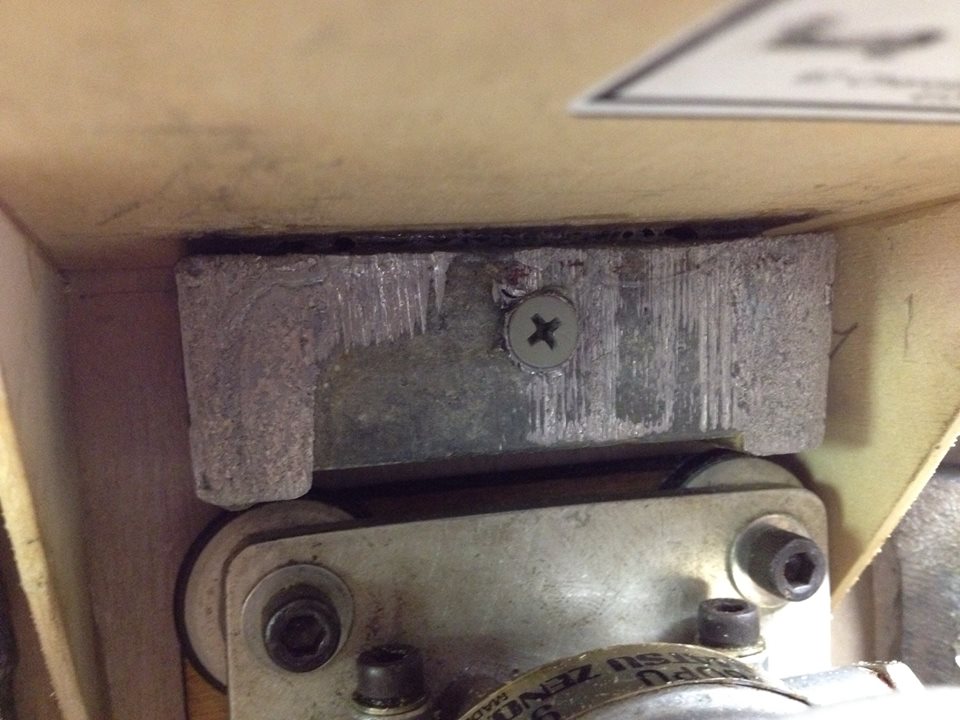
So half of a lead scuba weight is attached under the shelf which I screwed and glued into place to the firewall. This is positioned so it does not touch the engine or engine mounts.
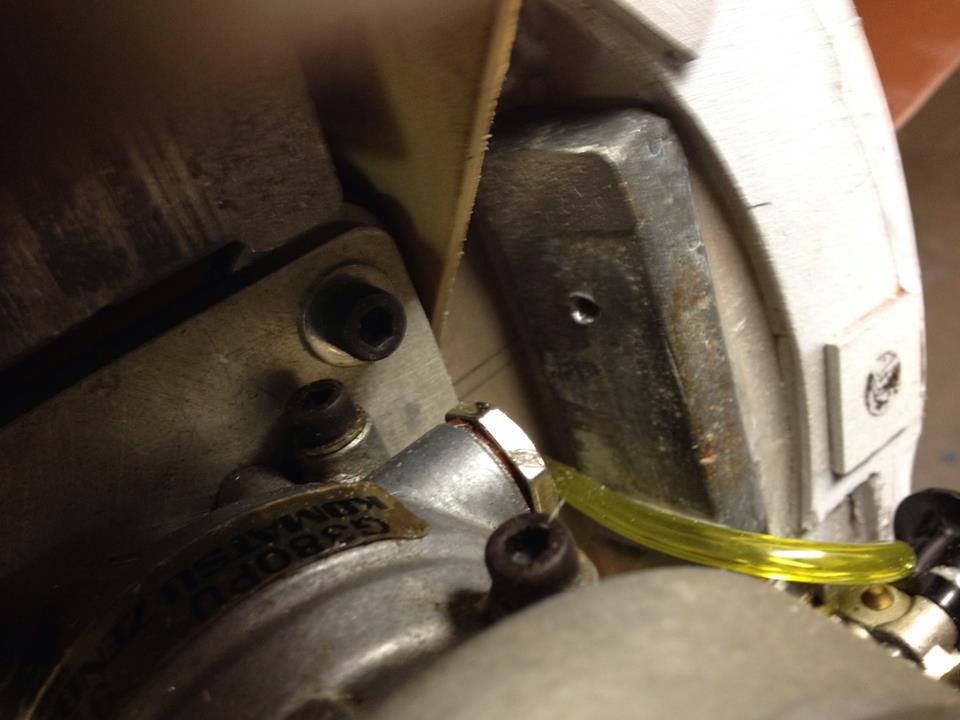
The other half of the weight is split into two pieces and I glued and screwed these pieces to the sides of the compartment on either side of the engine.
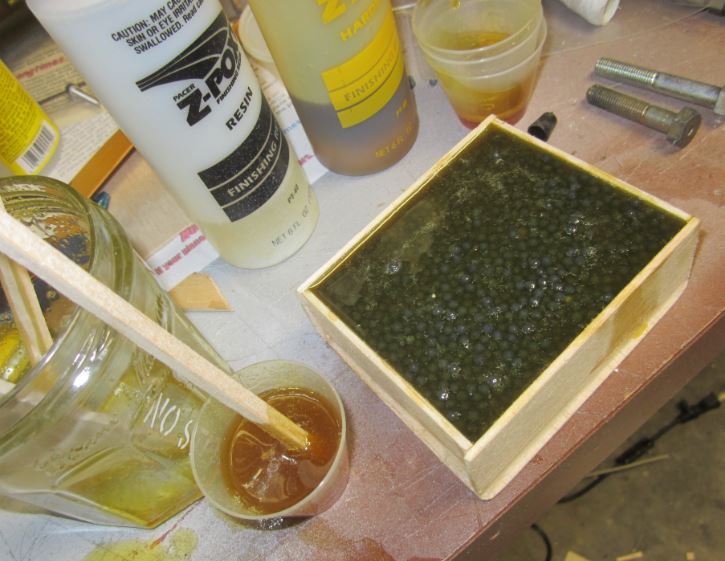
When using lead shot, I mix it with Zap Finishing Resin and pour everything into a 1-inch-deep balsa box and let cure. It is then glued to the underside of the shelf just in front of the scuba weight, and secured with two large cable ties. A total of 6 pounds of ballast beings the weight of the Camel up to 26 pounds. Still in the high 20 oz. range for the wing loading. Which is still in good numbers territory.
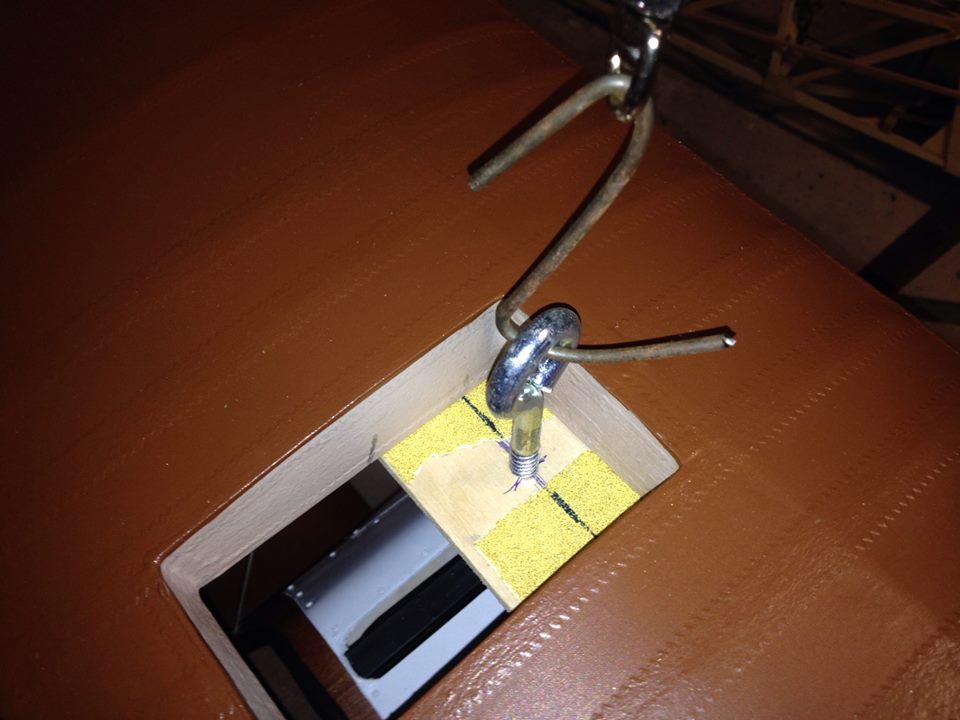
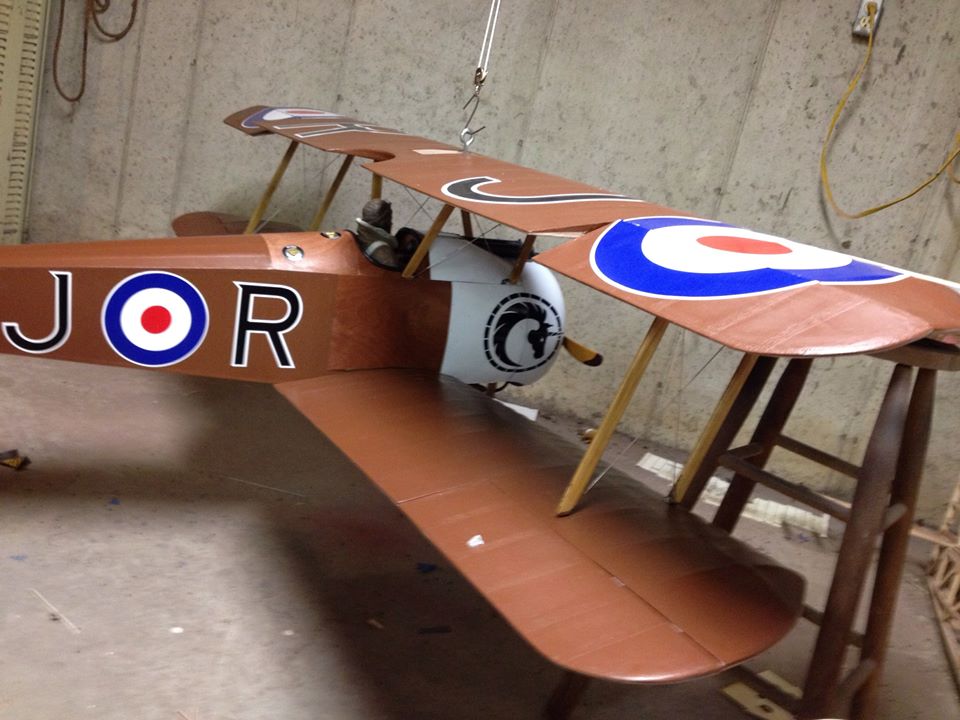
I used this plywood arrangement which is about 12 inches long by 2 inches wide and coated with stick on sand paper as a balance support. The model was balanced at 4.5 inches (25% MAC) and the aft range is 5 5/8 inches. The top wing cutout comes in handy for this balancing act.
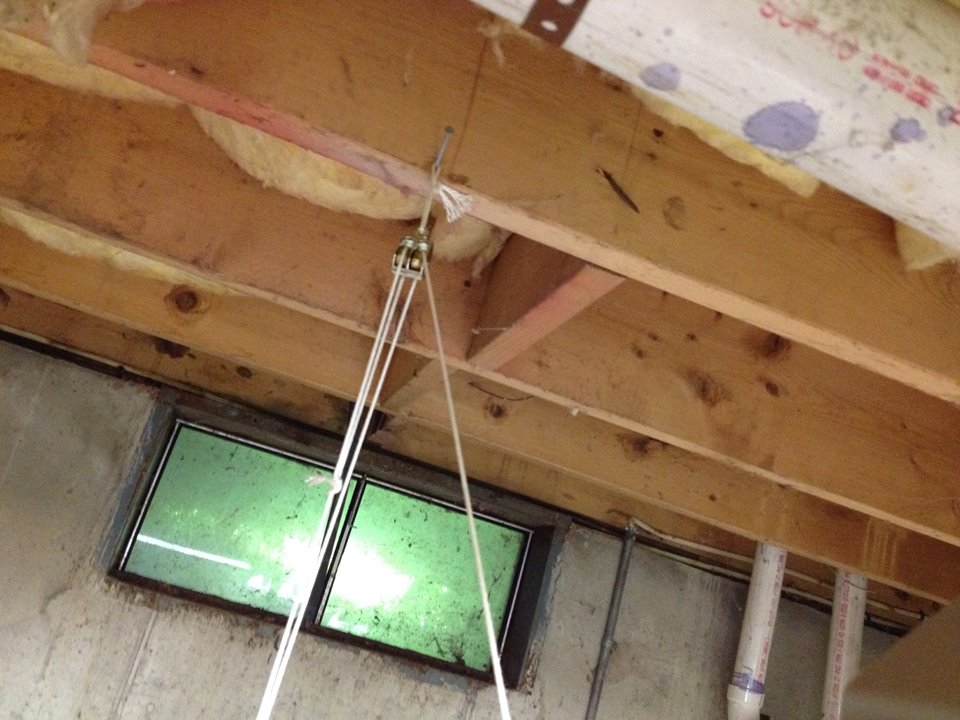
A block and tackle is used to lift the model.
I lift the model only a few inches of the ground and let the model hang until it levels out.

I added ballast until the top wing was setting at a level 0zero degrees of incidence. You can see that the top fuselage longeron line, just below the hatch cover is showing a slight negative angle. This is good as that line is my zero datum line.
That’s it! Now where did I put the gas jug?!


Nice job, Jerry! Hope to see you Saturday!
Thanks for the very informative series of articles. I especially liked your arrangement to balance a large model, i.e. the Camel.