
After a bit of break to cover the Warbirds over Delaware event, I got back in the shop for a little more quality Camel time. We left off with the aft turtle deck stringers being installed. From here forward at the top of the fuselage, the cockpit area and the machine gun “Hump” section is all one piece and makes up a removable hatch cover. This helps greatly with the access to the servos and fuel tank. Also, the sides of the fuselage from the cockpit forward has to transition from a square cross section to a round one to match the engine cowling. Here are some of the pix I took along the way.
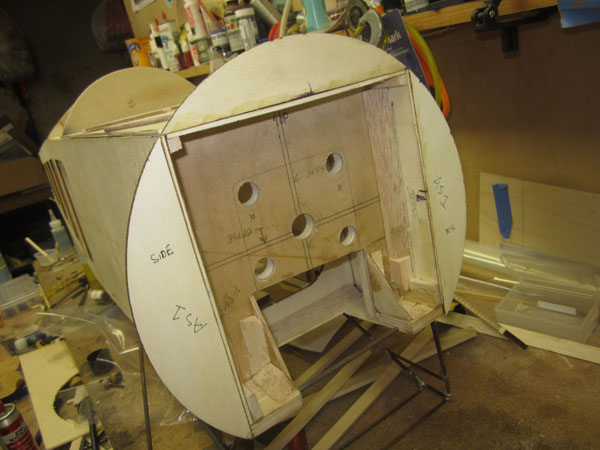
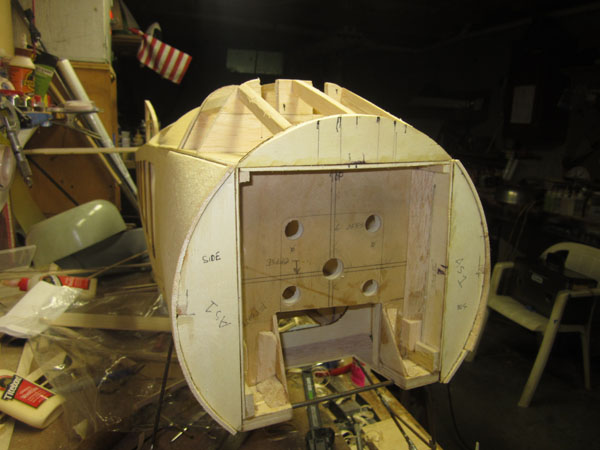
First step is to glue the top and two side formers to the front of the fuselage. When sheeted with 1/8 inch balsa. the diameter of the front of the fuselage will be perfect to match a Fiberglass Specialties’ 10 1/2 inch fiberglass radial cowl.
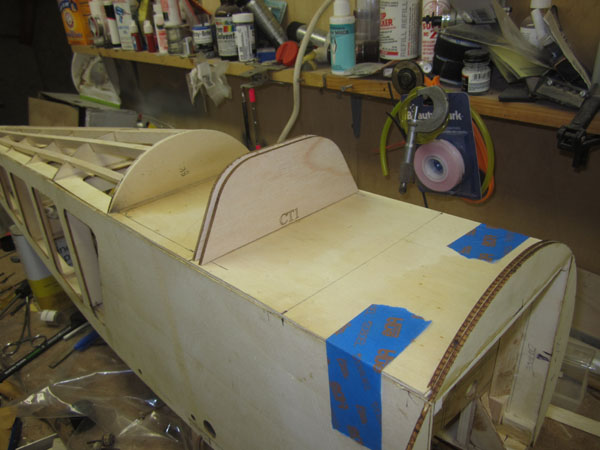
Here the hatch base is taped in place between the aft cockpit former and the front top former. The two instrument panel formers are also glued in place.
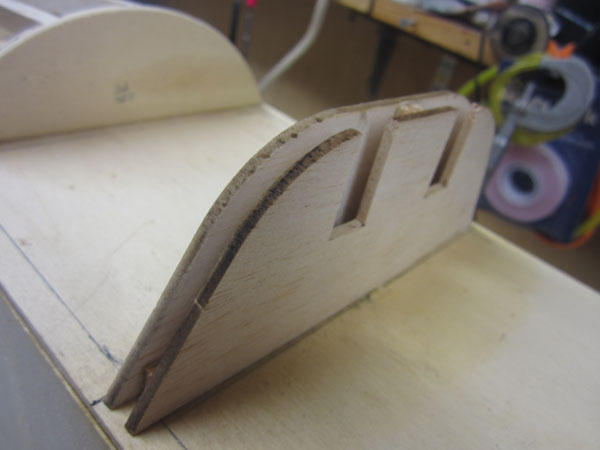
I used two formers here. they are identical except that the front one is cut to accept the back of the 1/4-scale Vickers machine guns from Williams Bros. I used 1/4 inch balsa fill to separate the two formers.
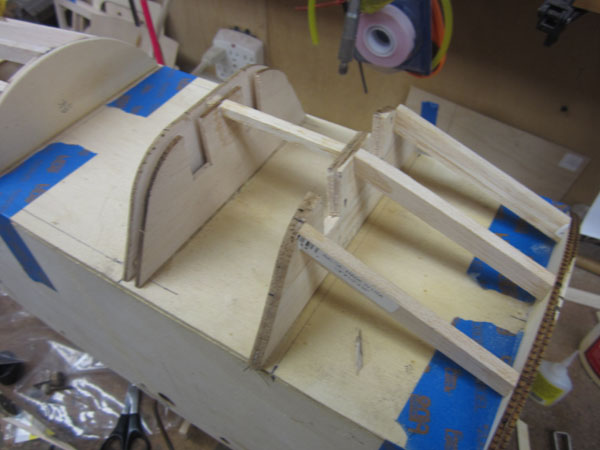
Forward of the instrument panel formers is the main gun hump former. It is reinforced with 1/4 inch stick stock that will support the balsa sheeting covering this section of the fuselage.
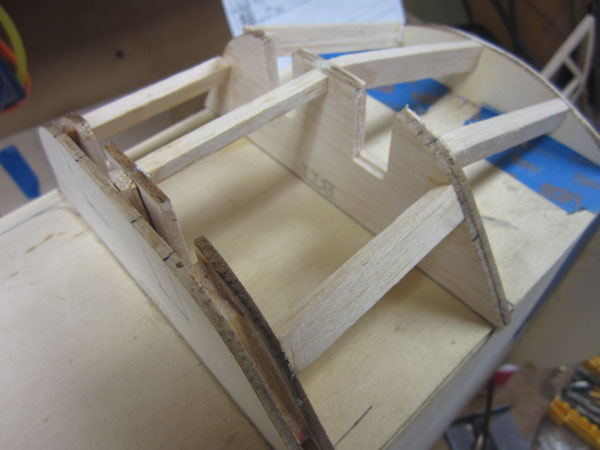
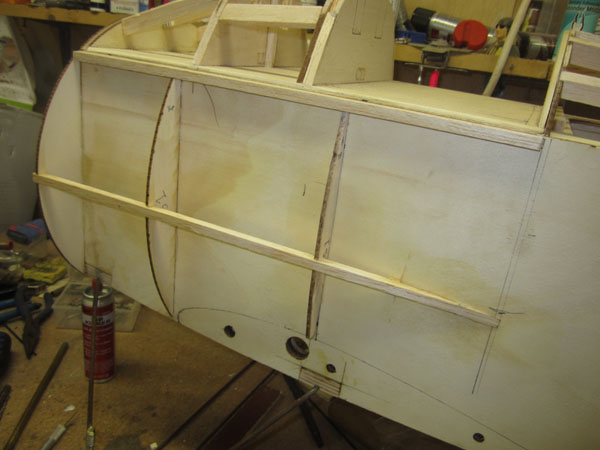
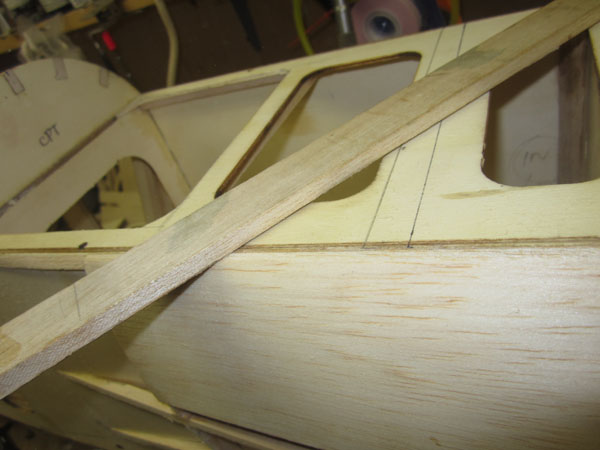
At the tangent point between the flat sides and the curved top corners, I added a 1/2-x1/4 inch reinforcement. This will strengthen the structure and give a gluing base for the sheeting. Flat sheeting is going to be used on the sides and top, while the rounder corners will be done with thinner strip planking.

Before sheeting the gun hump area, I removed the hatch assembly and started working on the fuselage side cheek fairing sections. This starts with adding 1/4-inch strips to the top of the fuselage to act as gluing strips to support the side sheeting.
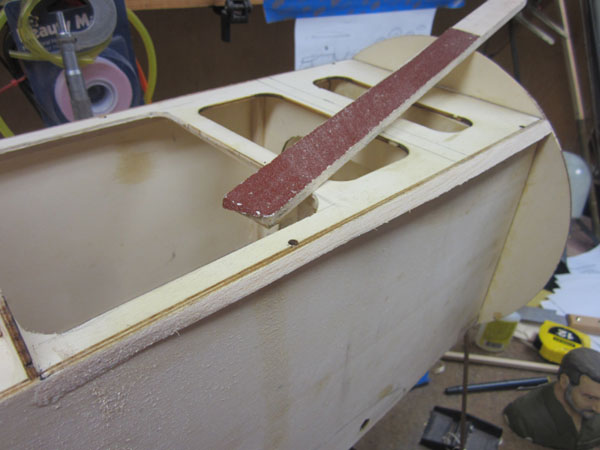
The strip is then planed and sanded to blend from the fuselage side to the base of the top front former.
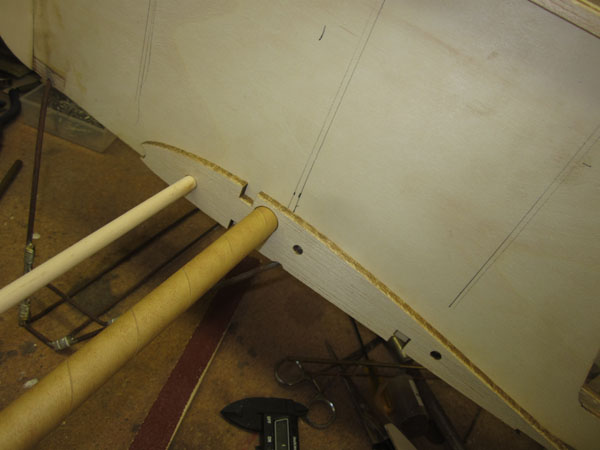
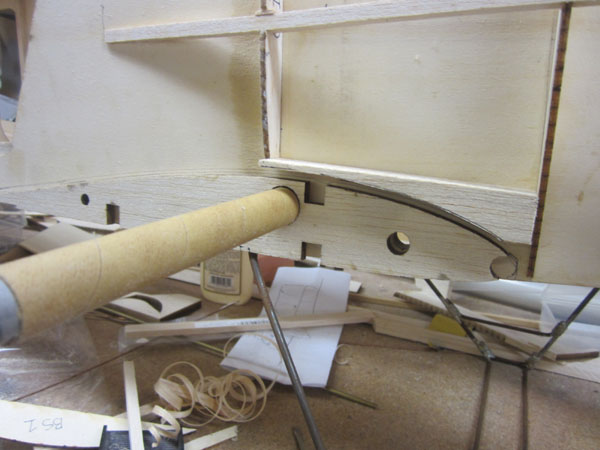
Use the bottom wing’s root rib and position it in place with the help of the wing tube and socket and an alignment dowel . Trace the rib as a guide for former and sheeting placement.
The second side former is then glued in place so it is just in front of the wing’s Leading edge.
Glue the third side former in place then cut notches in the formers for the side stringer. The end of the stringer is cut to a taper so it can be glued to the fuselage side as shown here.
Cut the filler block to shape and glue it between the bottoms of the second and third formers.
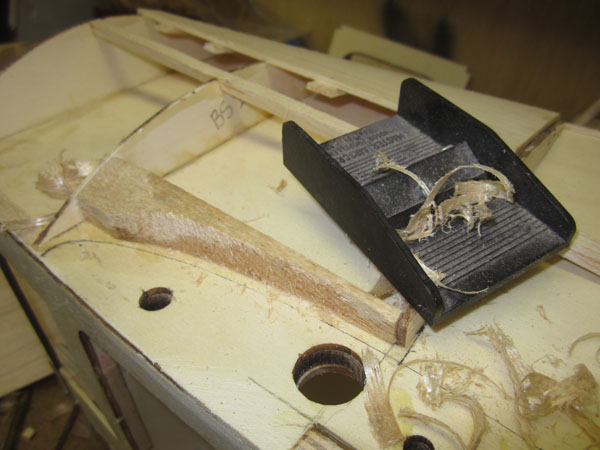
Use a razor plane to shape it so it blends into the formers and then sand it smooth.

Now add the bottom forward and aft filler strips and sand to shape. These will support the bottom edge of the side cheek sheeting.
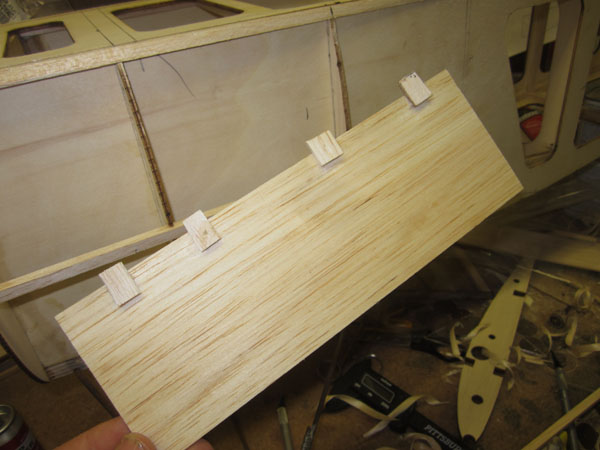
So here’s a trick my father taught me. Before gluing the first piece of sheeting over the formers, glue these tabs in place. They will help guide support the second sheet when it is glued in place so it is very even with the first sheet.

Here the first piece of sheeting has been glued in place. It’s top edge over hangs the top of the fuselage slightly so it can be sanded flush with the base for the hatch cover.
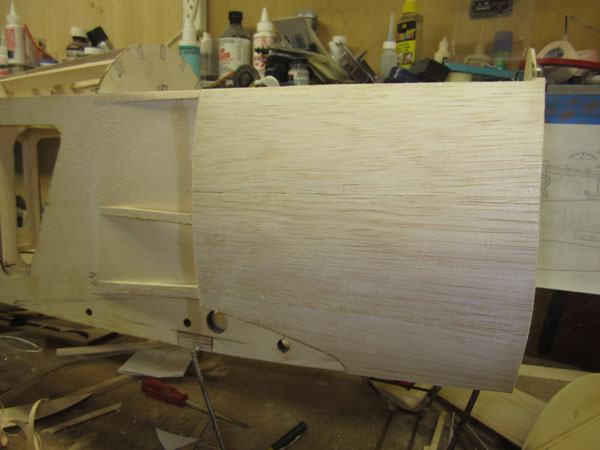
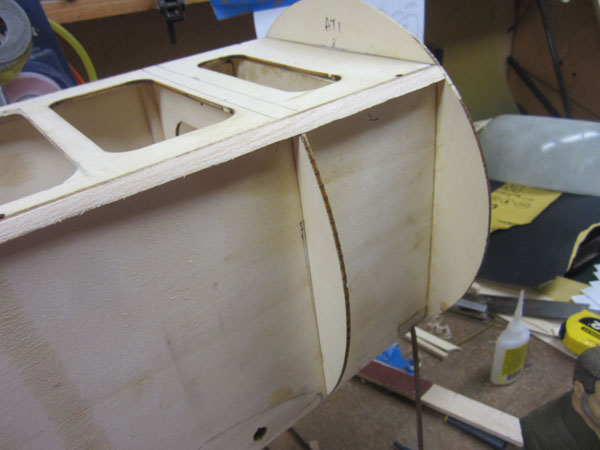
Here the second piece of sheeting has been glued into place. Note there is no gap between the two pieces of sheeting and very little sanding is required for a smooth seam.
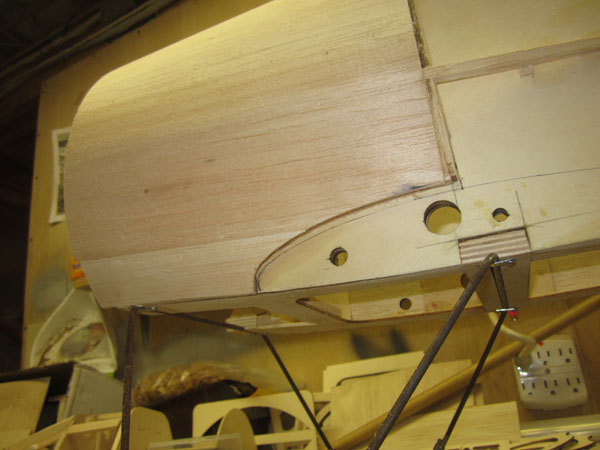
Here the other side of the fuselage is shown with the cheek fairing sheeting glued in place. The portion aft of the balsa sheeting will be covered with thin plywood panels after the fuselage has been covered with cloth.
The side cheek fairing sheeting is now complete. I’ll sheet the gun hump section now that the side cheek fairings are done. But that’s for next time!
Stay tuned.
To see the next installment (part 10,) of the build-along series, click the link: https://www.modelairplanenews.com/blog/2014/07/22/workshop-build-along-sopwith-camel-part-10-sheeting-the-camels-hump/
To see the previous “Part 8” posting in the series, click the link: https://www.modelairplanenews.com/blog/2014/06/30/workshop-build-along-sopwith-camel-part-8-tail-surface-attachment/


Cool i’m building the US also triplane one third scale this is nice good luck with it I’ll try to keep track of what you’re doing