
Although the blender is one of the most dramatic 3D maneuvers, it actually predates 3D flight. I remember seeing variations of it done more than a dozen years ago, and it was even described in the manuals of some aerobatic-model kits that I designed for Midwest Products back in the mid-’90s. The basic maneuver existed long before it had a name.
In the late ’90s, Quique Somenzini brought this maneuver into the public eye when he did it in his Tournament of Champions freestyle routine. In his unique and amazing presentation, he performed it very low and at show center; everyone at the field gasped when they saw it. Quique called it the panic, but it soon became known as the blender.
If you’re looking to expand your 3D-flight regimen, the blender is a good maneuver to start with. What makes the blender unique? First, it looks very impressive yet is actually very simple to do. Although many more involved 3D maneuvers require that a pilot master the coordination of the rudder with rolls and have a lot of flying experience, the blender can be done with just a few simple stick movements.
THE BLENDER MANEUVER
The blender can be broken down into four basic elements: a vertical dive, rolls, a snap to an inverted flat spin and an exit. Although it may sound a bit involved, it isn’t that hard.
First, get plenty of altitude. Even today, I always like to be a few mistakes high when I attempt a new maneuver. At altitude, throttle back to low power. Flip your elevator, rudder and aileron rates to high. Push the nose straight down, and start to dive. As soon as the model is vertical, give left aileron and start a left-rolling dive. So far, so good; I told you it was simple right? Now, let’s add some excitement! As you continue to roll left, push in some right rudder (opposit stick). The model will start to wobble as it rolls, and the descent will slow. After holding those inputs for a quick three count, quickly push the sticks into the inside corners, i.e., full left aileron, full down-elevator and full right rudder. The model will very quickly enter an inverted snap. After no more than a second, quickly move the ailerons from full left to neutral (or even a little right) while you hold full down-elevator and full right rudder. The model will transition from the inverted snap to an inverted flat spin and very quickly decelerate its downward movement.
If your model’s control throws are set properly, the first three parts of the blender are now complete. If you do this a few mistakes high, you will be able to exit by neutralizing all of the controls while simultaneously flipping back to low rates (to avoid over-controlling) and adding power to fly out of it. As you gain experience and learn other 3D maneuvers, you can combine them with the blender. Try to exit the maneuver by rolling out into a harrier roll, or neutralize the aileron and rudder, and fall into an inverted elevator.
BLENDER WITH A TWIST
To add a little twist to this maneuver, do the blender without using right rudder input when the model is rolling towards the ground. Do everything else as described above, but leave that step out. When you quickly push the sticks into the corners, the snap to inverted will be faster and more violent because there isn’t any right rudder to slow the descent before the snap. That looks cool, but be careful! It can be quite violent and put a lot of stress on your model. I’m not responsible for any broken wings. Once you get the hang of the blender, start bringing it closer to the ground before you do the snap into the flat spin.
By Mike McConville
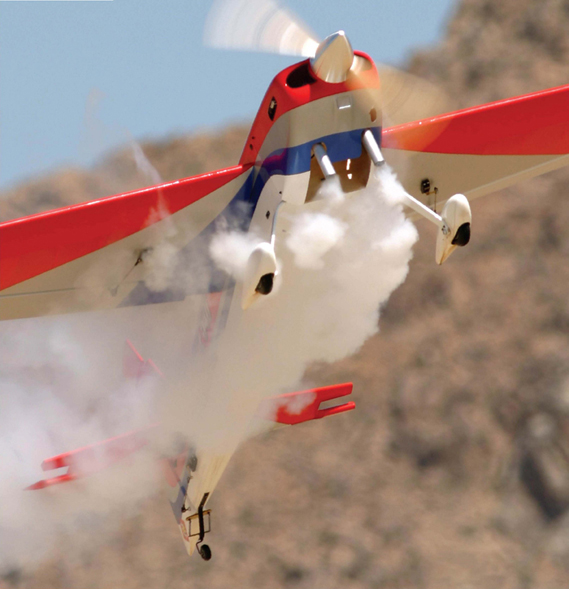
Blender

The blender can be done with just a few simple stick movements.


