
Now that the ArrowMaster has been completely built and final sanded, the really fun part begins–covering the plane and making it look truly unique. For this project, I used UltraCote as it’s very easy to work with and produces outstanding results. To do this job, you need a covering iron, a straight edged ruler (36 inches,) a razor knife and lots of new blades. Also a tack cloth works very well for removing any left over surface dust from the model. It is best to first work out your covering scheme from photos of a real airplane for a guide or by drawing sketches of what you want. Let’s get started

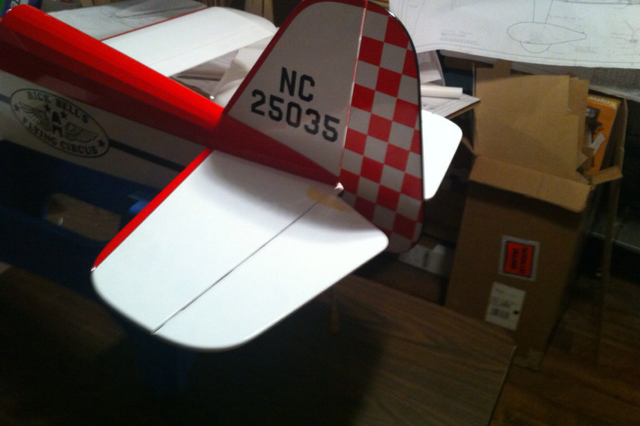
To get warmed up, I started with the vertical fin and rudder. To add to the classic look of the ArrowMaster, I decided that I wanted some checkerboard on the rudder, bottom of the wing and the bottom of the stab. For the rudder, I used 1″ square checks. This is the first time I’ve worked with checks and I thought that working with it would be difficult, in fact it was easier than I thought and the results speak for themselves.
The top of the stab is solid white and is covered after the bottom is completed.
Here’s the bottom of the stab covered with the 1″ check pattern. Notice that where the tail feathers are glued to the fuselage, I left those uncovered.
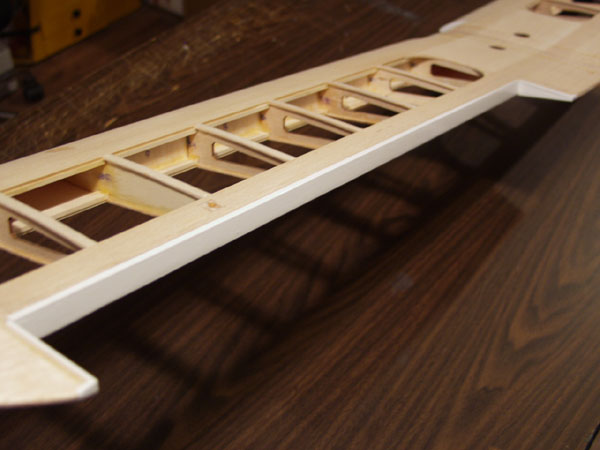
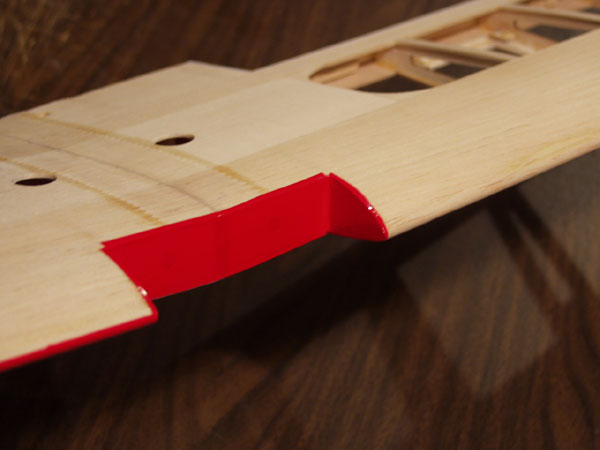
One thing that I like to do is to cover all cutout areas like where the ailerons are hinged at the T/E of wing. When I cover the wing surfaces, this allows me to iron the covering to the lip of the covering that I’ve wrapped around the edges. By doing this, the main covering becomes firmly attached to itself and will never come loose or shrink away from the edges. Another bonus is that the seams are almost invisible.
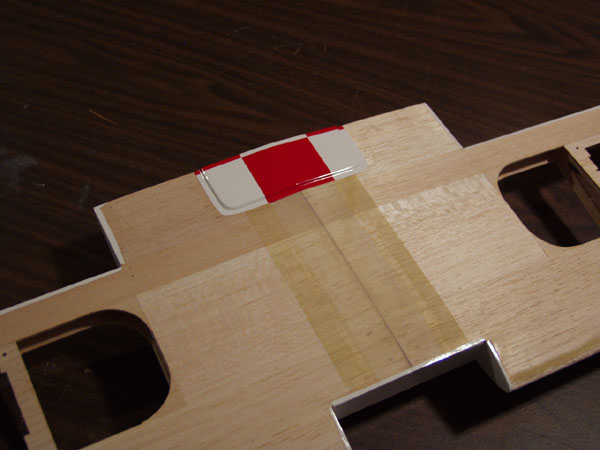
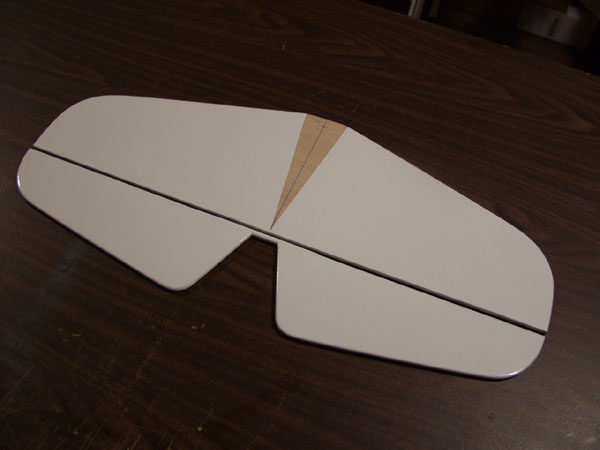
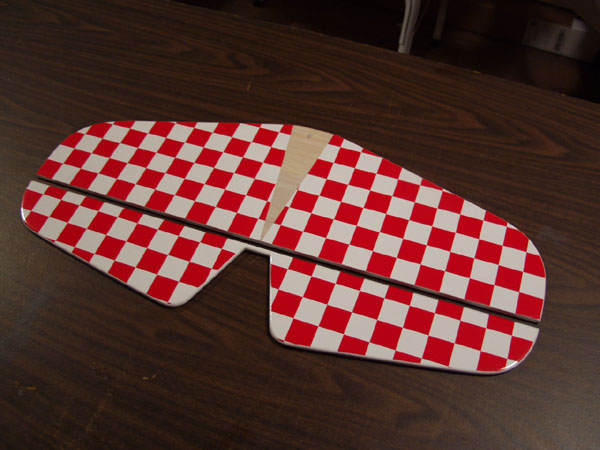
cov05 – For the bottom of the bottom wing, I used 2″ checks. I started by centering the pattern on the wing bolt plate. This is important as it determines the pattern for the entire wing.
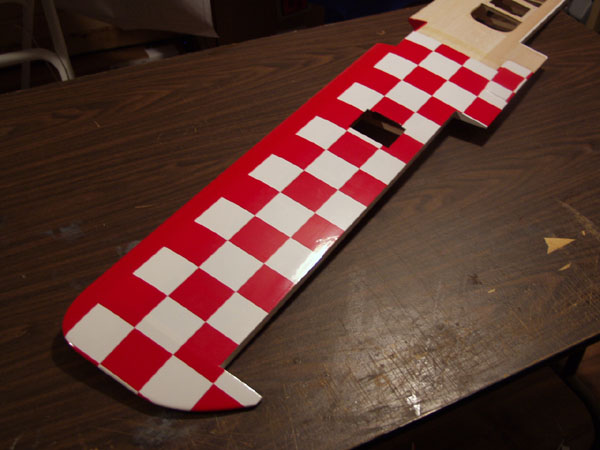
Here’s onewing panel completed. The aileron and servo hatch are covered with separate pieces to continue the checker pattern.
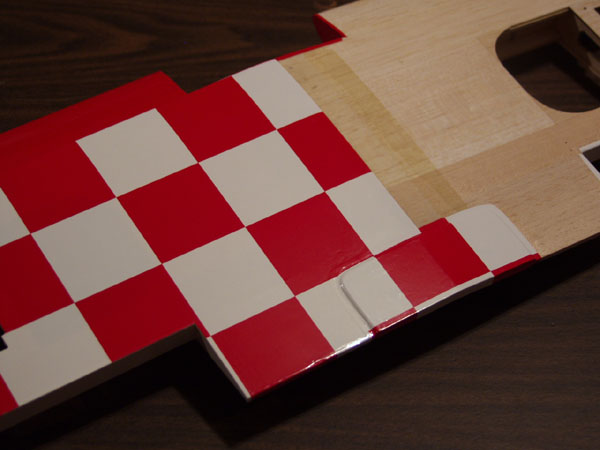
It was easy to keep the checker pattern matched to the wing bolt plate.
Like the aileron cutouts, I covered the center section cutout separately.
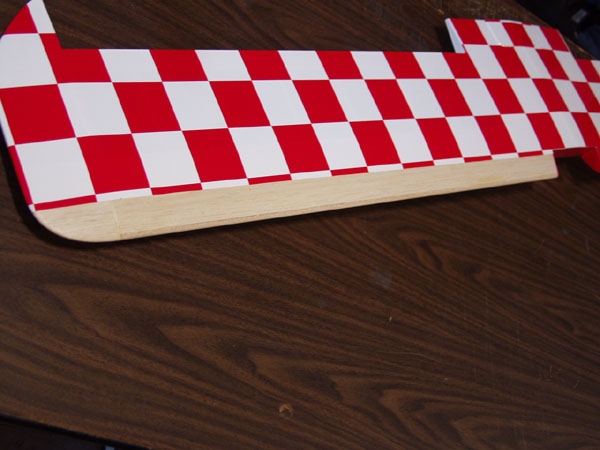
To keep from wasting material, I left the L/E bare and covered it with solid red.
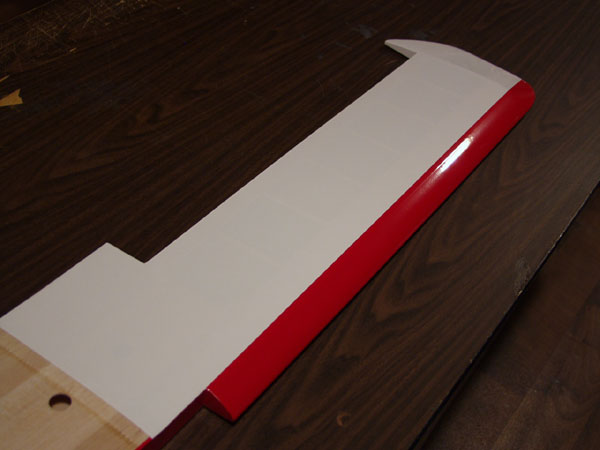
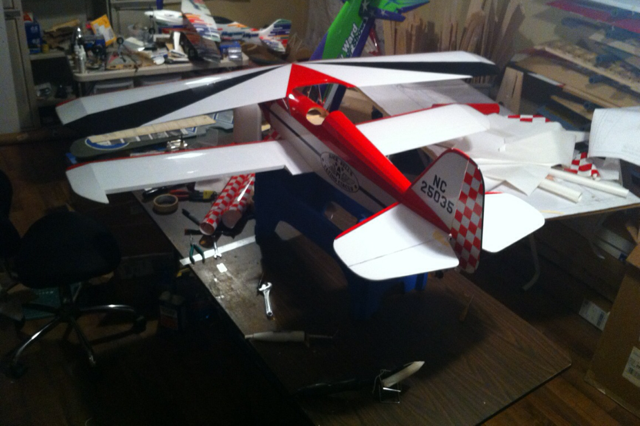
I really like the way the red and white look when the covering is shrunk nice and tight.
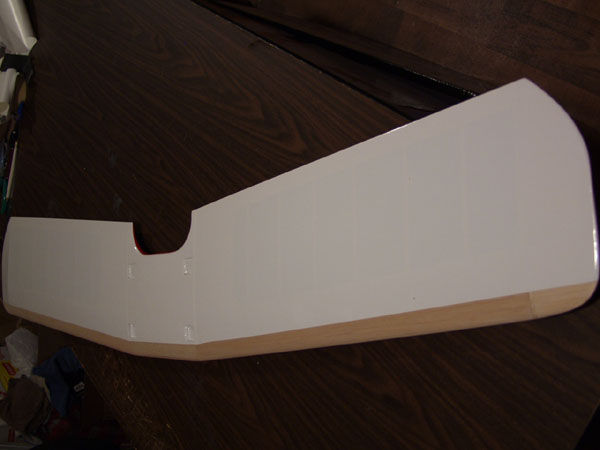
The bottom of the top wing is ready for the red L/E.

The top of the top wing is also ready for the red trim. Note the pattern in the center section of the wing.
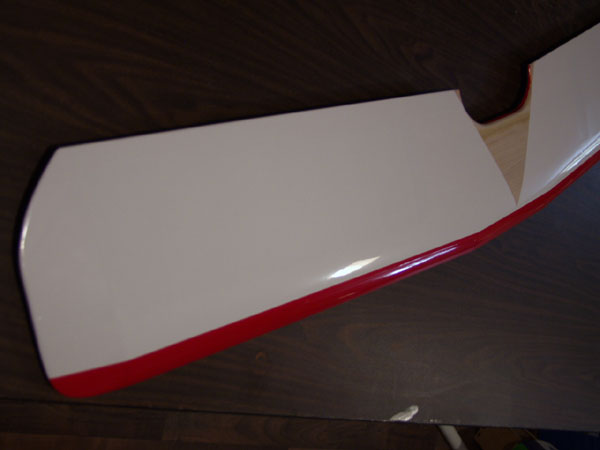
The red L/E has been applied to the bottom first and then the to the top of the wing.
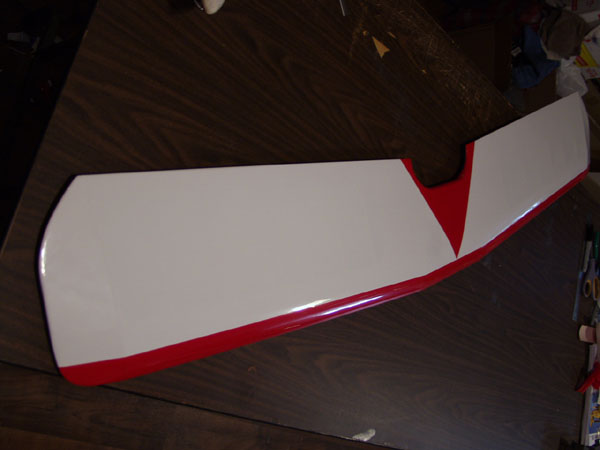
Here I’ve added the trim to the center section of the top wing. Looks really sharp!
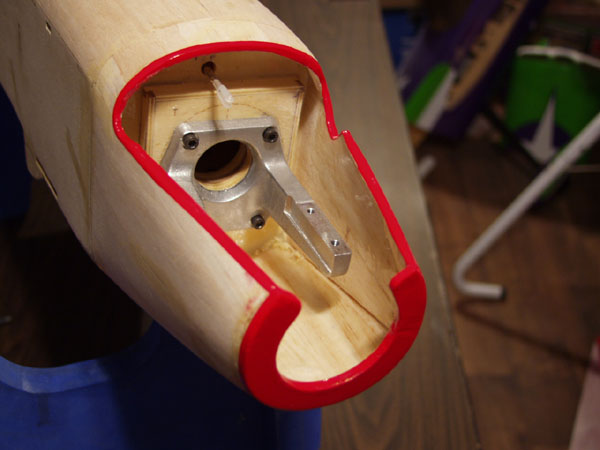
I covered the edges of the engine compartment in the same manner as the bottom wing. The interior of the compartment will be painted after the covering is completed. The rest of the fuselage covering went on without a hitch.


[nggallery id=308]


this airplane remind me the Aeromaster too
It would be very useful to show/explain how you applied different colors next to each other without a gap between them ( when the second color shrinks) or bubbles if you overlap. The red leading edges of the wings and the red “V” in the center of the top wing are examples of getting straight edges that is also a useful topic.