
Sooner or later it’s bound to happen, you move something and your built-up wing falls and hits a sharp corner, or, you’re moving your model out of the workshop and misjudge the width of the doorway–Instant hangar rash!

This happened to my Florio Flyer 60 wing while cleaning up my shop. The dent isn’t so bad, but the damage was enough to cause the covering to sag and it had to fixed.

The dent wasn’t so bad, but the underside sag was not a good thing. I’ve learned from experience, that just trying to reshrink the covering won’t fix the problem.


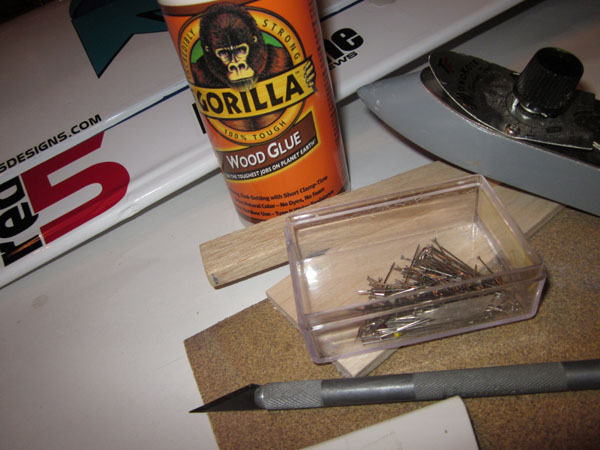
For this repair you could use CA glue but I decided to use a water-based adhesive from Gorilla Glue. Back when I was a kid, my Dad taught me that Yellow Wood Glue is our friend! Why, a couple reasons are that they provide more working time to get the parts properly aligned, and being water-based, they penetrate into the wood grain to produced a very strong bond. Also the wood swells a little to help further tighten your covering.

The repair is fairly easy and starts with removing some of the covering. Since I have a lot of decals on the top of the aileron, I removed the covering from one bay on the underside of the aileron. Use a sharp knife blade.

After exposing the structure you can see what the damage actually is. With this one, the trailing edge was badly dented, and the glue joint on the rib was cracked.
Cut a doubler to size and glue and pin it against the existing rib. Position it so it is flush with the covering but does not psuh the cover up forming a bulged appearance.
To deal with the dent, you have to remove a bit more of the covering but not enough to cut into the decals. Cut the damaged material away and glue a small piece of balsa into place pinning it in place until the adhesive dries.

When the glue has dried, remove the pins and cut the replacement piece roughly to shape.

Now cover the covering around the repair with tape and sand it to blend into the rest of the trailing egde.

Remove the tape and clean the control surface. Take the piece of covering you removed and use it as a guide to cut a new patch. It should be about 1/4 inch bigger all around.

Before patching the aileron, go over all the surfaces around the opening and seal the covering down tightly and smoothly.

Now iron the patch in place and working from the center tack it in place, and pull the ends tight and tack the ends down. Work all around and seal the material down.

Now to tighten the upper covering, use a heat gun and slowly heat the area until all the slack and wrinkles pull tight.

Here’s the finished repair. With a little work and by taking care, you can’t even see the repair unless you look really really close. Do not try your covering iron over vinyl markings! They will melt and would look good at all!


Hi Gerry
Lots of smaller dents can be steamed back into shape – Expose the wood around the dent by removing the covering then apply a few drops of water till its good and damp. Use your covering iron and gently applied heat. It will cause it to steam and the wood will expand often right back to the original shape. Let dry and recover spot.
Ken
good tip Ken. I have done the steam debt technique before on sheeted foam core wings I damaged. Works great if no other internal damage to deal with
GY
I agree with Ken, and I’ve repaired dents worse than that with just water. Even if the dent didn’t completly come out, it would probably be close enough to just us a little filler and sand smooth again.
next time you dent a wing, take some snap shots and share with the rest of the MAN website viewers! They love seeing your techniques
Hi guys, just like Gerry said, using water and then heating up the wood to cause it to steam, will work as long as there’s no internal damage to the ribs, and, or, other parts. I found the article very helpful, specially the part where it shows how to fix the dent by cutting a piece of wood and gluing it to the trailing edged. That was a great tip since some times the dents are just too big to be repaired with steam.
Thanks Gerry.
I have done the same thing as the water thing but with rubbing alcohol. The alcohol seems to penetrate the wood faster and deeper and if you use a syringe with a small needle, like I also use to place glue for fake rib stiching, you can push it through the covering inject the alcohol let it soak in a second or two then hit the area with your covering iron and the wood will swell back to it’s original shape with only the small hole from the needle showing. This works great if there is no futher damage. if there is more damage then take a t pin make a 90 degree bend on the end of it work it through the wood pull the part back into place then add a drop of thin CA and cover the small hole with a small patch of covering.
Great explanation for those of us that have lots of dents! Repairs and building techniques are often overlooked, but greatly appreciated when shared!
Great tip for bad damage and great comments for a faster solution.