

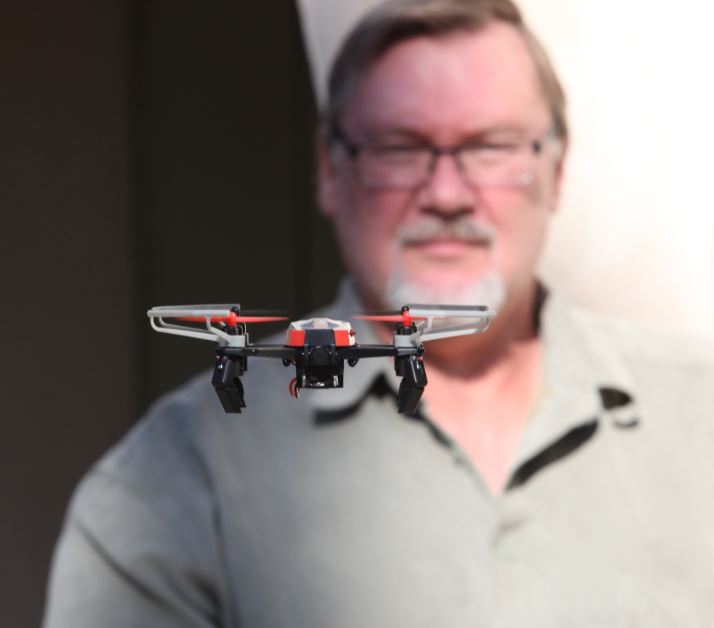
We just got the new HoverShot RTF camera drone from Dromida for a test hop and out of the box, we have have to say this little quadcopter is a blast to fly.

The ready to fly Dromida HoverShot FPV 120mm Drone comes with everything you need to get it into the air and it has a built-in 720p FPV camera for in-flight still pictures and video footage.

Camera has start, stop and pause functions and after takeoff, the Altitude Hold feature takes the guesswork out of positioning and throttle control. An Auto flip button and a Push button for takeoffs and landings make flying the HoverShot a piece of cake.
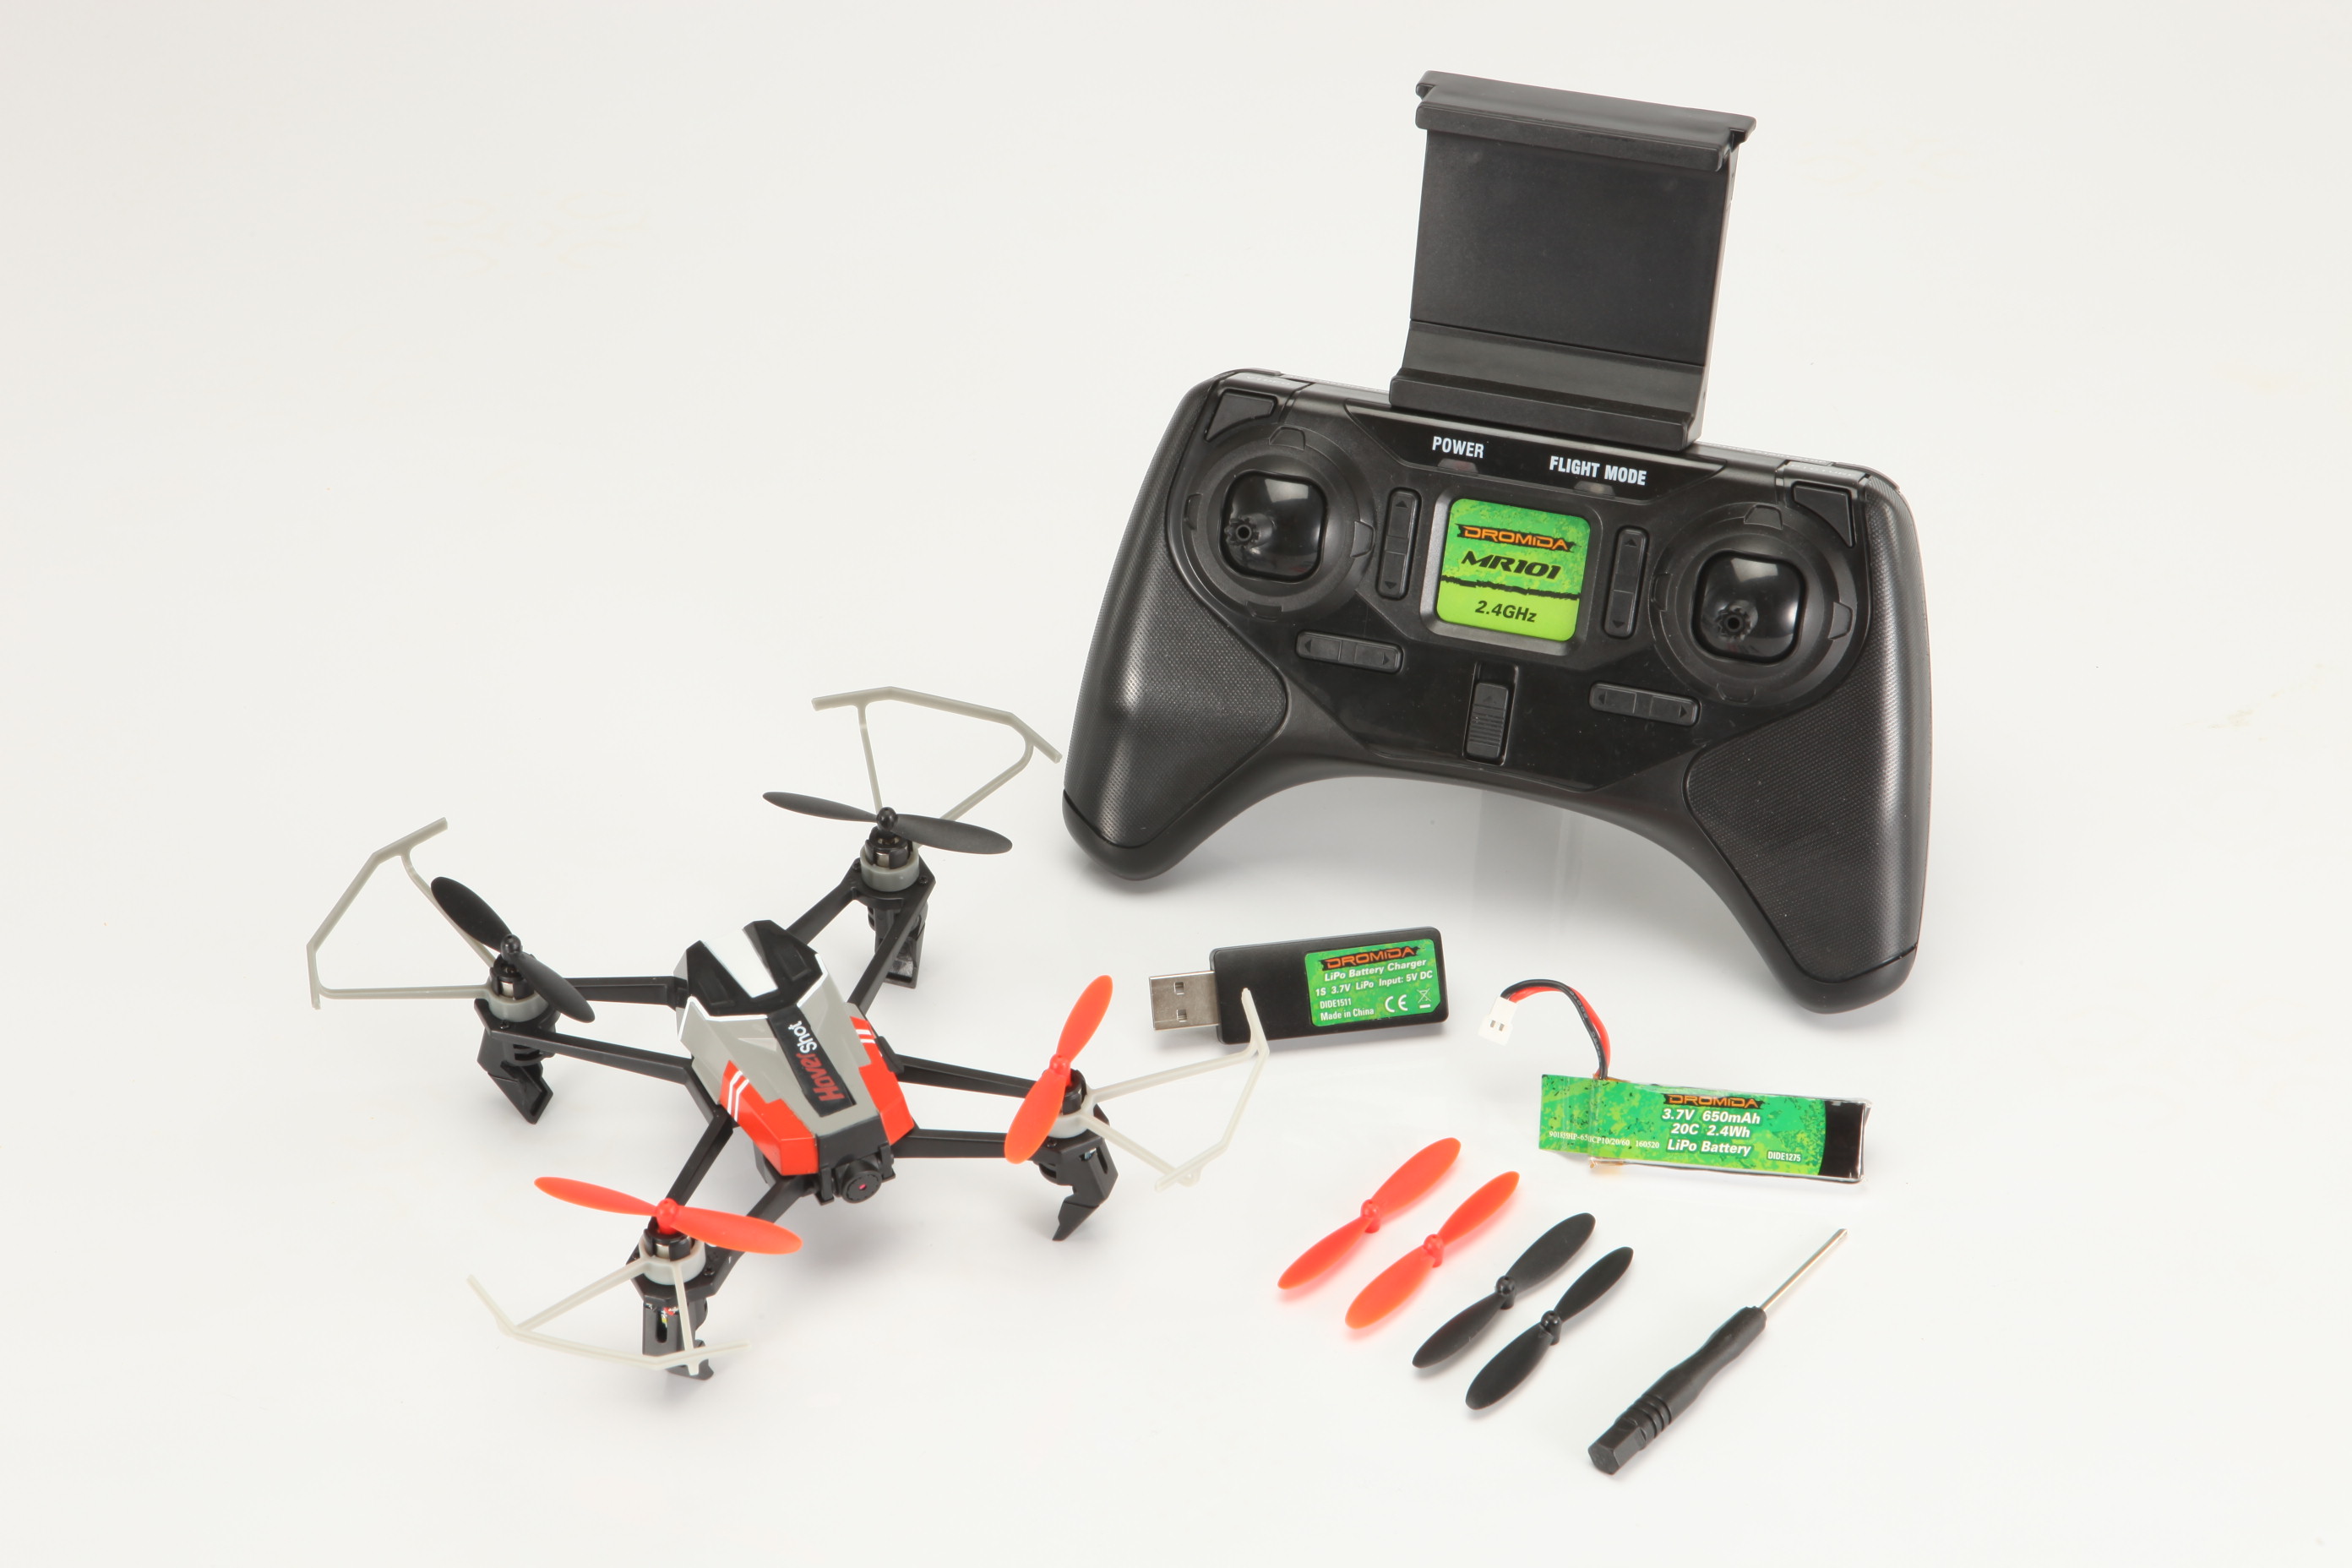
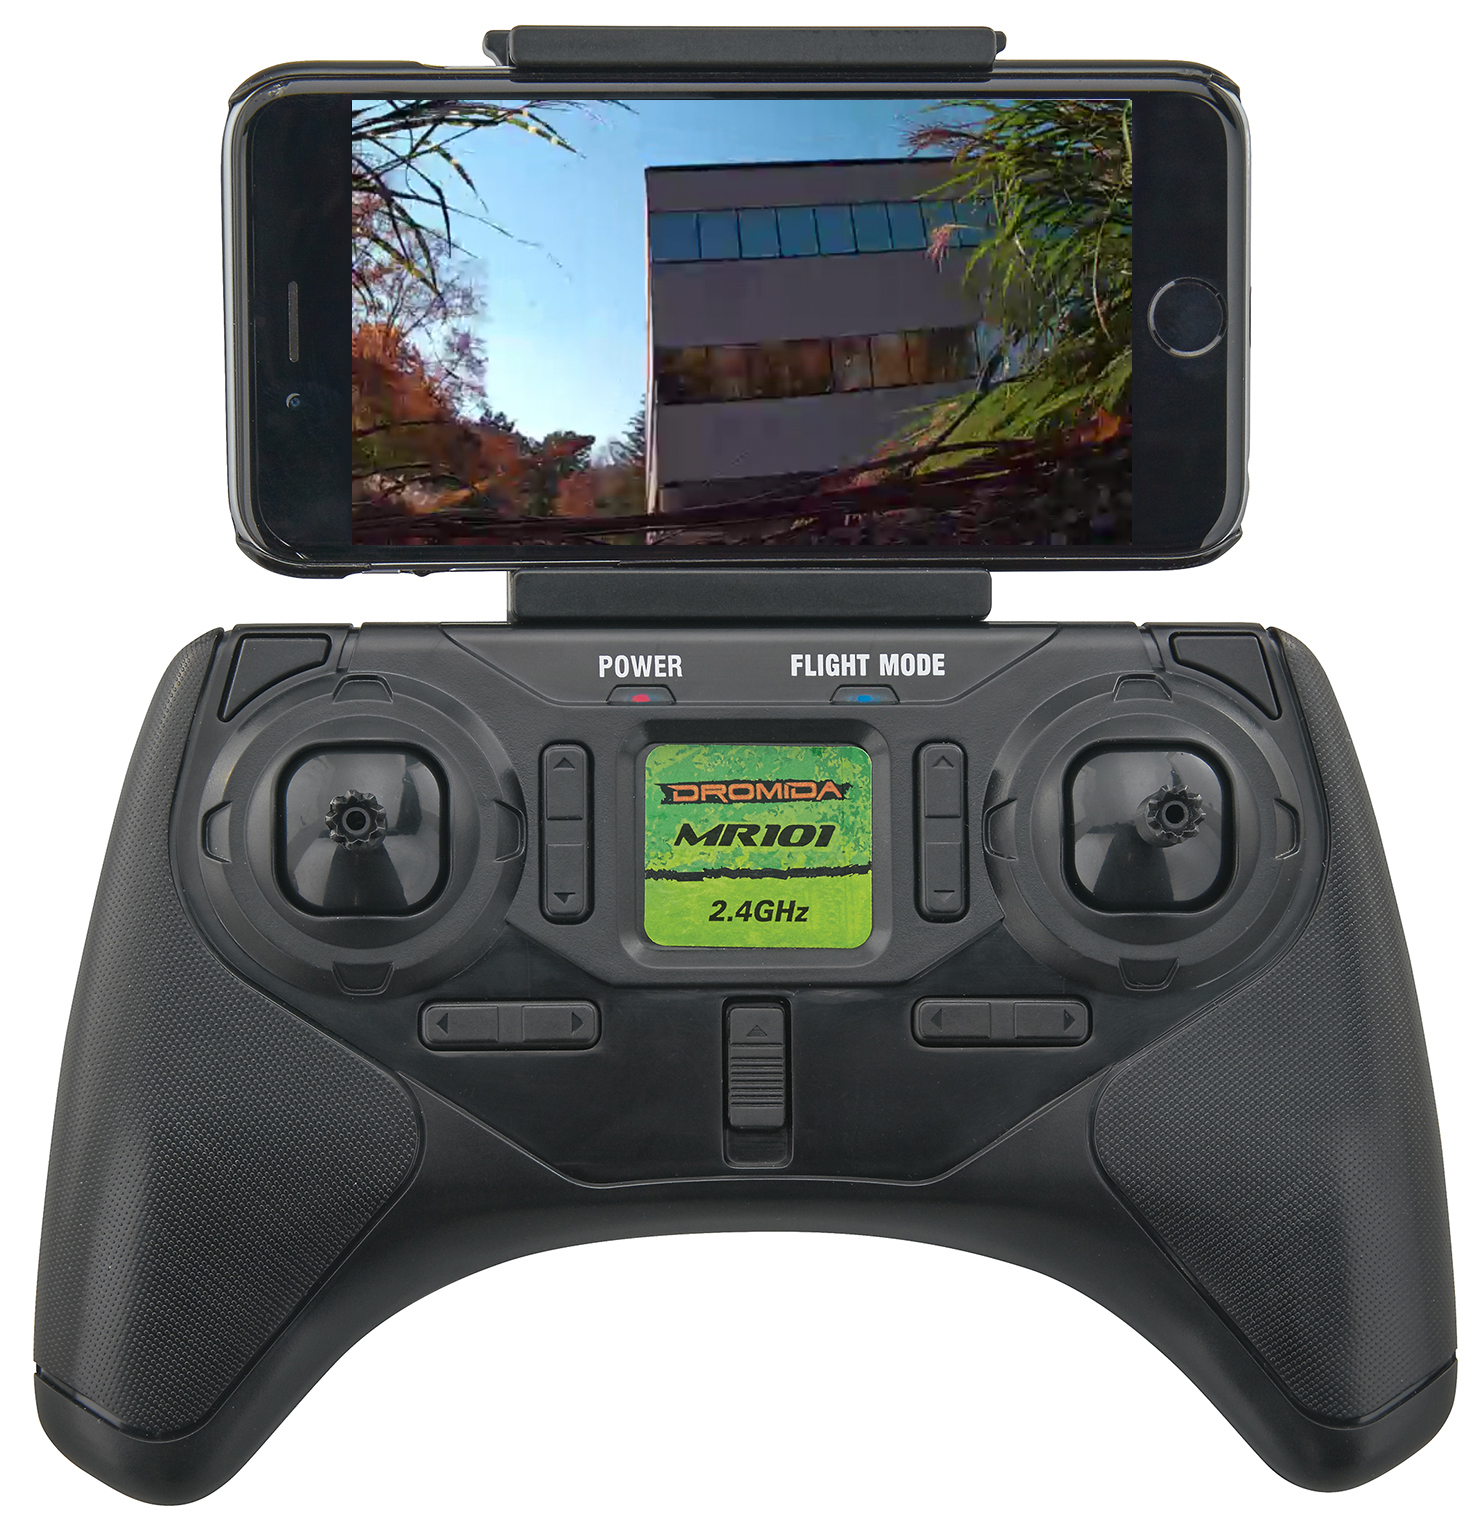
The transmitter comes with a universal mobile phone holder, two flight modes, separate camera and video buttons. Included are a 3.7V 650mAh LiPo battery with USB charger, Four AAA batteries, a 2GB micro memory card, a 1S 3.7V LiPo Battery with a USB Charger, four extra blades and a screwdriver.
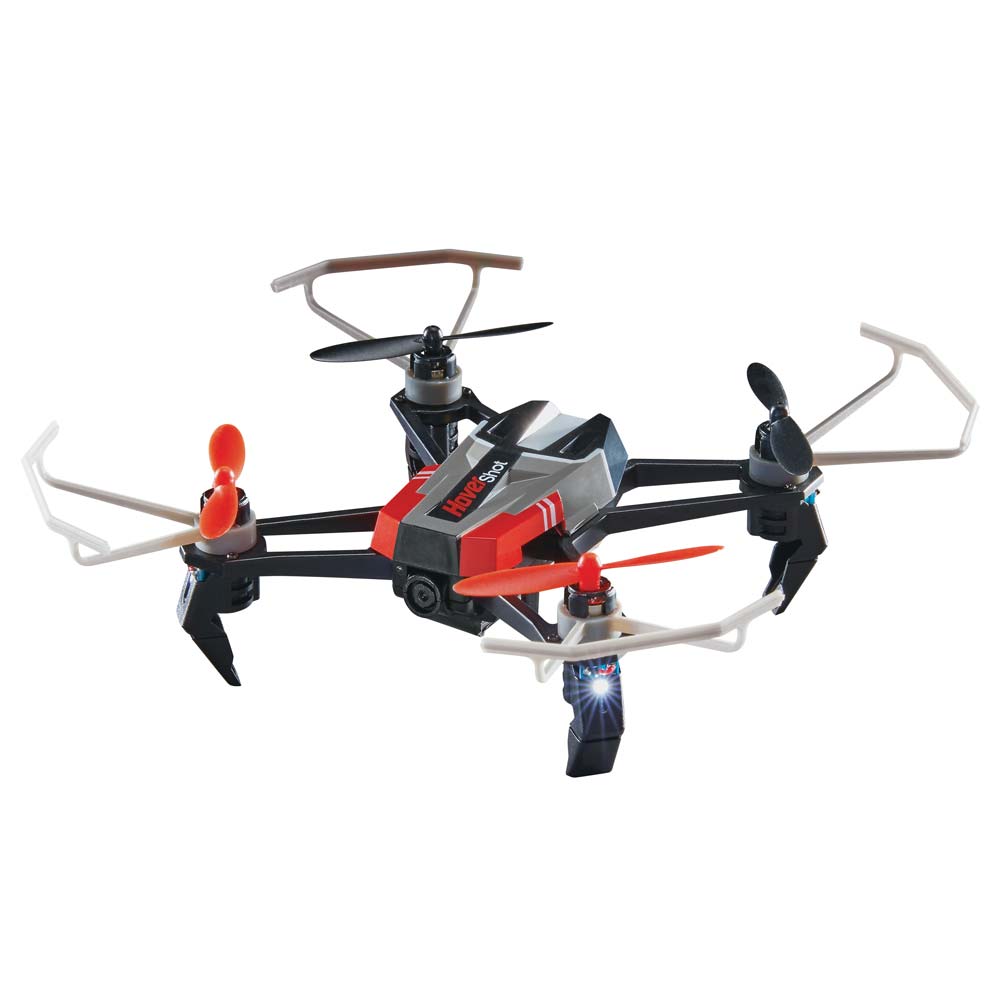
High-intensity LEDs aid in orientation and tracking. The DroneView mobile app (free download) links your iOS or Android mobile device to the Wi-Fi compatible camera.
When it comes to flying the HoverShot, I found it was extremely stable and easy to hover, even outside in a slight breeze. Inside, it is rock solid and I was flying over my fellow Air Age Media/RotorDrone Magazine editors and through the break room with ease.
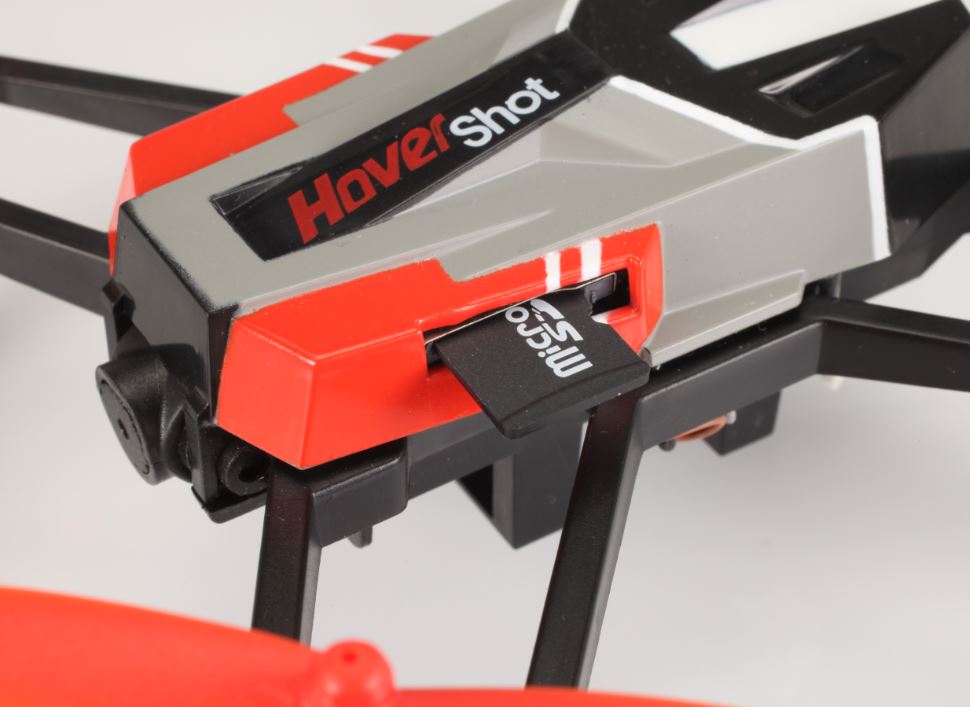
The video and photo quality is very good and the included micro memory card makes downloading the files very easy with a micro SD card adapter (not included).
Using the downloadable DroneView App is also very intuitive and the built in mobile device holder on the transmitter held my old iPhone securely. You can see a photo of our office building above.
Overall, the new HoverShot FPV Camera Drone is a winner and I think anyone wanting to get an easy to fly camera equipped quadcopter will love it.
Getting Connected
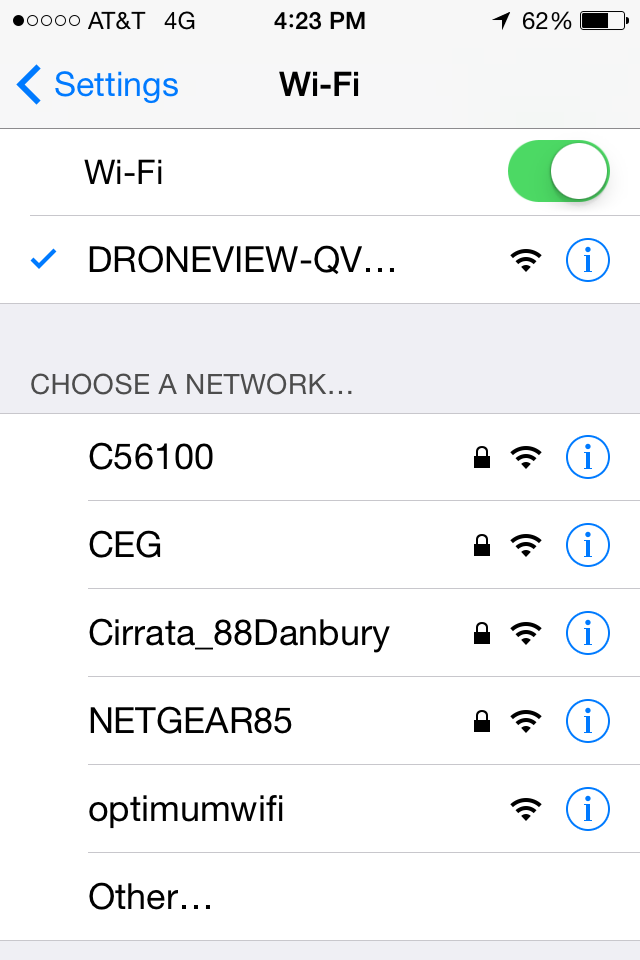
To connect your HoverShot to your mobile device, you first have to download and install the DroneView App. Once it is you switch on your transmitter and power up the quadcopter. Next go to the Settings page on your device and under the Wi-Fi bar connect to the DroneView Network.
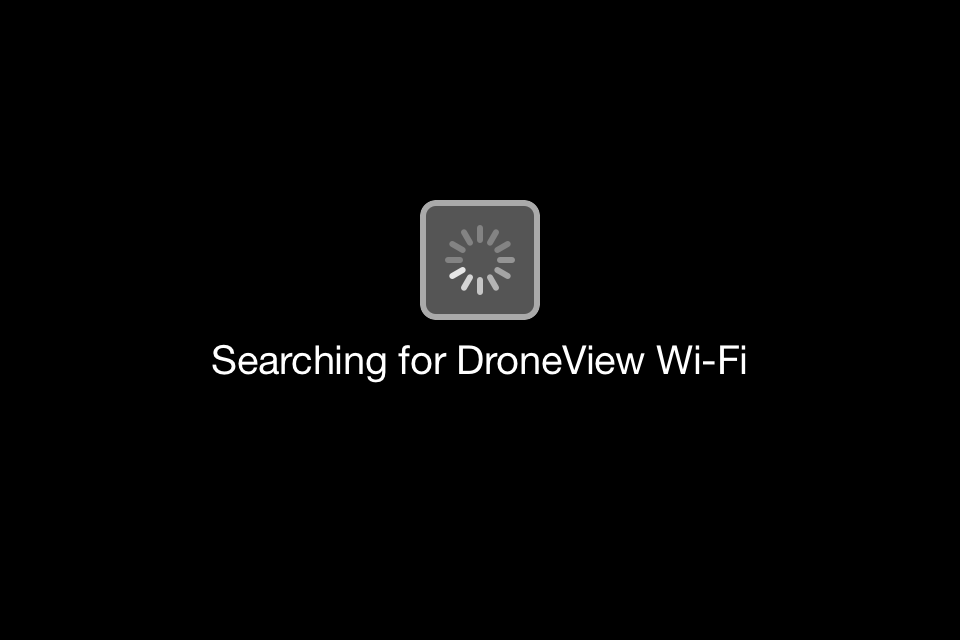
Once this is done back out of Settings and fire up the App and it will connect to the HoverShot. Once it is connected you will see on the screen what the drone is pointed.

If you do not select the DroneView Network, you will see the screen below.
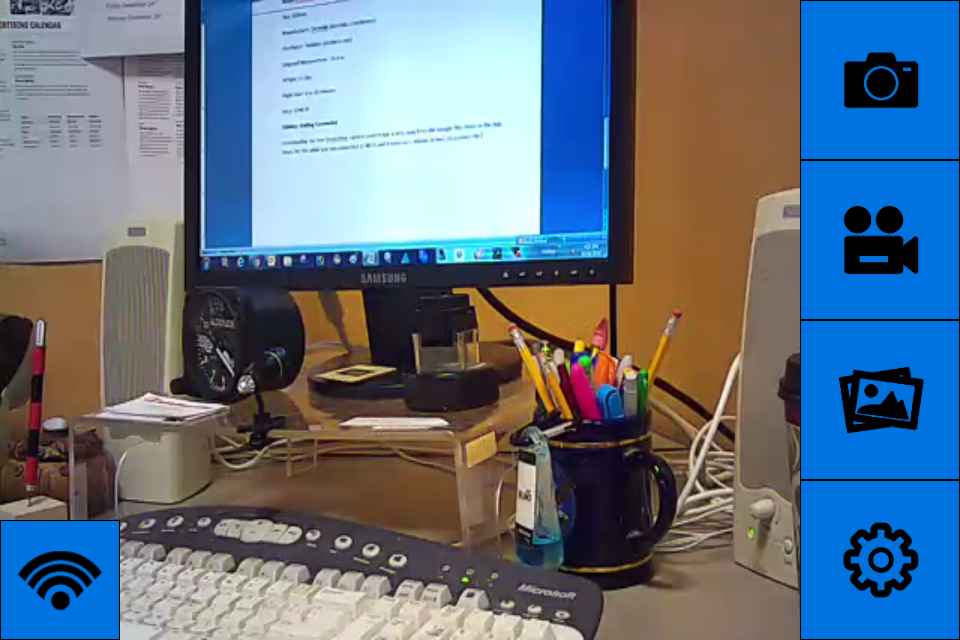
Here you see the display and the sub-menu items in blue.
You can also make adjustments under the settings menu

With the touch screen you can use the Gallery to sort, delete and download images and video to your mobile device. It is very easy to use and takes no time at all. Go for it, you can become a social media guru with all your new in flight content and footage!


