
One thing I’ve learned over the years is that the response of your airplane relies a lot on the hinges you install. Weak hinges allow your control surfaces to flex which minimizes control crispness. This is especially true with high performance and fun fly airplanes. When it comes to installing hinges, I use Du-Bro Products’ pinned hinges and the tools required to do the job. Here’s the basic technique that every RC builder/modeler should know.
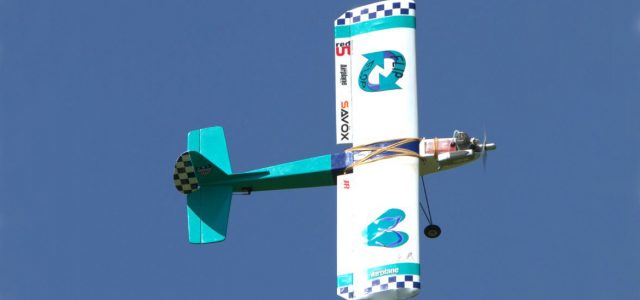
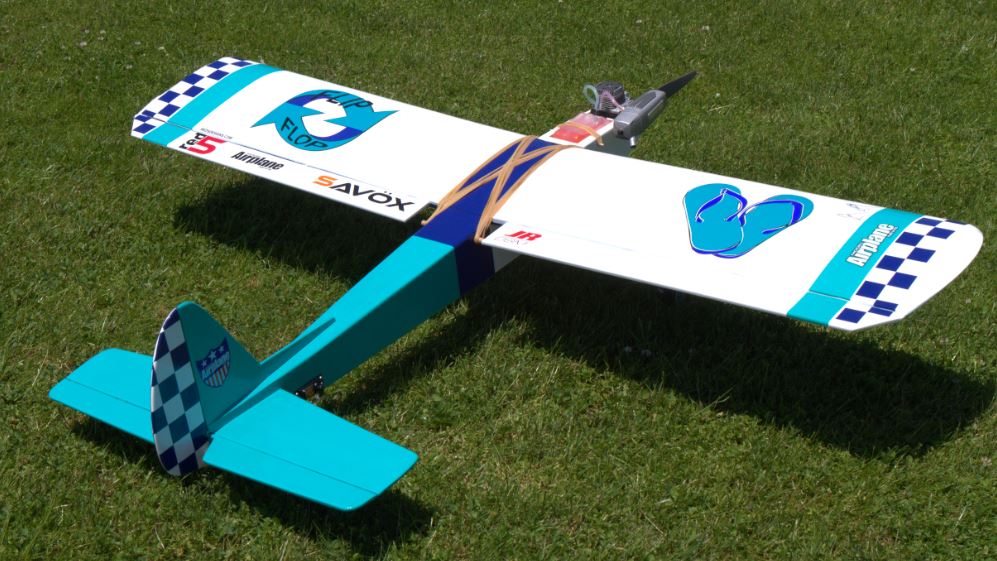
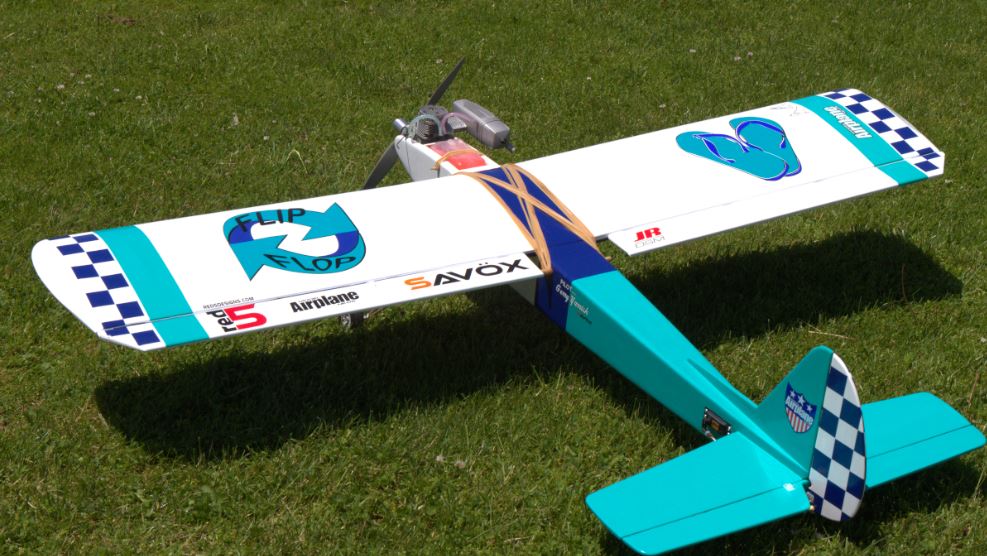
Show here is my Florio Flyer 60, a retro aerobatic sport fun fly design. With its enlarged control surfaces and powered by an O.S. .72 engine… so it needs strong hinging.
Many ARFs and several basic kits today use easy to install CA cloth hinges. But with fun fly planes having extra power, something more sturdy to stand up to the wear and tear (and vibration,) especailly in the tail is needed. For this I rely on the pinned hinges from Du-Bro Products.
To install them you have to cut hinge slots in the edges of the control and flight surfaces and the easiest way to do this is with Du-Bro’s Hinge slot cutter tools. These are very easy to use and you can cut all the slots and insert all the hinges in an entire plane in less than 30 minutes. Here’s some of the details for the process.
")
 You need few tools and supplies. The Du-Bro hinges and Hing Slot Cutting tools are available at most hobby shops. The glue shown here, called “Hinge Glue” from Pacer Zap Glue is no longer available, but Zap Canopy Glue works equally as well, being the same formula but just drying clear. A long skinny applicator tip makes getting the adhesive deep into the slots a piece of cake. But this is done of course, after the model has been covered.
 First things first, use a marking pen or pencil and find the centerline of the control surfaces and determine the locations of the hinges. Use your finger tips and strike a centerline along the edge of the surface and then flip the surface around and check to make sure your line is centered. For a glow powered sport plane, I always uses at least 3 hinges per surface and most often 4. Two hinges is not enough as if one fails, you will lose the entire surface in flight.
") Use the forked tool that’s the width for the hinges you are using (here the 1/2-inch hinge tool) and insert into the edge of the surface at your marked location. Use a rocking motion and slowly push the tool into the surface about 3/4 inch deep. Make sure to center the tool and keep it parallel to the surface. If it is angles, the ends will protrude out the side of the surface.
Use the forked tool that’s the width for the hinges you are using (here the 1/2-inch hinge tool) and insert into the edge of the surface at your marked location. Use a rocking motion and slowly push the tool into the surface about 3/4 inch deep. Make sure to center the tool and keep it parallel to the surface. If it is angles, the ends will protrude out the side of the surface.

")
Clean out the waste material from the middle of the hinge slot with the clean out tool. This picks the material cleanly out with a sweeping motion and the width of the tool blade makes the slot perfect for the hinge to be glued into it.


Here you see the freshly cut slot and the leading edge slightly recessed (about 1/16 inch) with a hobby knife. This helps minimize the hinge gap between the mating surfaces.
")
")
Here you see the difference between the recessed hinge slots in the rudder (left) and the yet to be recessed hinge slots in the elevator (right). Having neat, tight fitting hingelines and slots both looks better and helps minimizes the chances of control surface flutter during high speed flight. The same tools are used for the ailerons.
")
") Shown here is the hinge inserted and you can see that it protrudes through the leading edge strip. This is fine as there’s plenty of gluing surface covered to properly support the hinge. In larger planes where less than half of the hinge leaf is covered with balsa, you have to glue in additional material to form a deeper hinge slot pocket.
Shown here is the hinge inserted and you can see that it protrudes through the leading edge strip. This is fine as there’s plenty of gluing surface covered to properly support the hinge. In larger planes where less than half of the hinge leaf is covered with balsa, you have to glue in additional material to form a deeper hinge slot pocket.
")
For hinges to operate smoothly and not bind, it is important to install all the hinges so they all fall in line with each other. This hinge alignment is especially important for longer surfaces like the ailerons on this fun fly airplane.
With the model all covered and finished, the final step is to insert the hinges and glued them into the movable surfaces. Let the glue dry and then apply more glue to the fixed surfaces and insert the hinges into place. Being water based adhesive, you can wipe away any glue that seeps out with a damp paper towel. Make sure the hinges all line up properly and set the surfaces aside to dry over night. When that’s done, go ahead and install all your control linkages and you’re done!
Until next time…. Build Something!


