
Over the weekend I did some more testing and this time I used some sheet alumiinum. 6061-T3 to be exact and this 1/16 inch thick sheet was covered on one side with some clear, stick-on vinyl. I set up the work piece with a 1/8 inch spoil-board made of hobby grade lite-ply and clamped the aluminum into place with the hold-down bars and clamp screws.
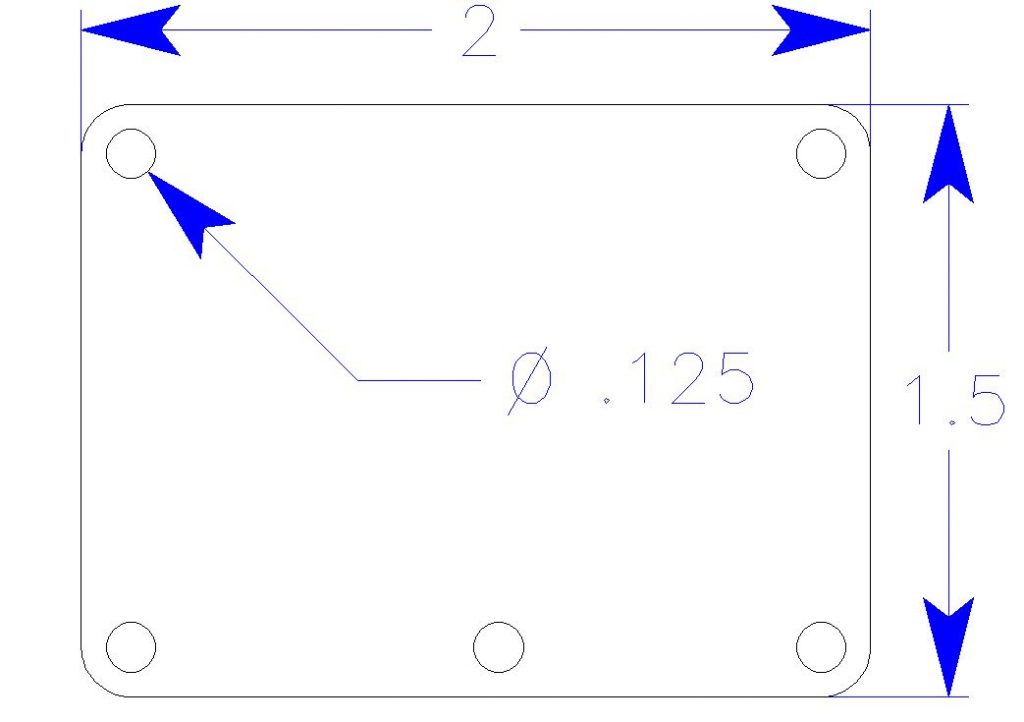 For the test cuts I produced a simple rectangle with radii at the corners and 5 1/8-inch (.125 in) holes. Basically this was to figure out the basic speeds and feeds for aluminum. I used my Graphite CAD program and drew a simple rectangle (to the left), and imported it into the VCarvePro program to create the G-code for the CNC system. With this program the feed rate and the depth of cut for the selected milling bit can be input, adjusted, saved and changed depending on the material you want to machine/cut/mill.
For this test, I selected a single flute 2mm end mill and setup the depth of cut to 0.020 inch, and a feed rate of 10mm/sec. The plunge rate was set at 5mm/sec. After running a couple jobs I found that the proper rpm for the Kress spindle turning the tool bit was 12,500.
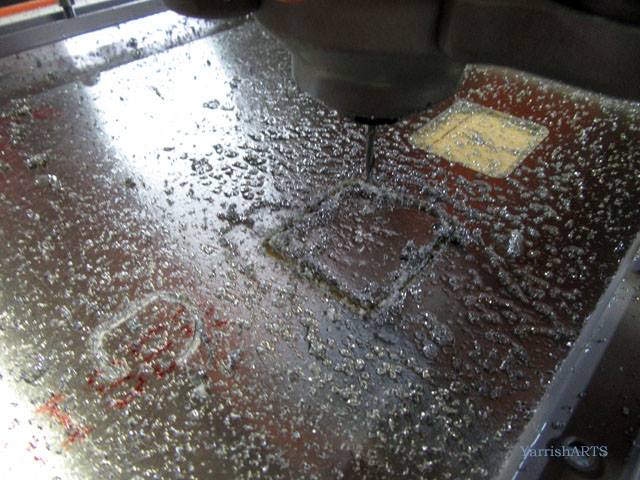
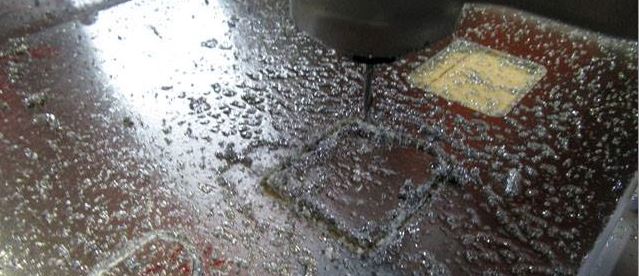
I also used WD40 as a cutting lube, though not ideal, (kerosene is best), the lube did quiet the cut and reduced vibration as the various cut paths were run. With a 0.020 in. depth of cut, it took a total of four passes to cut through the aluminum sheet and form the holding tabs I selected to hold the part during machining. Without the tabs, the part would move and catch an edge once the last cut was made, and this could damage the part and possibly break the small diameter milling bit.
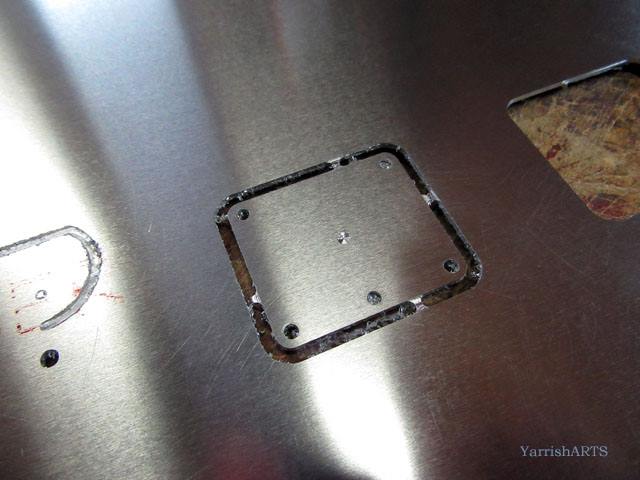
Here is the cleaned off aluminum sheet after the part was cut out. As you see the tabs are still in place. They are easily broken with a pair of dykes (diagonal cutters).
The finished part is shown below, with the tabs removed. You can quickly clean the edges with either a file or by using a belt sander or Dremel Moto-Tool.
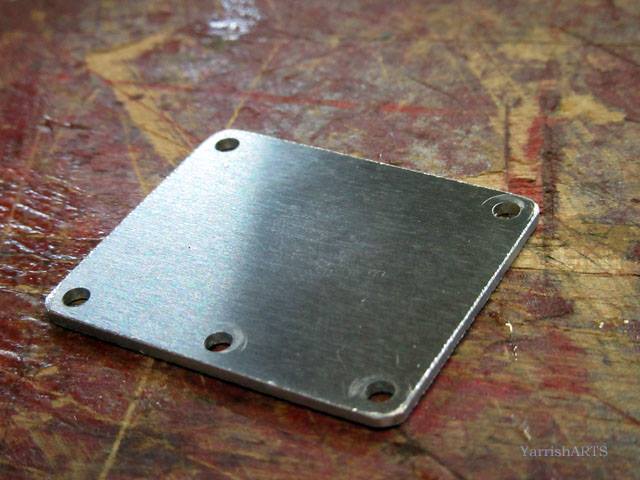
Again this is just a test job and not an actual RC airplane part. Compared to the drawing, I used a digital veneer caliper and I found that the Stepcraft CNC system had an accuracy of about 0.002 inches.
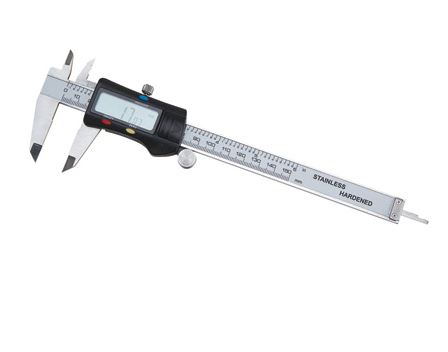
Pretty good for any modeling tolerances. If you are looking for precision measuring tools like veneer calipers or a micrometer, they are available online and at outlets like Northern Tools and Harbor Freight. They are very reasonably priced and a lot more accurate than a ruler or a steel rule.


