
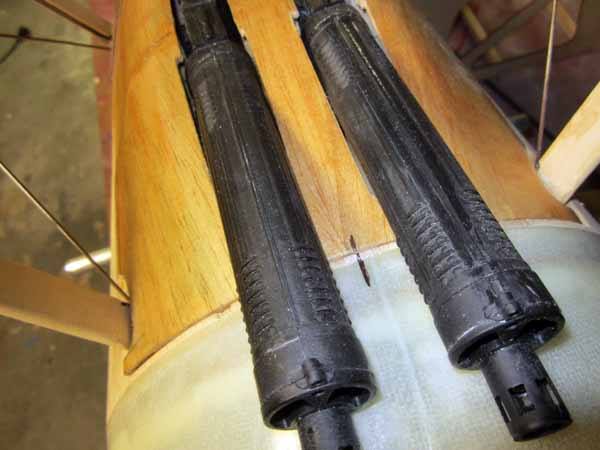
Recently, I found out that home repair stores like Home Depot stock in their hardware section Rare-Earth magnets ideal for use as engine cowling attachment devices. They come in all sorts of sizes and types and for my ongoing workshop build-along for the Sopwith Camel, I used 1/4 inch and .47 inch diameter x 1/8 inch thick magnets. And, the best part, there are very cheap to buy, often less than $4 for a package of six or eight depending on size. The fiberglass engine cowl shown in this post comes from Fiberglass Specialties.

So the first step was to make some lite ply retainer plates the magnets would fit in. I laser cut these 1×1 inch squares with the proper size holes cut in the center.

The magnets are a snug fit in the holes and so a few drops of thin ZAP CA glue is all that’s needed to hold the magnets in place. They sit flush on both sides of the plates.

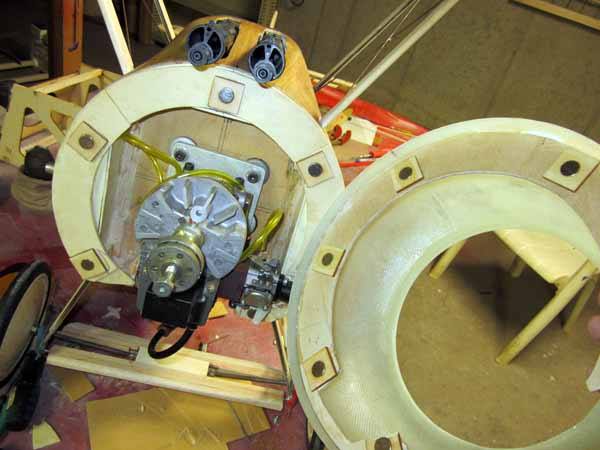
Next use 5-minute epoxy and glue the magnetic retainer plates around the cowl ring on the fuselage as shown. Tape holds the plates in position until the epoxy has set.
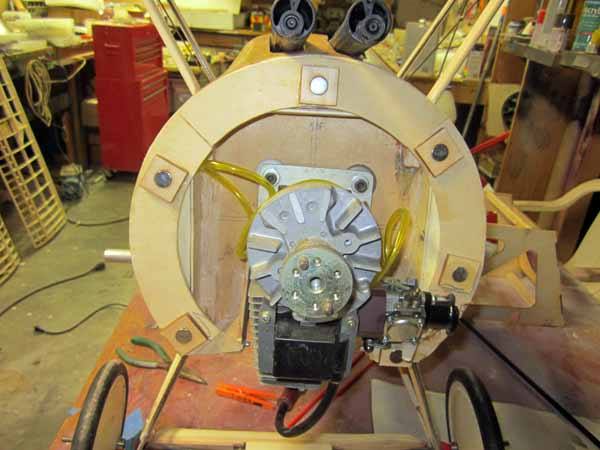
I placed the matching cowling retainer plates on top of the fuselage magnets and then made a plywood ring that’s a snug fit inside the cowling. I pushed the cowling and cowl ring into position with the double stack of magnetic retainers setting the proper gap distance. I then used some thick ZAP CA to tack glue the cowl ring inside the cowling.
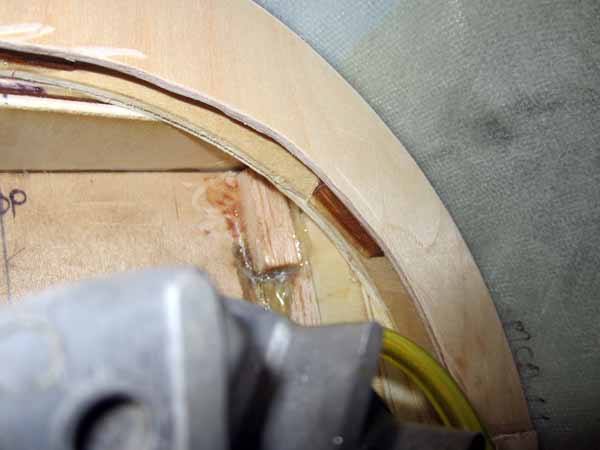
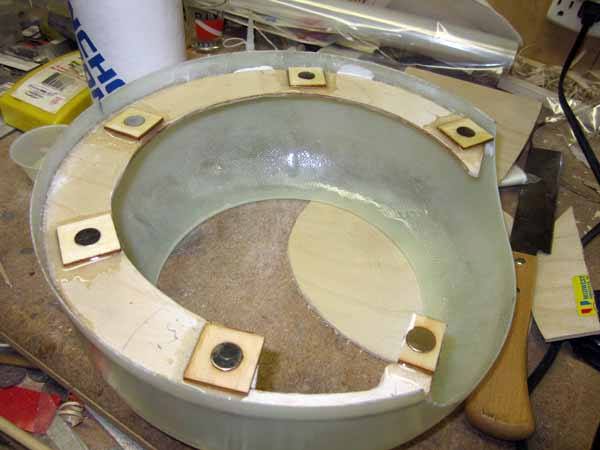
Below you can see the plywood ring tack glued in place within the fiberglass cowling. Notice the cutout area to clear the engine’s carburetor.
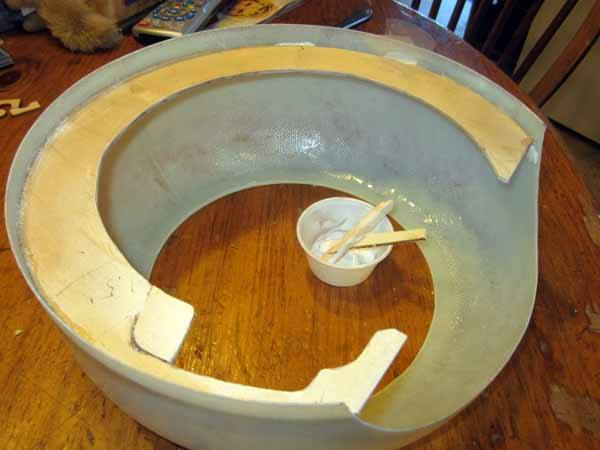
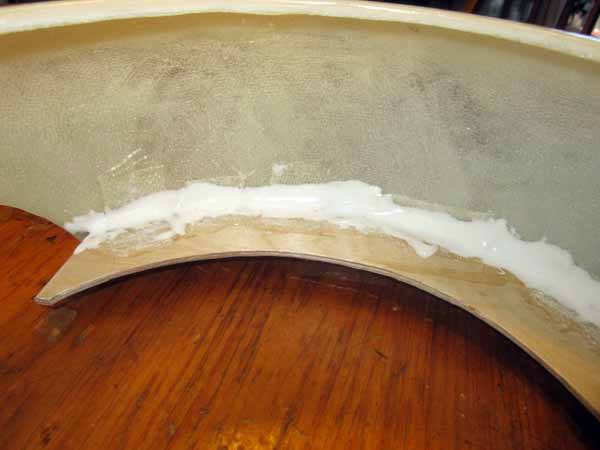
Here you see the completed installation of the plywood cowl ring. I first CA glued in several sections of fiberglass take (2 oz. weight), and then I built up a fillet using a mixture of 15 minute Pacer Z-poxy and micro-balloons. THis thick mixture is trowelled into place with a mixing stick and smoothed into place before the mixture set up.
I then applied 5 minute epoxy to the second row of magnets on the fuselage and quickly pressed the cowl and cowl plate into position using an index mark to make sure everything was lined up properly. I used tape to hold the cowl in place until the epoxy cured.
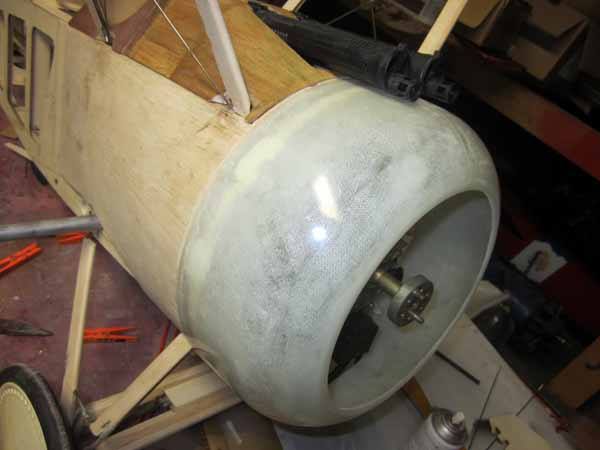
About 20 minutes later, the epoxy had set long enough to all the cowling to be removed as can be seen below.
I applied more 5-minute epoxy around the edges of the square plates to fill any gaps between them and the cowl ring. I also cleaned off any access epoxy from the face of the magnets with some solvent.
That’s it, the strength of the .47 inch magnets is more than strong enough to hold the cowl in place even with the engine running at full power. All that’s now left is to clean off the engine cowl, paint it and finish off the rest of the Camel’s build.
Give rare earth magnets a try. They are a great way to hold model parts together and eliminate those ugly screw heads in your next scale project. As a side note, I also use size 1/4 inch x 1/8 inch thick magnets to hold the main hatch cover (canopy and machine gun hump), in place.


