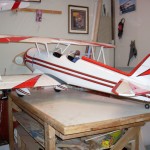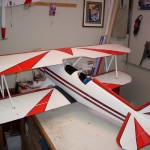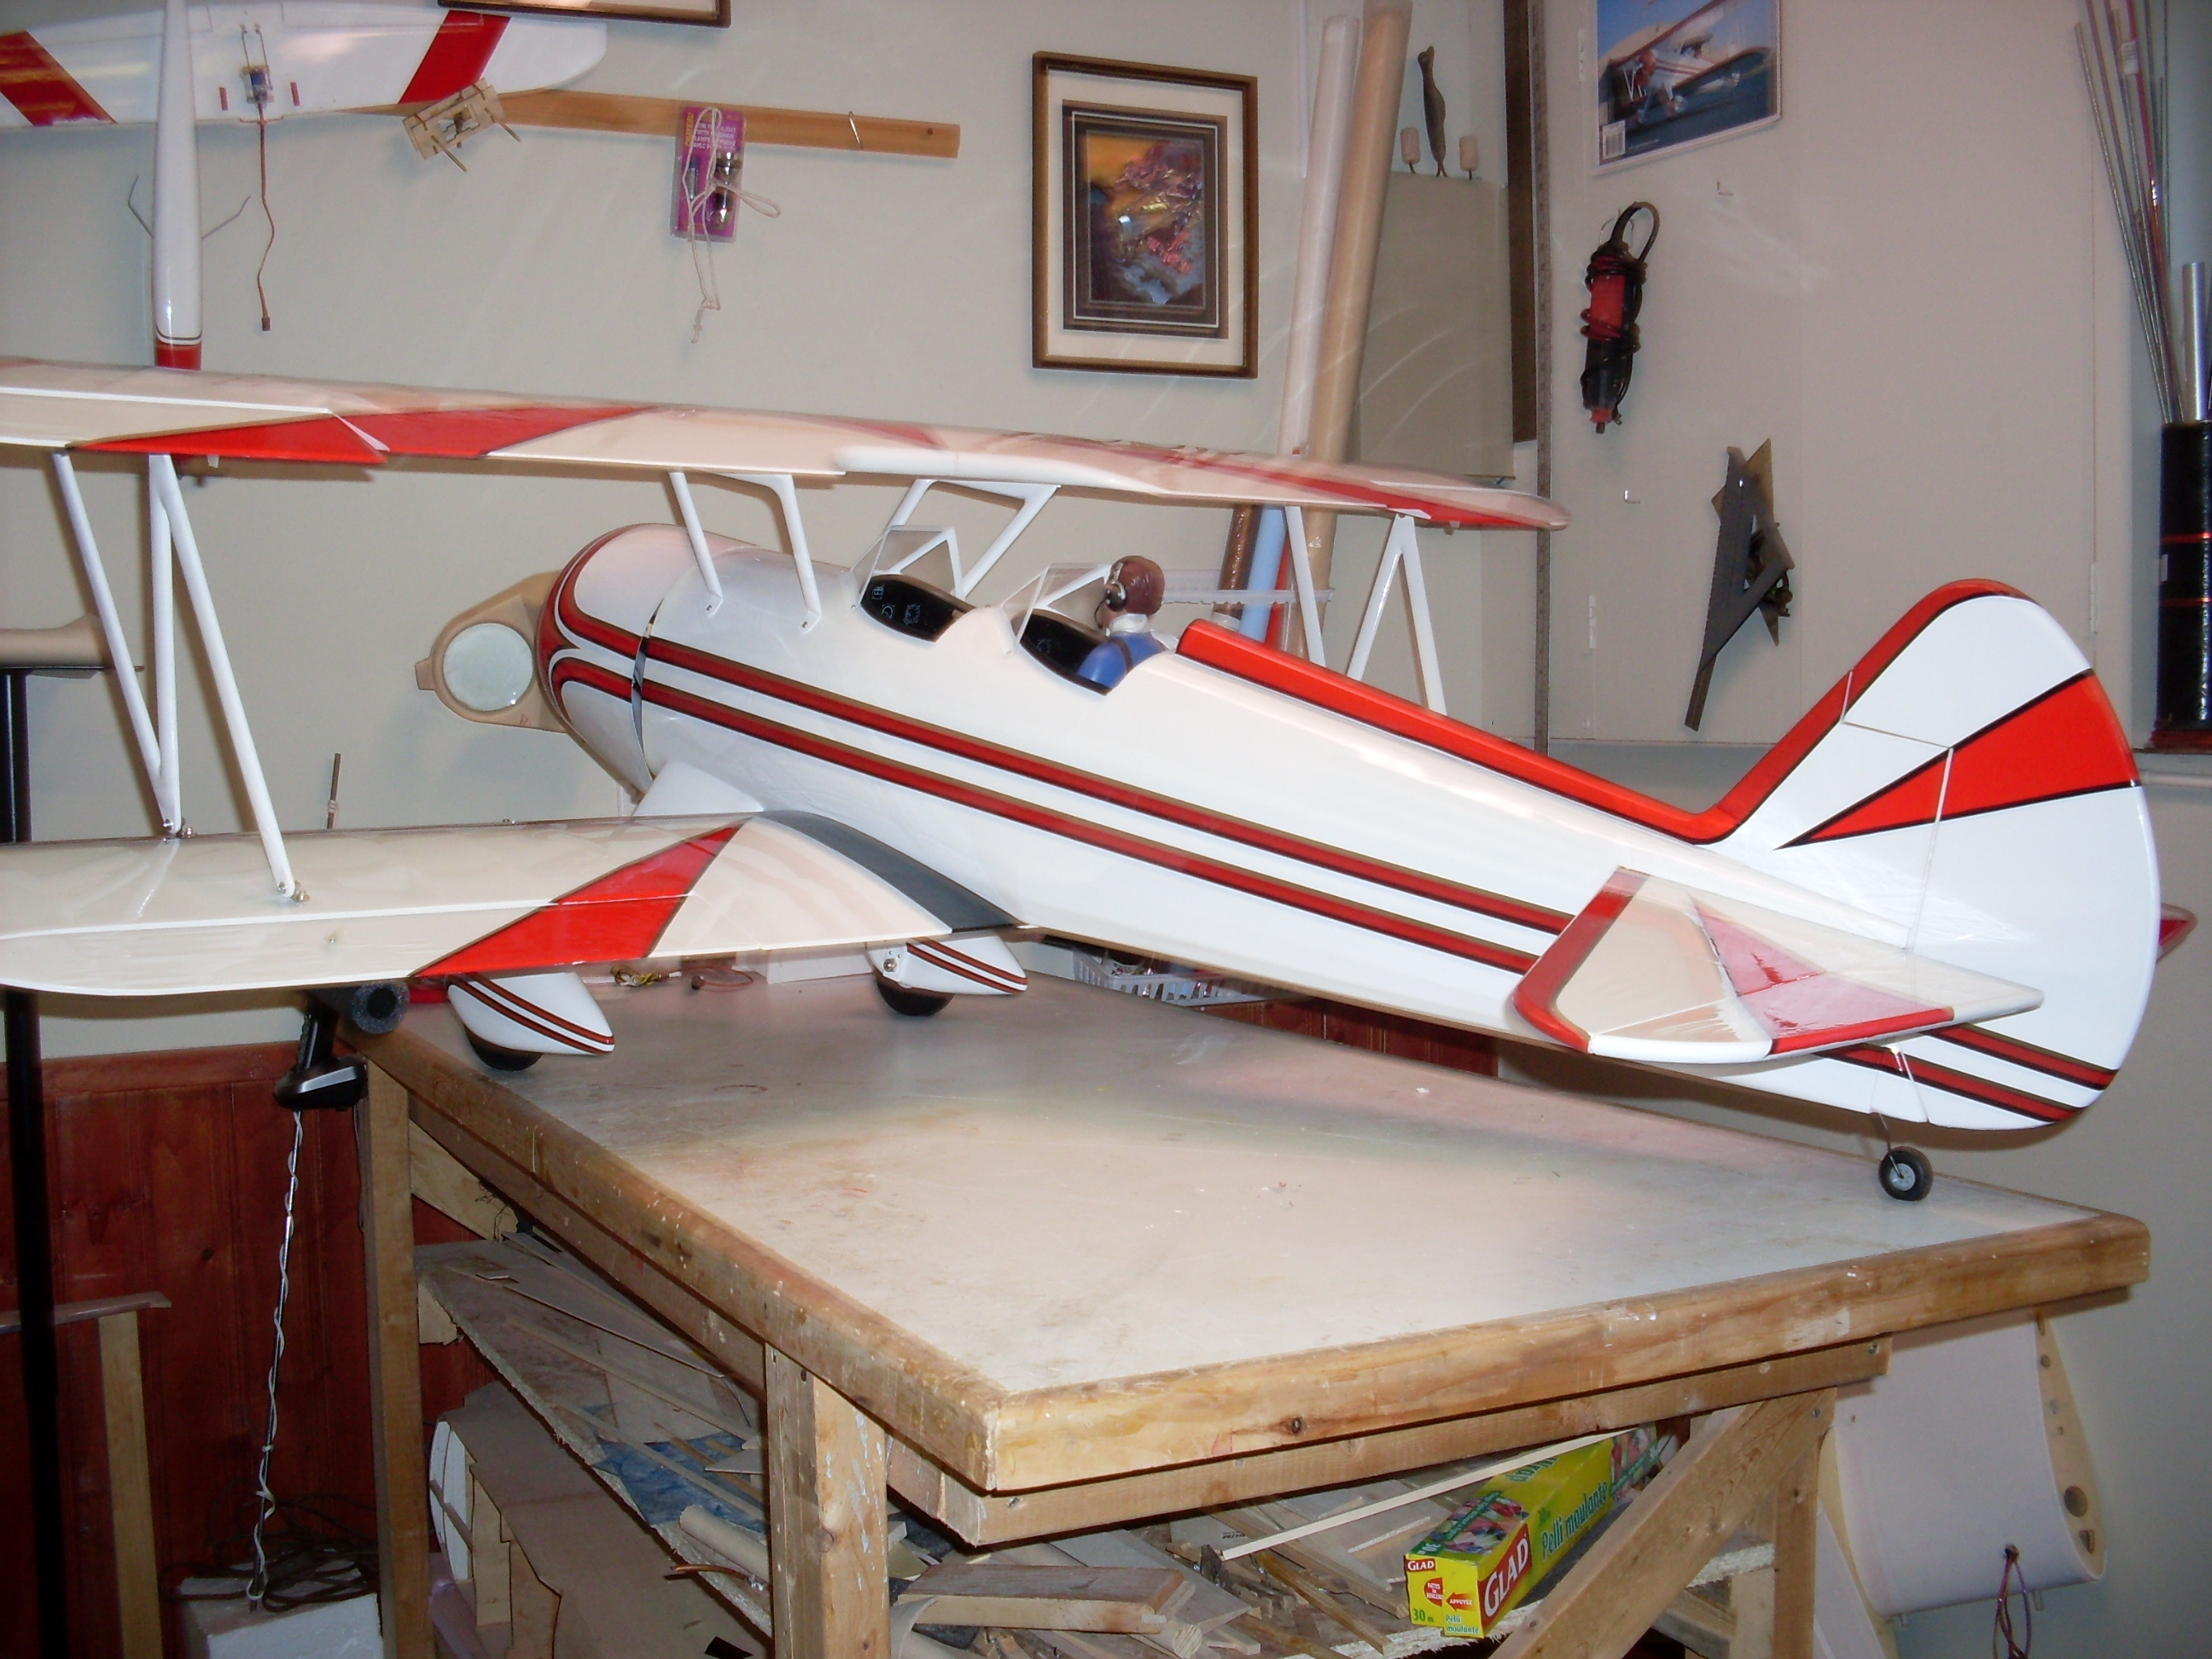
Some modelers are like sport-stars with superstitions and idiosyncrasies that are followed for every flight or build. A friend once told me he makes every airplane the same colour that way his wife never notices the new ones. A successful pattern pilot gave me a tip for competition; always cover the bottom of the plane to look the same as the top. The idea was the judge will see what he thinks he should be seeing even if the pilot is rolled the wrong way. This time personalizing your ARF is about adding a little more trim to your ARF plane to help it stand-out on the flight line.
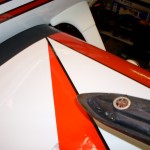
There are some great articles & videos on how to apply heat shrink covering. A quick search of youtube will give you many excellent tutorials. The focus of this article is changing the appearance to suit your own preferences, basically adding some plastic covering on top of existing plastic covering. For the Stearman I added a sunburst, merely several red triangles and black lines.
If you are looking for ideas for trim schemes spend a little time on http://www.airliners.net/ thousands of airplane pictures, search on your favorite type. It’s important that the covering you add is compatible with the covering on your ARF, Top Flite & Great Planes ARFs are covered in Monokote, Hangar 9 ARFs use UltraCote. I have had the best results when applying like brands on top of each other. For the Stearman I choose MonoKote red and black.
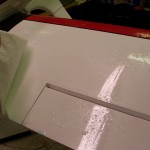
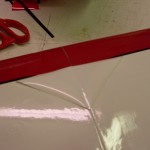
- Clean the section of the plane where you will be adding the trim, use alcohol or a degreaser to ensure it is oil free. Remove any hardware, decals orABSplastic from the area.
- Cut the trim piece to shape (large triangle for sunburst) us a metal straightedge & x-acto knife.
- Place the trim piece in position (don’t forget to remove the clear backing)
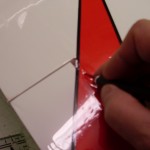
- Using a hobby iron set at 275o F begin ironing down the trim starting in the center working towards the edges.
- Iron the entire area to ensure the trim piece is well adhered to the covering.
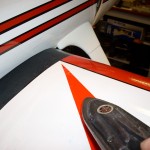
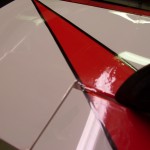
- To add a 1/8” trim line, tack the line at one end, pull trim tight tack down at other end, tack in middle, at the quarters etc. Iron the whole length attaching the trim.
- When adding trim go over any hinge lines or gaps. Once the trim has been attached cut the trim & iron down the edges to allow surfaces to move as they should.
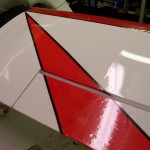
The photos should help you follow the steps, start with something simple straight lines or a circle. You can use this technique to add warbird markings like roundels or “stars & bars” assuming that the ARF is covered using a plastic film.