
Installment No. 3. The Taylorcraft build-along is making great progress and the construction of this laser cut kit from Alien Aircraft continues to be straightforward and easy.
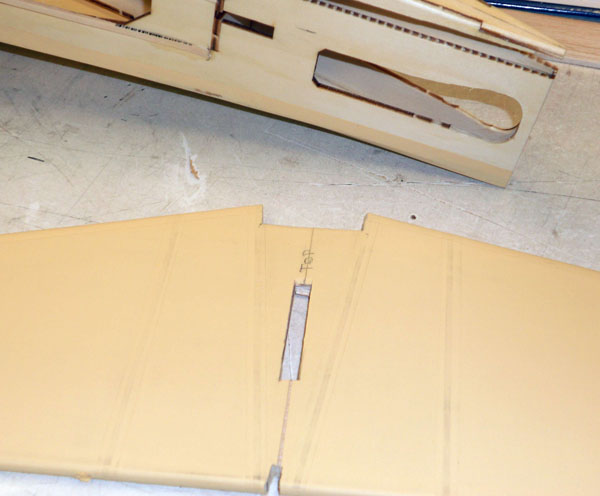
Stabilizer is nearing completion. We’ve moved the stabilizer forward about 3/8 of an inch by notching it in the center front. This moved the hingeline forward making it easier to put the elevator pushrod inside the fuselage.
The elevator halves are joined with brass tube instead of the harwood joiner. We also soldered on a hand-made horn before joining the halves. Notice it is angled forward. You’ll also notice we used small Robart Hinge points and used two per spot to give us the reliablity we needed and a more scale looking hingline.

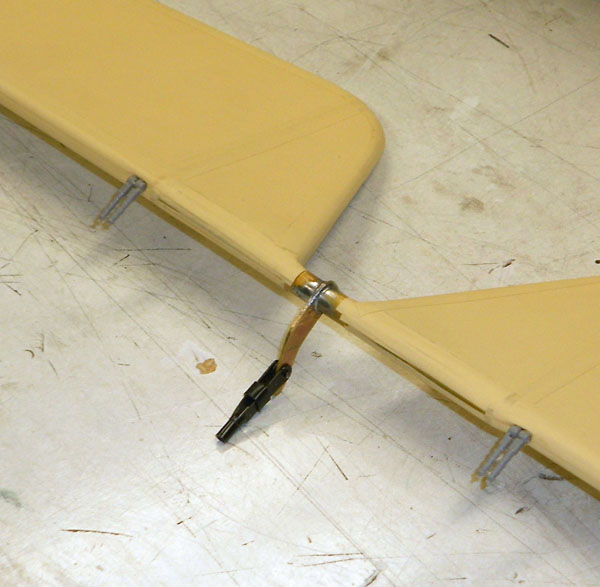
To fit the clevis, we did also need to widen the fuselage. The bottom section of the fuselage was split up to the bottom cutout in the fuselage bottom sheet and an 1/8th piece of plwood strip was inserted. It is almost undectable but gave us the width we needed. We also opeend the lighting hole in the side of the fuselage for better access to the horn if we ever need to access the clevis.
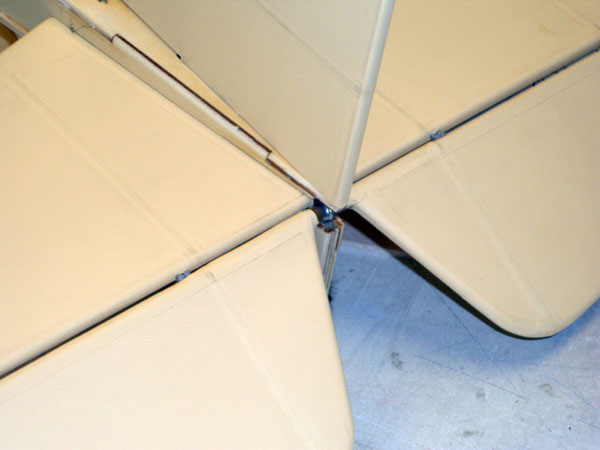
All put together we get a very scale looking hinge line with the elevator pushrod internal just like the full size Note that the full-size had external pull/pull for the rudder. We will be using the stock pushrod exits for the rudder. We’ll show that soon!

The Taylorcraft had a very obvious door and the plans already shaped it out. We showed the frame in the last fuselage installment. Here is a picture of the door cutout. It will be hinged and latched with a very simple hatch catch later. All of these simple changes are adding up to a beautiful Taylorcraft that has lots of scale detail yet is almost as simple to build as the stock sport kit!
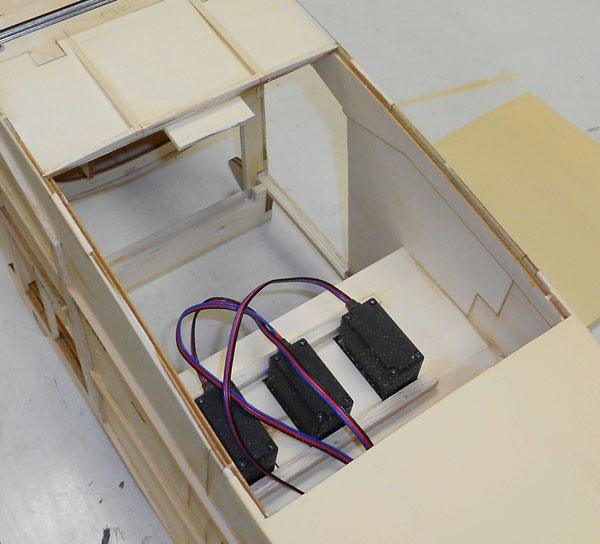
Fuselage Bottom Hatch Update:
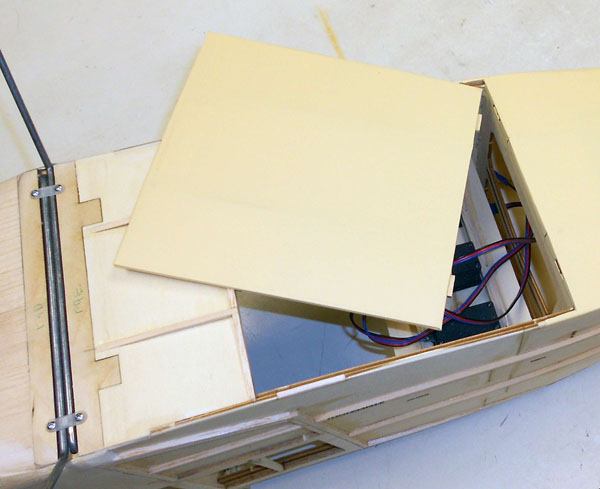
Our access hatch is now notched and covered and ready to mount. This is not a scale addition, just a modification we felt would make the plane easier to use. This is the whole point of kit building. Not only can you make modifications to suit your interests and needs, but you can make it as custom as you want. This is made especially easy when the kit you start with is a great as this Alien Aircraft Taylorcraft.
Next Installment:
Previous Posts:
Part 1 https://www.modelairplanenews.com/blog/2013/03/21/workshop-build-along-alien-aircraft-taylorcraft/


