
So with the firewall taken care of, I next tackled the main landing gear attachment blocks. Of course these are not usually available at the local hobby shop, so depending on the size you need, you’ll either have to order them online, or make them yourself as I did.
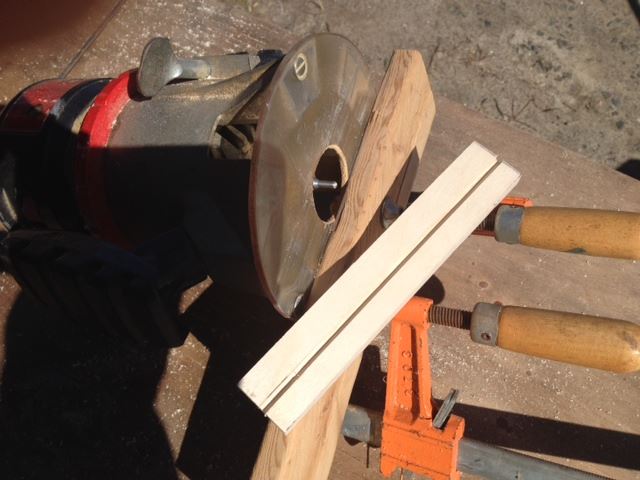
I used a router with a 3/16 inch half-round bit to form the groove in a 1/2 inch x 1.25 inch strip of plywood. Several passes are needed making each pass slightly more deep than the last. The hardwood gauge block is clamped to the router to make sure the groove is straight.
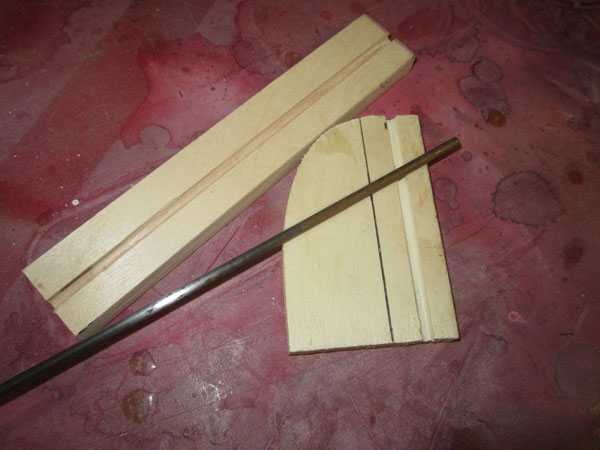
Here the finished strip along with the 3/16 inch music wire I will use to form the landing gear. The other piece of plywood was used as a test piece to set the router up properly.
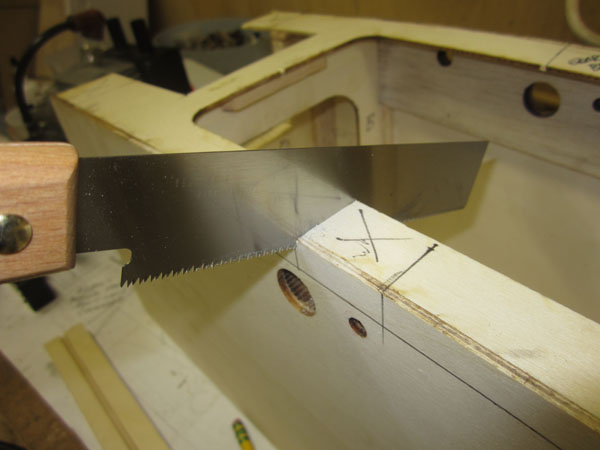
Use the side view of the plans to mark the position of the openings for the gear blocks to fit into. Take your time and make the fit snug but not too tight.
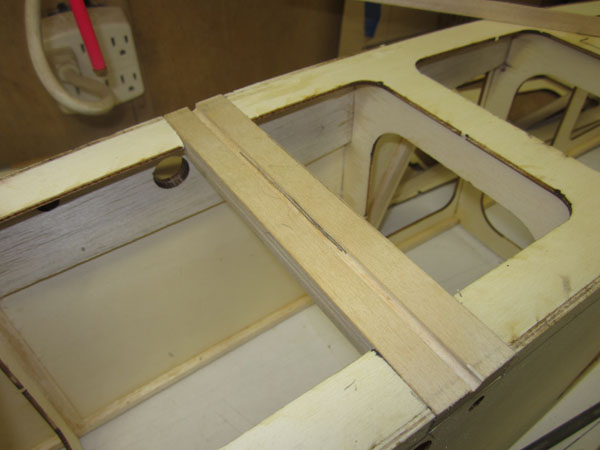
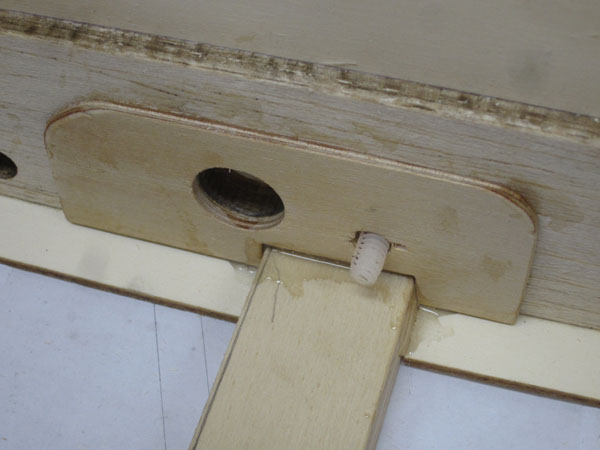
Here the aft block is set in place to make sure it fits flush with the bottom of the fuselage.
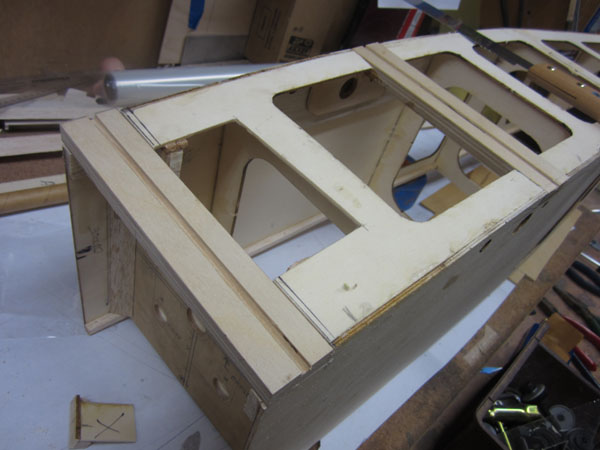
To support the gear blocks I installed 1/8 inch plywood doublers. These also tie in and support the bottom wing’s spar tube socket and installation bolts.
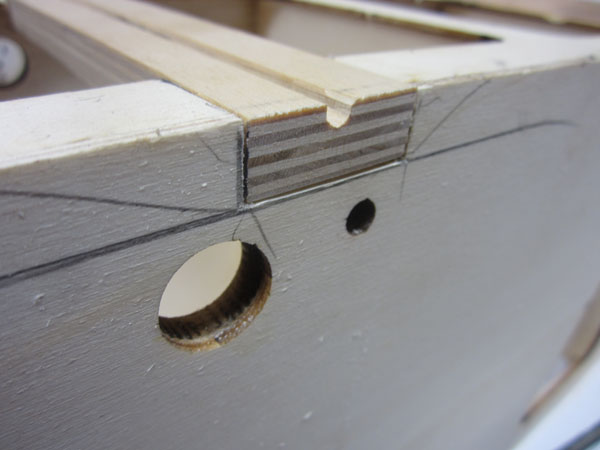
Once glued into place, the gear blocks should be trimmed so the ends are flush with the sides of the fuselage structure.
The front gear block is installed in the same way. Once the glue sets and plywood supports are installed, the long block will have the center section cut away to clear the engine and muffler.
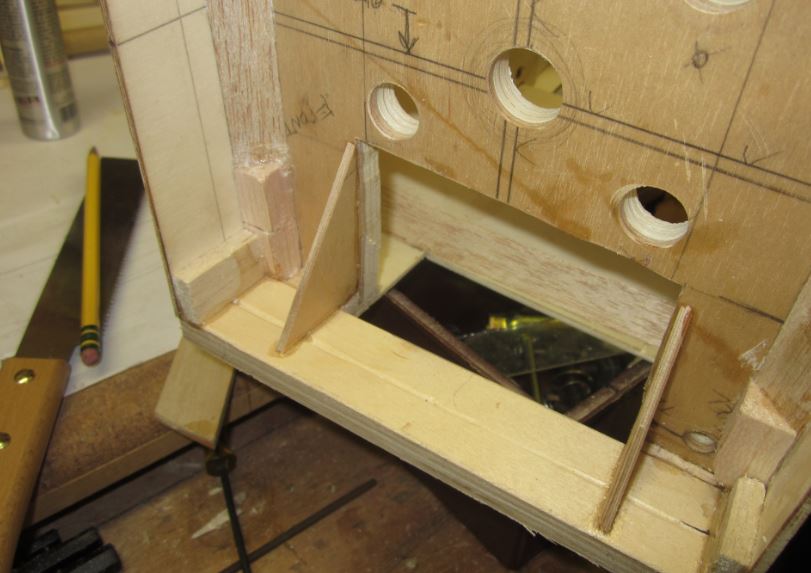
Here are the plywood block support gussets made from 1/8 inch plywood glued to the front gear block strip.

As with the firewall, the front gear block and the plywood braces are reinforced with strips of triangle balsa strips glued in place to increase the gluing surfaces.
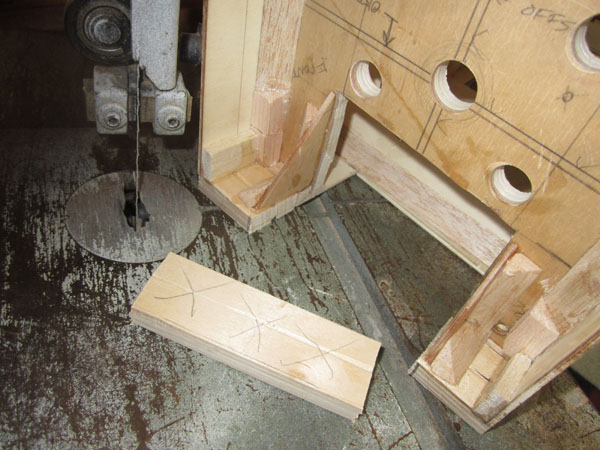
A quick couple passes through the bandsaw and the scrap center section of the gear block is removed.
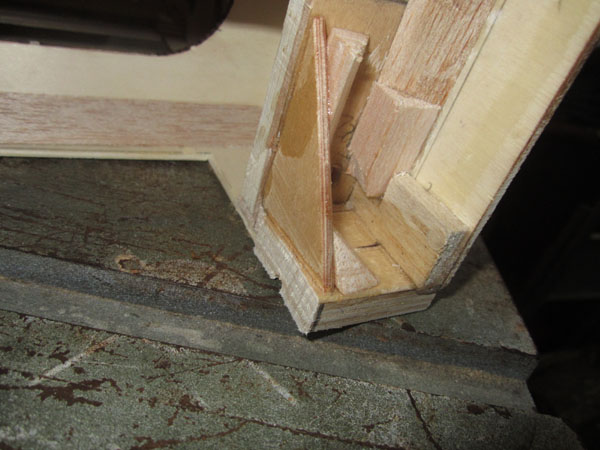
The cuts are flush with the plywood support gussets and will be sanded flush for a smooth surface. Later the muffler box made from 1/8 inch lite ply will be glued in place to seal up the engine compartment from the radio compartment. After that, the rest of the fuselage bottom surface will be glued into place.
That’s it for now, I have to wait for my hobby shop to order some 3/16 inch music wire so we can form the landing gear.
As a reminder, all the laser-cut parts for the build were cut by Trillium Balsa, (www.trilliumbalsa.com)
To go the next installment, (Part 5,) click this link: https://www.modelairplanenews.com/blog/2014/04/27/workshop-build-alone-sopwith-camel-forming-wire/
To see the last installment, click this link: https://www.modelairplanenews.com/blog/2014/04/13/workshop-build-along-scratch-building-a-sopwith-camel-part-3/
Until then, build something.


