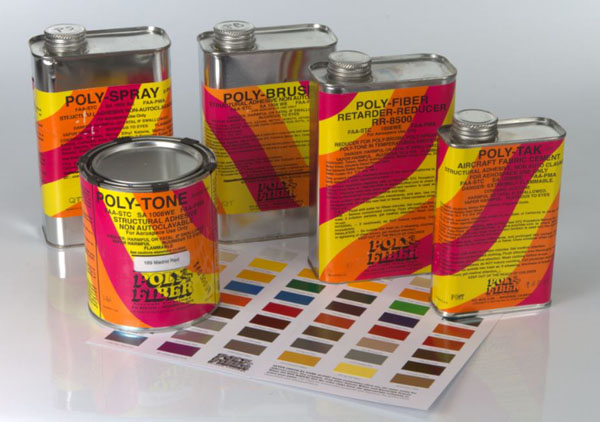
When it comes to producing a nice smooth paint job over fabric covered RC models, the best and quickest way is to use Poly Tone paint and it’s various finishing and coating products. Available from F&M Enterprises, all the products are formulated to work with each other. After more than 20 years of experience, I have found them extremely easy to use.
I use a HVLP (High Volume, Low Pressure) paint gun as it produces much less over-spray and provides a wide range of control for the amount of paint and air being mixed together and applied to the model. The best solvent to use for cleaning your equipment is Acetone. I also use chemical blocking hand cream while using the paint and solvent. And of course, you should have good ventilation in your shop and wear a replaceable filter cartridge painting mask.
The first step is to apply the Poly Brush sealer coat to the fabric covering. You can use a brush or spray it and it takes between 2 and 4 coats to provide a smooth base for your paint job. The more coats you use, the smoother your finish will be.
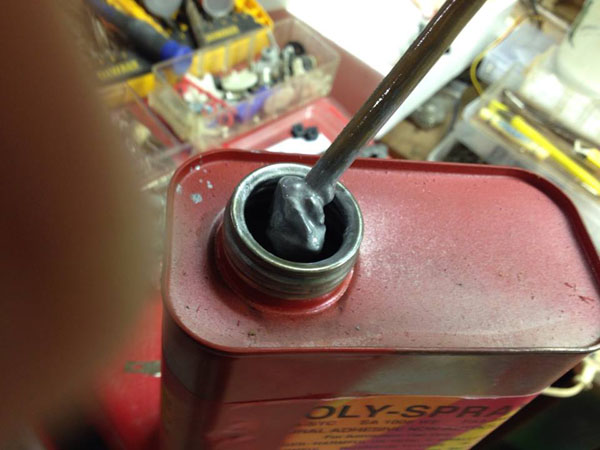
Next comes the Poly Spray Silver undercoat. It is very heavily pigmented with aluminum powder and needs to be completely mixed and reduced before spraying with your gun. It is best to use a wood dowel to stir up the settled pigment from the bottom of the can.
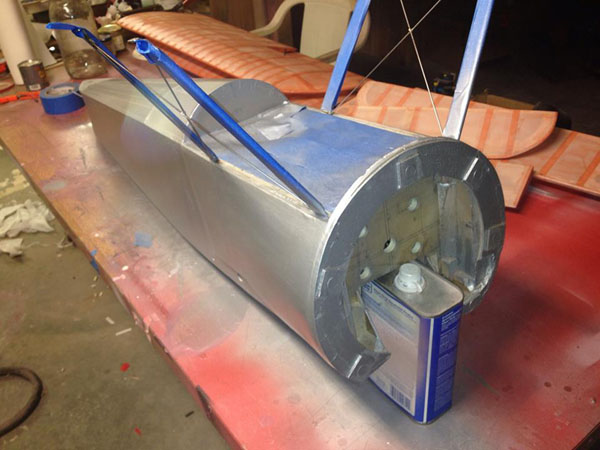
Here’s the fuselage with two coats of silver applied. The tail surfaces and the wings are next.
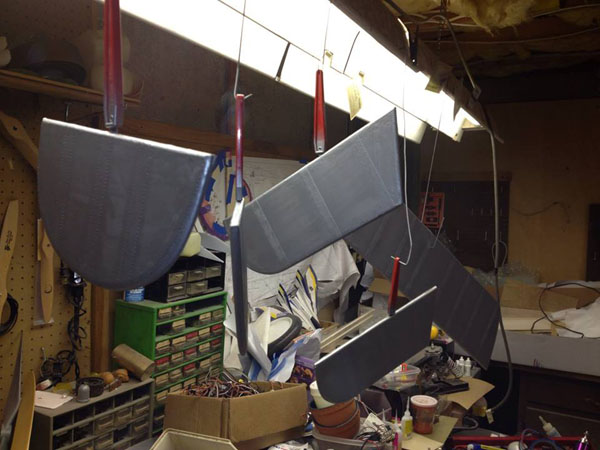
Here are the tail surfaces with silver undercoat, hung up to dry between coats.
For the larger surfaces I shoot them with paint while horizontal blocked up on my work/paint table. I go over all the edges first and then apply paint to the rib tapes. I then fill in one coat with span-wise coats followed by chord-wise coats. I apply two coats of each color with about an hour drying time between each application.
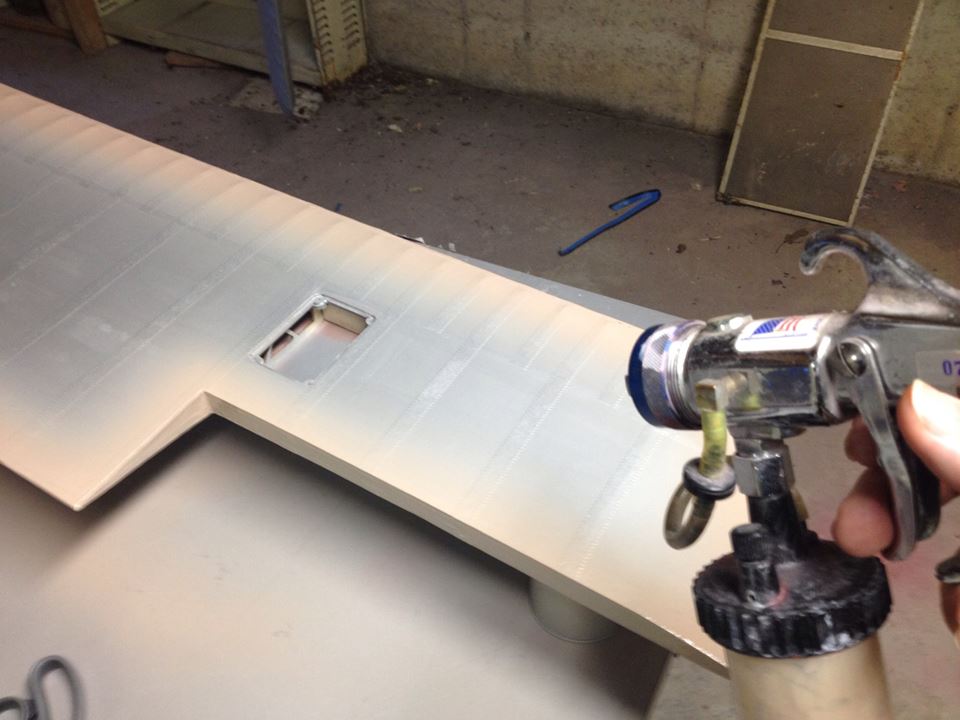
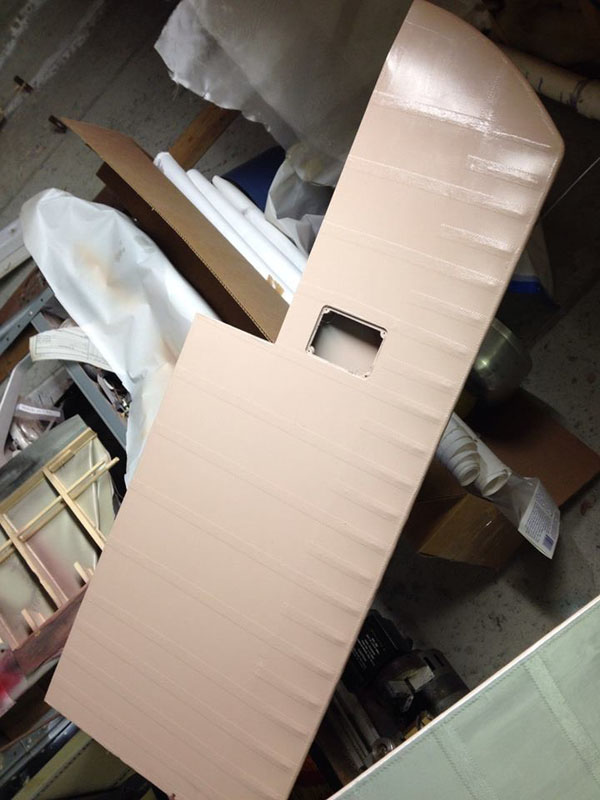
Here’s the light underside buff tan color applied to the wing panels.
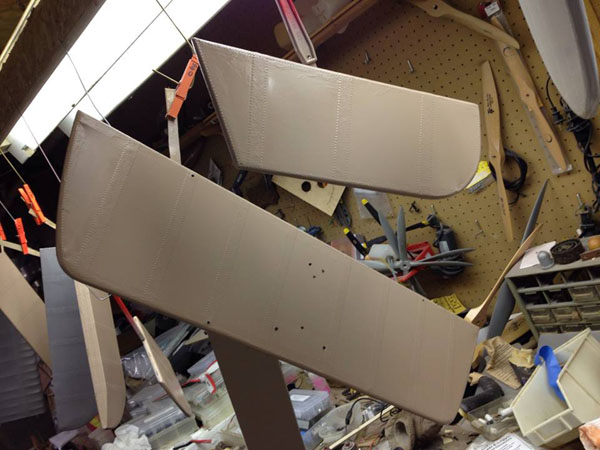
Same technique goes for all the other surfaces, the stabilizer and elevators, rudder, fin and all four ailerons. Also the tan color is applied to the fuselage bottom surface.
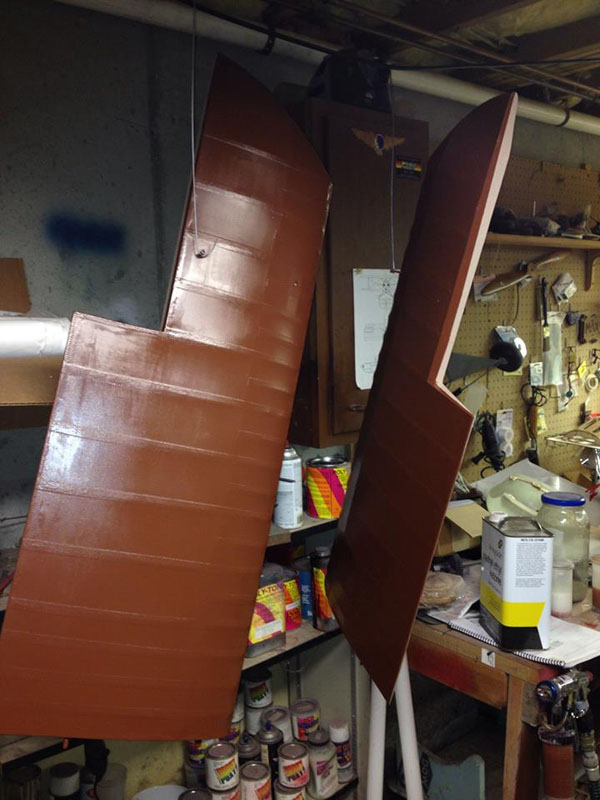
I let the first color dry over night and then I add the top surface color. In this case the vintage Sopwith brown color, which is I think more attractive than the olive green color you see so much used on Sopwith airplanes.
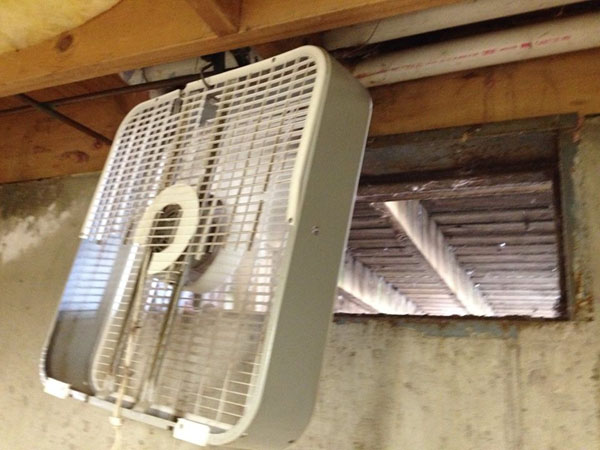
It is always important to have good ventilation and here’s my quicky setup. It works great in keeping the over-spray and fumes from building up in my basement!
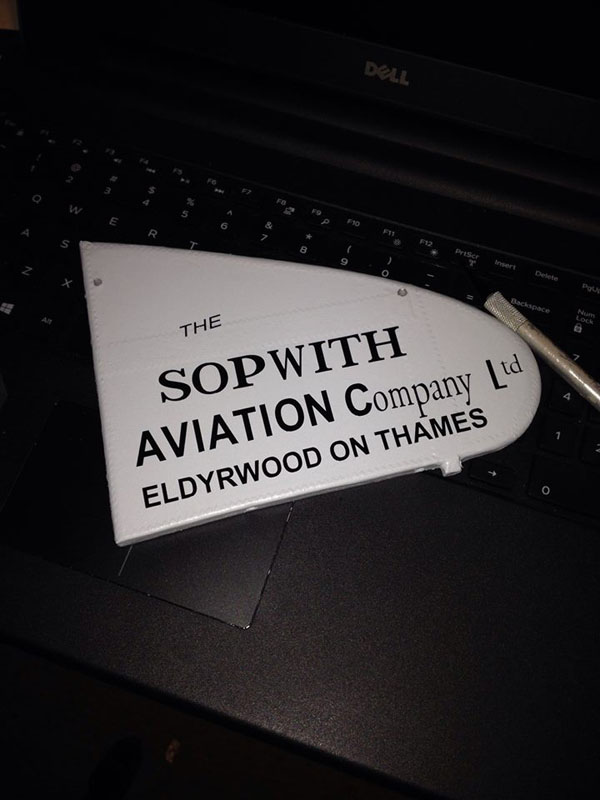
For the fin and rudder, I used Juneau white which is a slightly darker white, or a very light shade of gray. In fact, one of the reasons I love using the Poly Tone brand of paint is that it has a fantastic shelf life, if you seal the cans properly. I bought this white paint for a Stearman project I did back in 1996! It’s still works great.
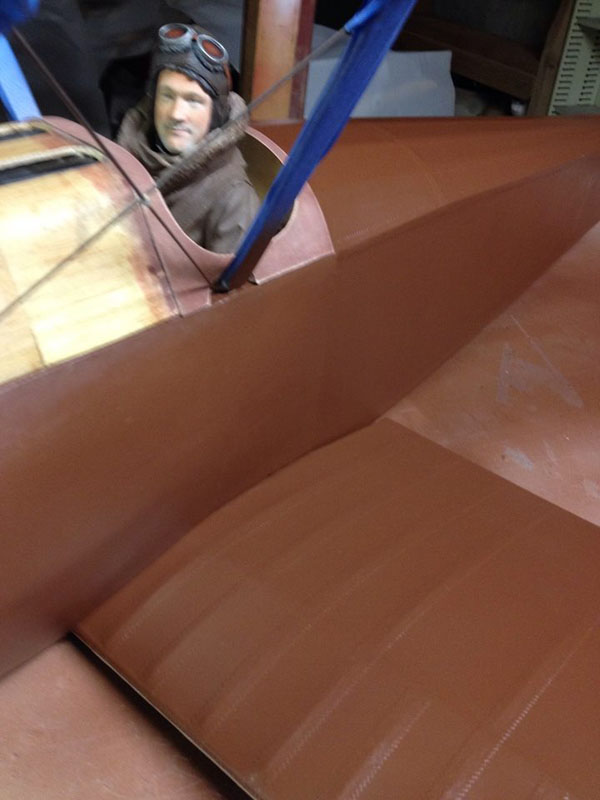
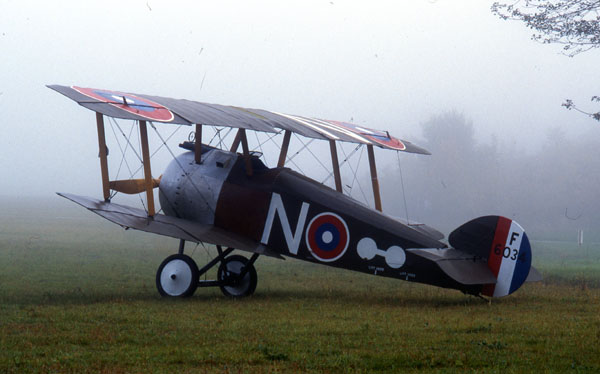
So here it is, all the cloth covered surfaces have been sealed and painted. I think the brown is a striking color for the Camel and will be very attractive when the graphics and decals are applied
Here are a could of photos of a Camel with the brown base color paint scheme.
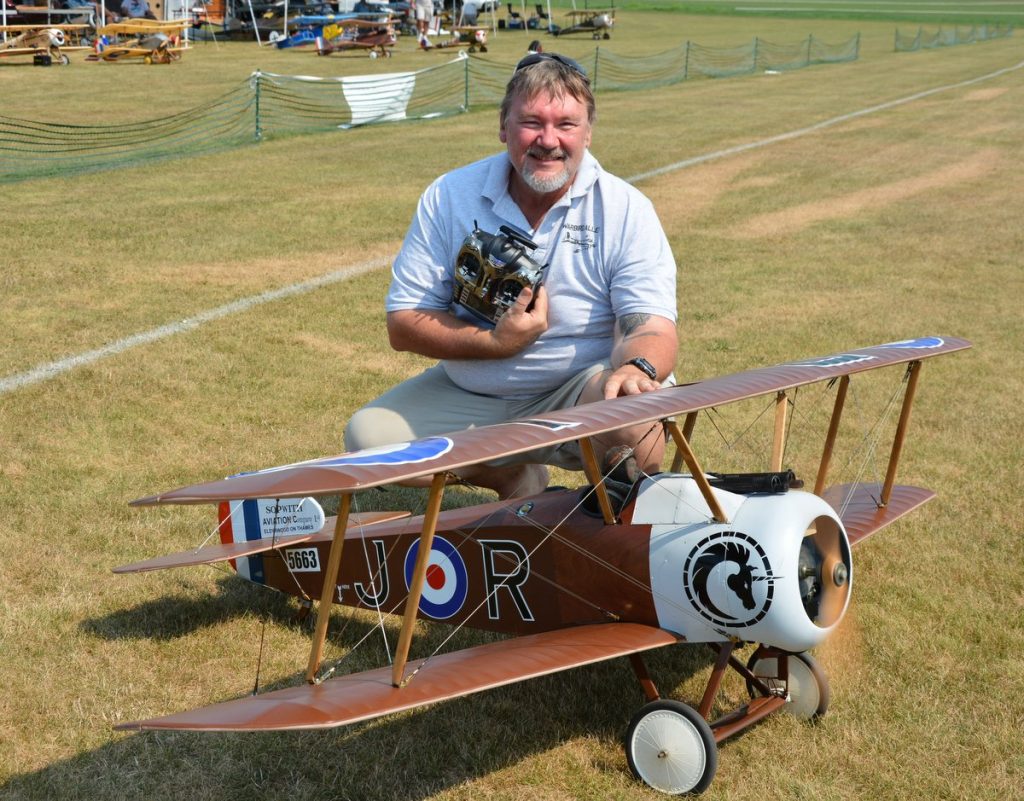
Complete Camel ready to fly.