
When building model airplanes, especially scale WW I subjects,lamination work for parts of the wing and tail are a requirement. This technique has been used for decades but to new RC model builders the technique of producing lightweight curved parts may need some explaining. Here’s how I do it.
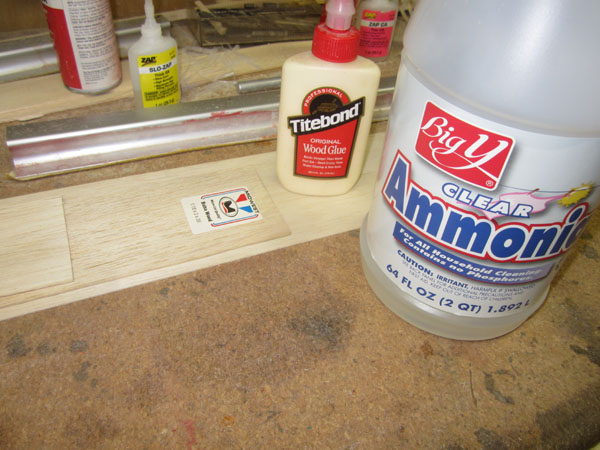
There’s nothing exotic about the technique. I use light A-grade balsa (often referred to as “Contest Grade”) TiteBond yellow wood glue and some Ammonia from the grocery store. If you don’t like the smell, then just use lots of hot water.
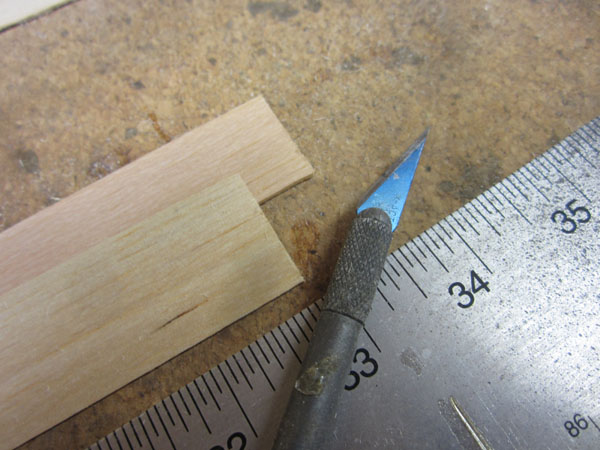
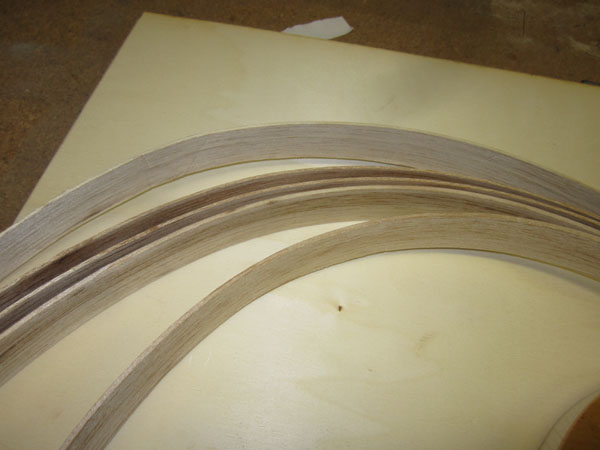
For the center section of the trailing edge of the top wing, I needed 5 layers of 1/16-inch balsa, and I cut the strips using a straight edge. The strips are a little wider that the finished height of the wing ribs in that section of the wing.
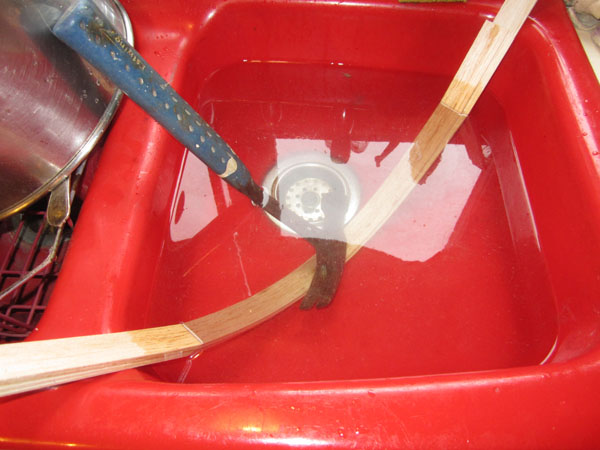
Fill the kitchen sink with hot water and then pour in about half of the ammonia bottle in, (that’s about 30 oz. of Ammonia to 2 gallons of water.) Open a window for proper ventilation. Place the strips in the solution and use a handy weight (like a hammer,) to hold the strips submerged for about 2 hours. Again, if you don’t like the smell, then let the wood soak in hot water for about 4 hours to get nice and flexible.
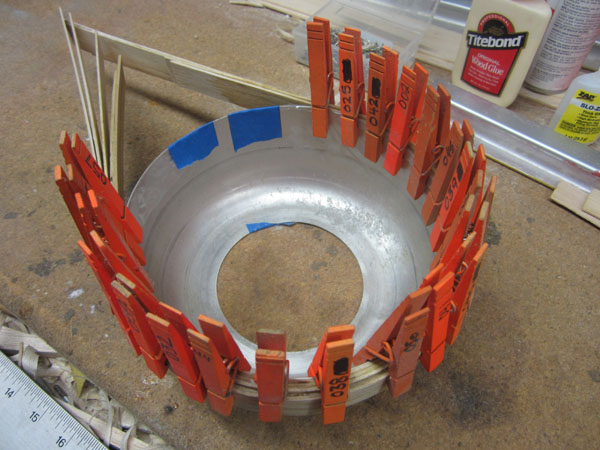
Remove the balsa strips from the sink and wipe with a towel to remove access moisture. The strips will be nice and bendy at this point and I used an old engine cowling to do the first bend. Use some cloth pins and clamp the strips as shown here. You could also use a paint can and tape the strips of balsa around it. The diameter is not critical at this point.
Don’t use any glue. This bend does not have to be exact, it is just the first step. Now let the strips dry overnight.
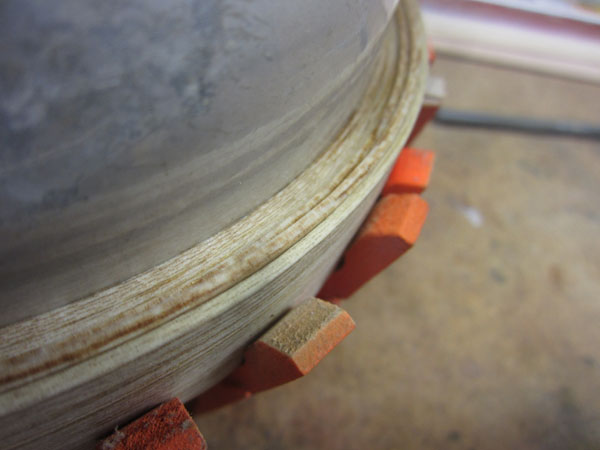
Here you see the strips now have a “set” and are still very bendy and flexible. They are also still a little damp but not wet.

To form the proper shape for your model, use your plans and make a forming block to match the part you are making. I used 3/4 inch pine and a wood base board.
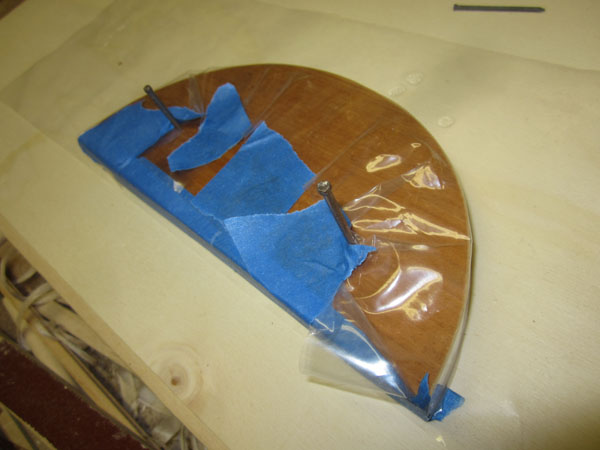
To prevent the glue from sticking, cover the plywood base and the forming block with clear plastic material. foo wrap will also do nicely.
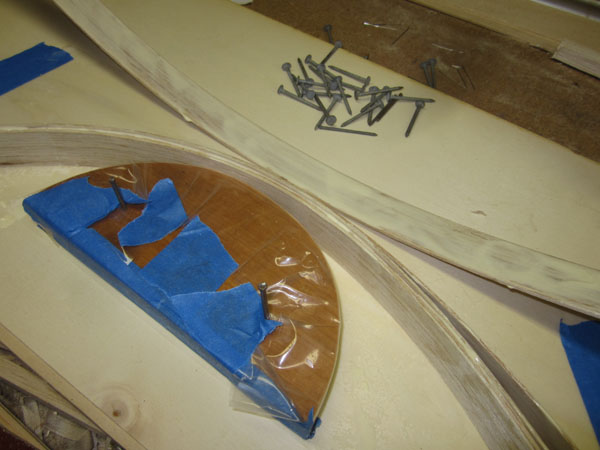
Now spread glue on the strips and then stick them all together. Make sure to spread the glue evenly so the entire strip is covered.
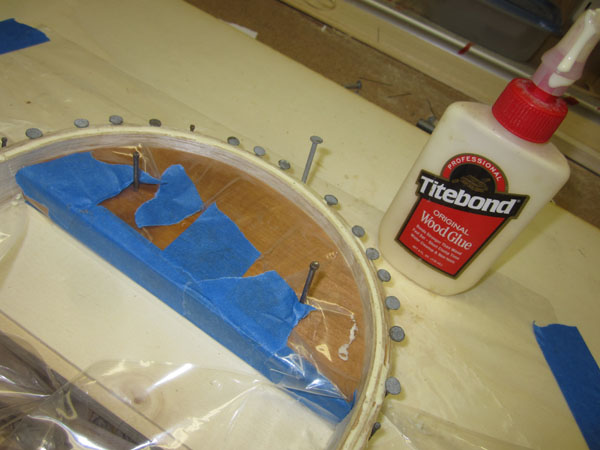
Start at the center and use nails to “clamp” the strips tightly around the form block. Don’t worry about access glue oozing out. Just wipe it away with a paper towel.
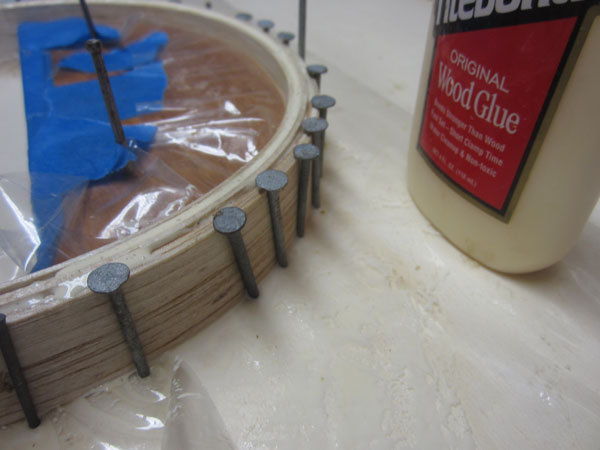
The important thing is to apply enough pressure with the nails to eliminate any gaps between the strips. You also want to apply pressure to the strips so they contact all of the forming block. When satisfied, place the whole thing in a warm area and let dry completely. Titebond dries quickly, but I usually let the laminated strips dry for a full 2 days just to make sure everything is completely dried.

After the part has completely dried, remove the for block and you have a formed piece that is longer than needed.
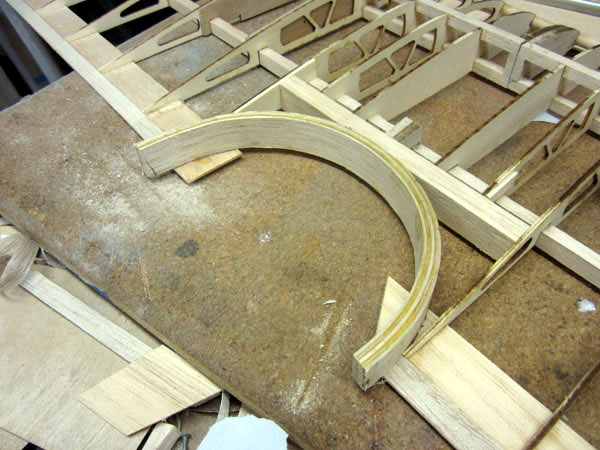
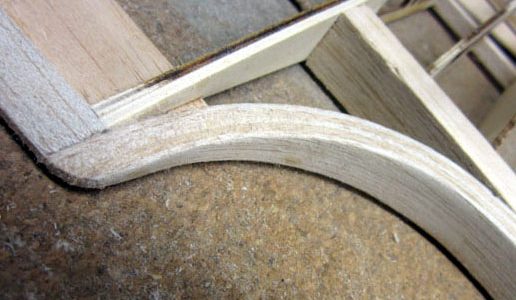
Place the laminated bow in position in your wing and cut it to length and glue it into place in the wing’s structure.
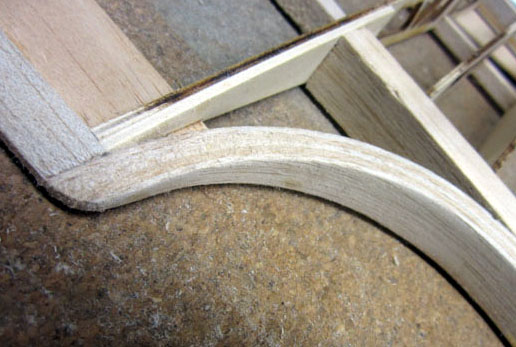
Here you see the completed laminated part cut, shaped and sanded smooth. It blends into the airfoil shape of the wing.
Laminated parts are very strong and will hold their shape forever. With the grain bent and glued together, laminated parts are much stronger than a part with a straight grain simply cut to shape. Give laminating a try, you can make formers, wingtips, tail surfaces and many other parts with this technique.


Pretty neat. Definitely will use this. Thank you