The Florio Flyer 60 build is quickly approaching the covering and finishing phase and one of the last things to do to wrap up the fuselage construction is to install the engine and add the engine compartment fairing blocks. Let’s get to it.
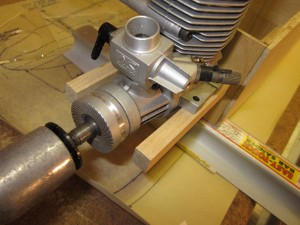
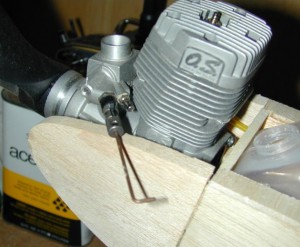
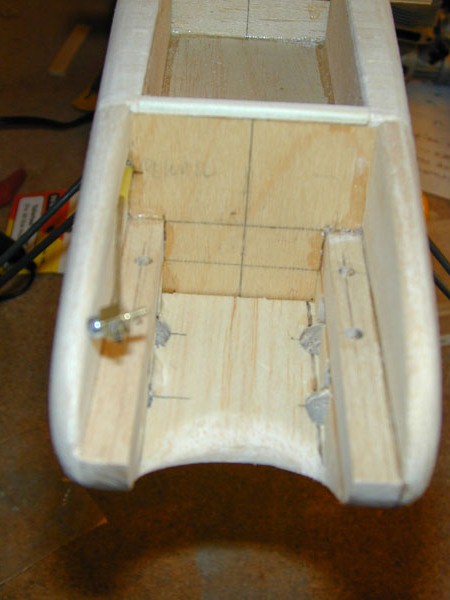
Start by placing your engine on the already installed hardwood mount rails and center the engine so there is equal space between the engine case and the two rails. For my engine installation I decided to add a small amount of right thrust since I am using a O.S. 75 in a plane that was designed for .46 – .60 engines. I offset the engine 1/16 inch to the right looking at the engine from the firewall forward. Mark rails with a fine tipped pencil and drill pilot holes in the rails.
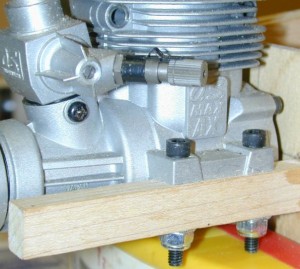
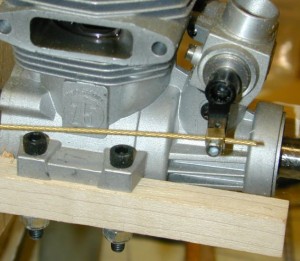
Depending on your engine and the size of the mount tab bolt holes, drill the rails with the proper size bit for the bolts you will be using. I used cap head 8-32 machine screws, flat washers and elastic insert locknuts. Of course you can use your own method including drill the holes the tapping and not using locknuts, or inserting blindnuts into the bottom of the rails. It’s up to you. Next if you haven’t already done so, install your throttle servo and throttle cable linkage and attach it to the throttle arm on the carburetor. I use just the Sullivan braided cable housed with a a yellow inner Nyrod pushrod and Du-Bro EZ Connectors at both ends. No need for clevises or threaded adaptors as the radio programming takes care of the servo travel and end point settings.
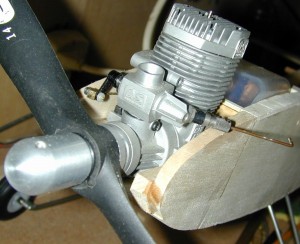
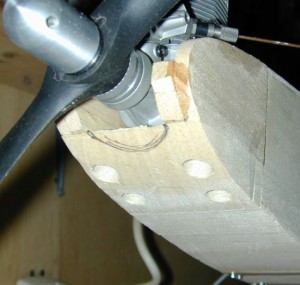
Glue on the 3/8 inch square spacer blocks under the rails and then glue the two side blocks in place with the bottom edges flush with the spacers. Then glue in place the bottom chin block. Make sure all the surfaces are sanded smooth and flat and sit flush against their mating surfaces. These blocks are very important as they greatly strengthen the engine rails and add rigidity to the whole front of the fuselage. Do not leave them off. Once the glue has dried, plane, cut and sand the blocks to shape blending them into the front of the fuselage sides and the top and bottom sheeting. Start with coarse sandpaper and work to finer and finer grits until everything is rounded and smooth. You can see here the that the rearward angles needle-valve clears the side blocks nicely without further trimming. To help with propeller and finger protection, I added a 2-inch long 1/16-inch wire extension to the needle-valve grip.
With the screws and locknuts I used to attach the engine, I needed to cut access openings in the chin block so I can get a nut driver in to tighten the engine down. I used a length of 5/8-inch diameter brass tubing with the end sharpened to easily cut the holes clean and smooth.
Now, remove your engine and fuel proof all the interior surfaces of the engine compartment. I use Pacer finishing resin thinned alcohol to a ratio of 1 part resin, 1 part hardener and 1 part alcohol. Mix up and use a stiff disposable acid brush to get the resin in all the nooks and crannies, then let everything cure. Don’t worry about the outer surfaces as the covering material will take care of the fuel proofing the outsides. This also has the added benefit of allowing oil and residue to drain out of the engine compartment.


