

This 1/3-scale project really is an easy build, when you break everything down to it basic assembly tasks. I started roughly in October and I began the project by building the tail surfaces including the horizontal stabilizer, the elevator halves and the rudder. These surfaces have laminated edges so you have to use the included laminating templates/forming pieces.
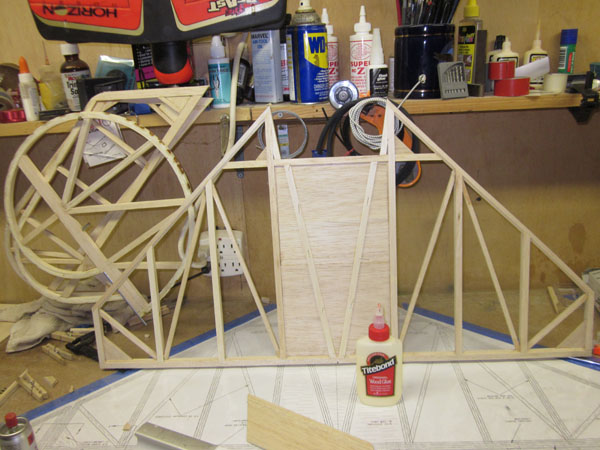
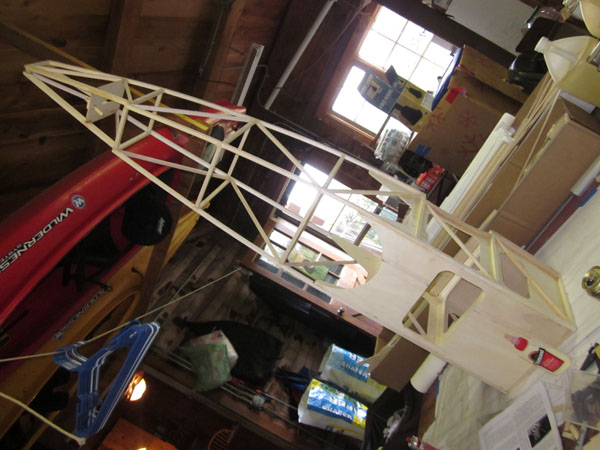
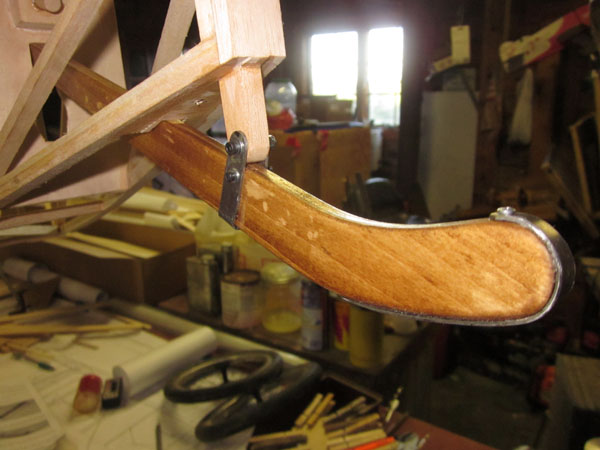
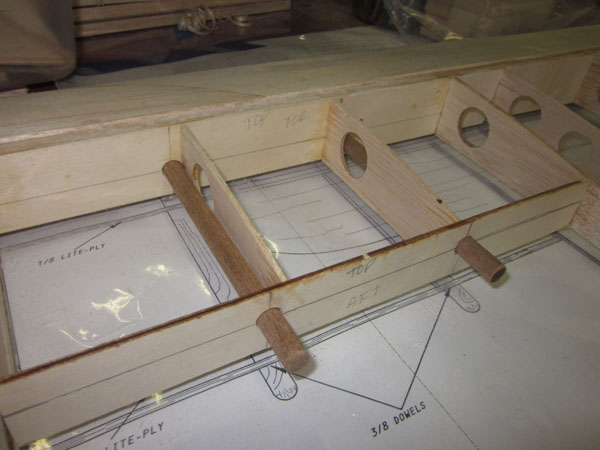
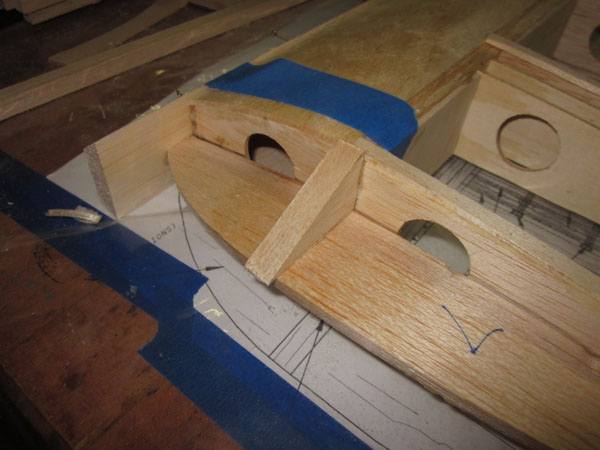
Next I worked on the main fuselage structure and then installed the functional shock absorbing tailskid. A loop of 1/8 inch bungee is used inside the fuselage anchored to a strong dowel to hold the tailskid in place.
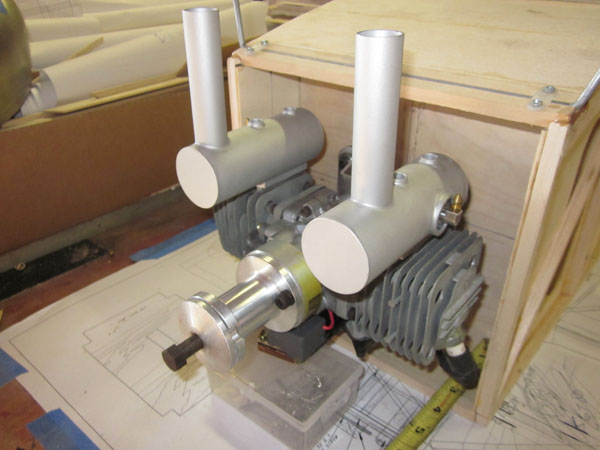
Next I installed the engine onto the firewall and then glued the firewall into place inside the front of the fuselage.
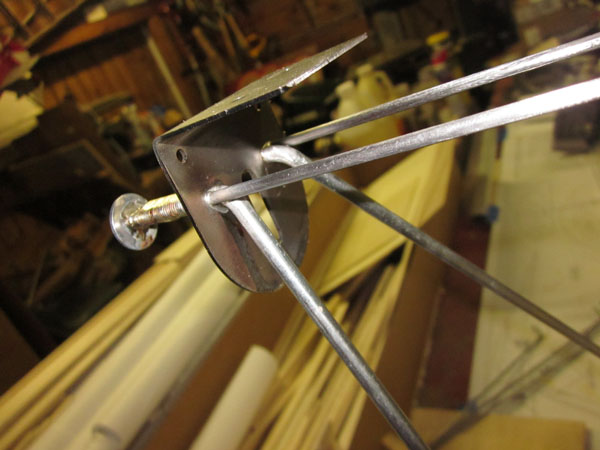
After this was done, including the engine soft mounts, I worked on the landing gear and then assembled the axles and shock-absorbing end plates, again with bungee cord loops.
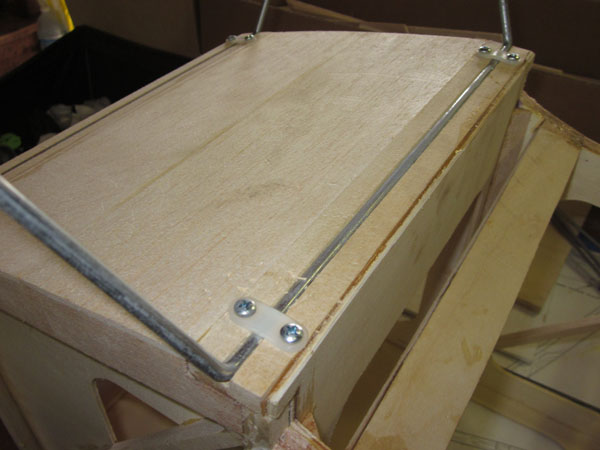
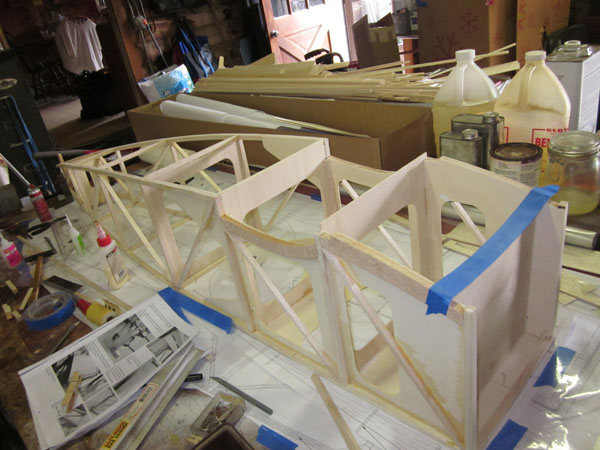
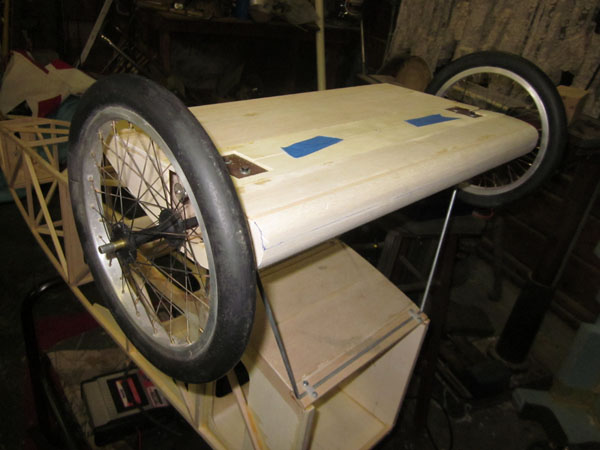
With that finished I built and installed the sub wing structure that covers the axles and fits between the wheels.
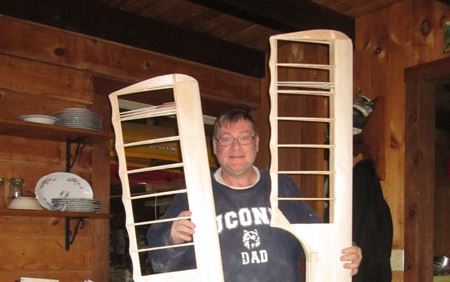
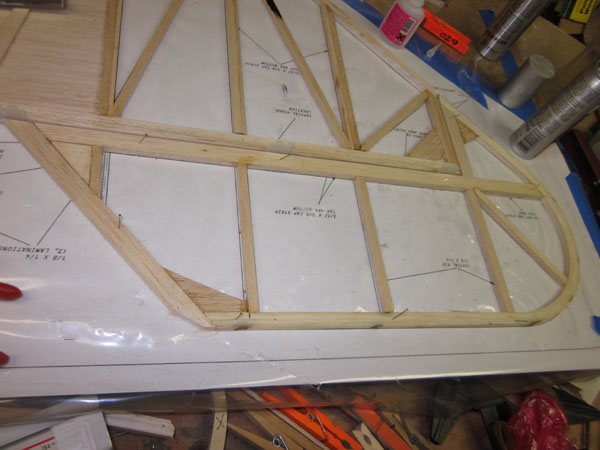
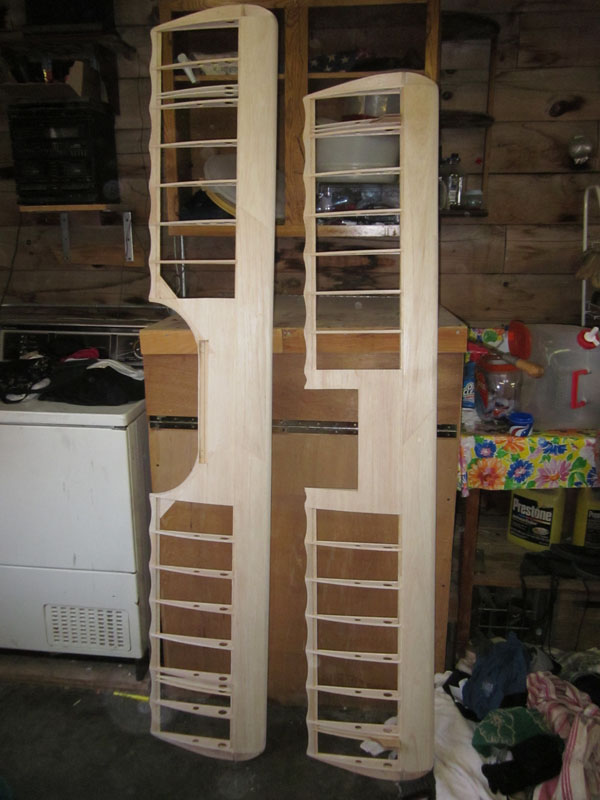
Then I started on the wing panels. I started with the bottom wing and then moved onto the middle wing.

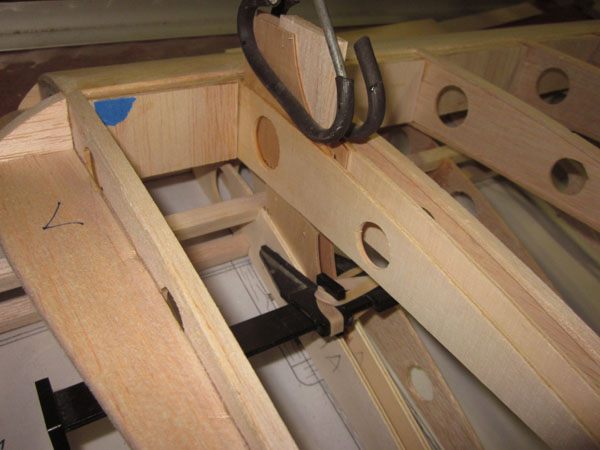
That’s where we are now, and I am cleaning up the bench so I can layout the plans for the top wing. All in all, not too bad for a kit built 1/3-scale triplane. In about two weeks or so, we’ll be ready to start covering!
See the next Post at: https://www.modelairplanenews.com/blog/2013/03/04/latest-from-the-members-only-site-giant-scale-triplane-build-along/


Nice work Gerry! Can’t wait to see it fly at Skyhawks Over the Front event this summer.
Me too Mike. the whole family is excited about attending the Over the Front event this year! SHould be fun!
Gerry,
Very impressive model Fokker you have there. I love these old planes especially since my cousins father, Jack Frye flew them and included them in his new airline company, Standard Airlines. Jack as you know became TWA’s first president and the rest is history.
If interested in my new Jack Frye blog site, here is the link.
http://jack-frye.blogspot.com
There are some great photos of his Fokkers and loads of historical content on Jack Frye’s illustrious career. Wish you the best on her maiden voyage.
Eric Johnson
Owner/Creator
Jack Frye – Aviation Pioneer blog
2013
Good morning Gerry
I had talked to you awhile ago an had said I was starting same kit. We’ll have bottom wing almost complete an have started working on fuse. Hoping maybe you could lend a hand. Have few issues the f3 former seems to be about 1/4 inch to high. Did you run into same problem also when you glues the top crutch did you mount flush on top,of sides or do sides get glued to end of sides. Plans little confusing in that area. Also at front of bottom crutch did you run a 3/8 cross member along front of bottom crutch. An as for motor mount how far back should I mount the plate
Thanks Steve
Hi Steve, without photos, I am not sure what you are exactly talking about. Send me snap shots to my work email: gerryy@airage.com I will try to help. I can send you images of my project, jet tell me what you need to know.
Gerry
Hello, planning to buy the kit from Balsa USA.
I have never build a balsa USA kit before. Just want to know if the DRI has an instruction manual included???
Thanks
Alex
Hi Alex. thanks for your comment. Yes, all Balsa USA kits are complete and come with Instructions and full size plans
Hi have bought a 1/3 Fokker kit from Pegasus models in the uk it is a a balsa USA kit but came with no build instructions anybody know where I might get some thanks