
Getting started advice from the masters!
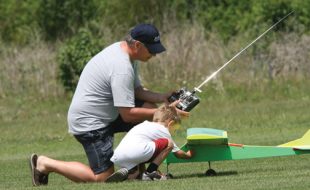
GETTING STARTED IN RC — Expert advice for everyone! Whether you’re a first-time flier or an RC veteran who wants to expand your horizons, trying something new can be intimidating. For this feature, we took readers’ “beginner” questions on everything from choosing a radio to getting into giant scale and asked our contributors to share […]