
The easy way to secure your job material
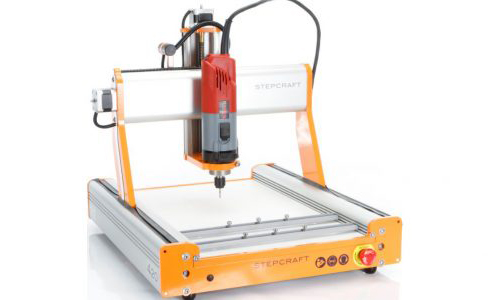
Today, serious RC modelers and builders have embraced CNC (computer numerical control) for producing precise aircraft parts. With both laser cutters and CNC routers, (like Stepcraft), it is now very easy to transform CAD drawings into finished cut parts. But there is one minor hiccup. And that is securing your work piece to the work surface. With lasers, this is easy, many use vacuum to hold the wood parts in place, and some less expensive laser-cutters simply have an aluminum grid to place your work on. There is no mechanical pressure exerted on the material. But for CNC routers, it’s another story.
CNC Routing
There are several ways to hold your parts in place on a CNC router, from clamp bars to cam levers, but all are cumbersome at best. With all CNC routers a waste (or spoil) board is required to protect the machine’s work surface. The use of the board prevents the router bit from damaging the surface when the bit exits the bottom surface of the job material. So how do you secure your material to the waste board?
Being a graduate of the “KISS” university, I prefer a simple approach. I have done everything from gluing the job to the board at the corners, to using screw attached clamps. For cutting vinyl lettering I simply use painter’s tape. And it is here I had my brilliant idea! Here’s how I secure plywood sheets to the router.

The first thing is to clamp the waster board (I use a sheet of 1/8 inch light plywood). The Stepcraft comes with cross bars that have clamping screws to secure the top and bottom ends of the board. I also use a fine-tip sharpie to mark guide lines on the board to aid in aligning the job material square to the X and Y axis.
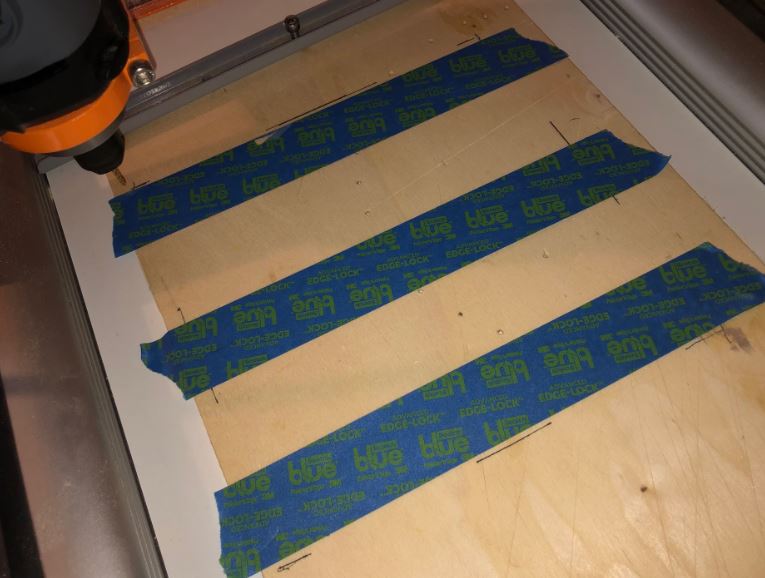
Now apply 2 inch wide painter’s tape to the spoil board to cover the approximate size of the job (including added space all around. I use at least three rows of tape. More for larger jobs.
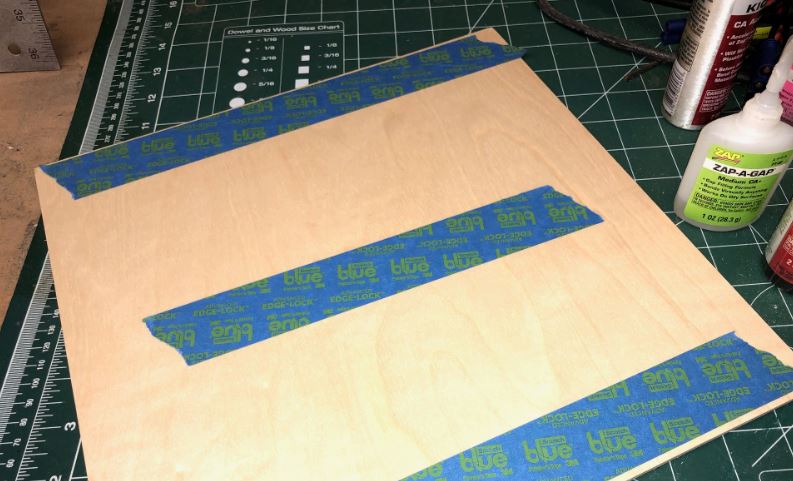
Apply matching tape to the underside of the job material. You can have some additional tape hanging over the edges if you like to make handy finger tabs for later removal.
Apply thick bead of Zap CA glue along the center of the tape on the spoil board, and then apply some CA Kicker/accelerator to the tape on the job material’s underside.
Using the guide lines, place the job material on the workspace and press into place and hold until the adhesive sets (about 10 to 15 seconds).
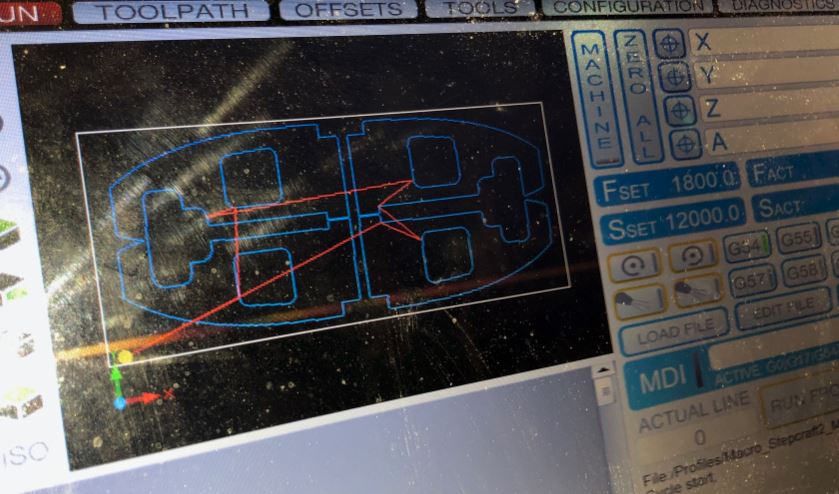
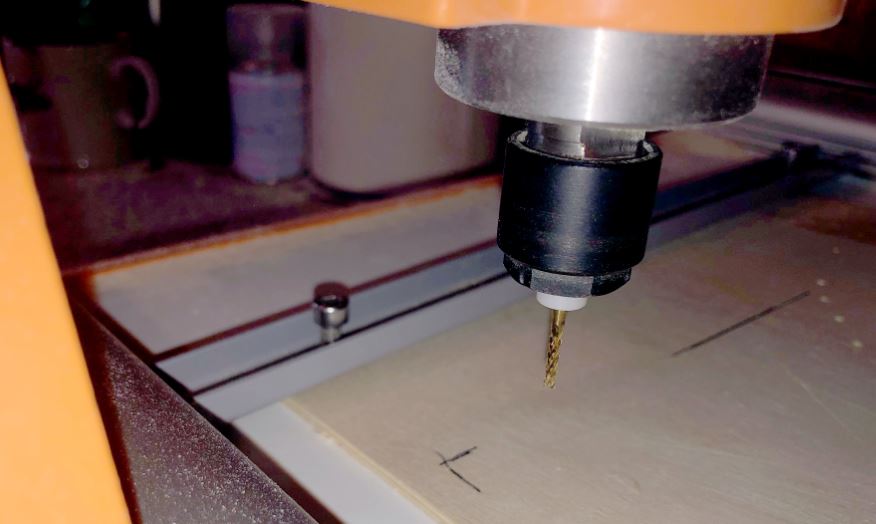
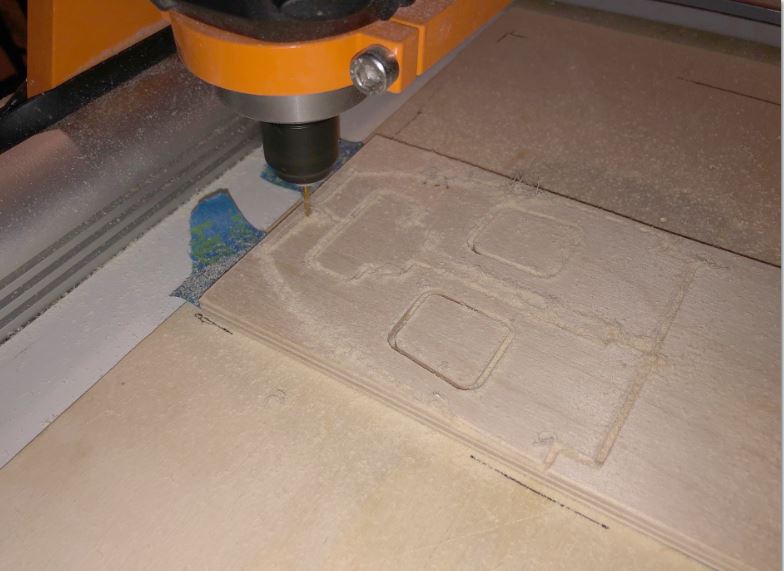
The job is now ready to go. Align your router bit as required, zero out the X, Y and Z axis, turn on the power head and run your cut file.
Once your job is complete, power down the router, move the bit away from the job and turn off the CNC.
To remove the part from the workspace, simply use the tape finger tabs and separate the part from the spoil board. The tape can then be moved along with the Zap glue leaving your spoil board and your work piece clean of adhesive.
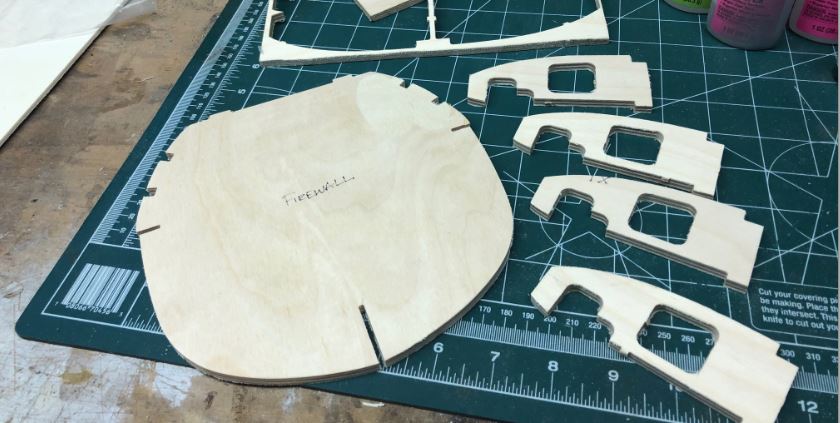
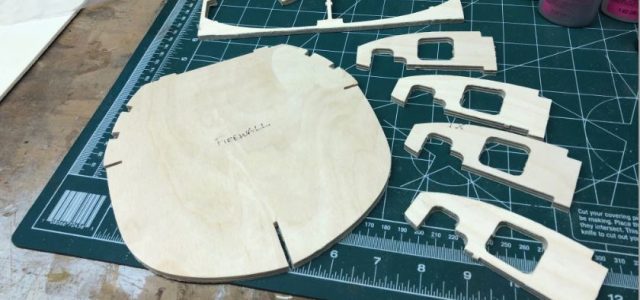
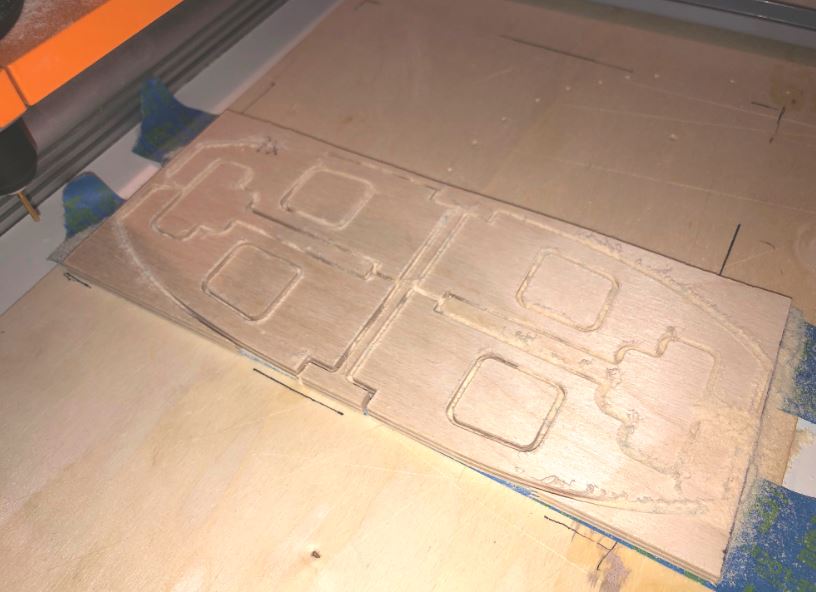
(Above) Here are some 1/4-inch A/C plywood parts produced using my Stepcraft 420 CNC router. They were held in place with painter’s tape and Zap CA adhesive during the job.
This technique works great every time and has never failed me in the several years I have been operating my Stepcraft CNC 420 router. The tape protects the parts and the spoil board so you do not have to san off any dried glue residue. Give it a try. You’ll like the results.
By Gerry Yarrish


