

A new project for the coming building season is a vintage Midwest Products AT-6 Texan kit. Though no longer available, kits are available online and at swap meets of your are lucky. I thought we’d document this kit build to show some of the basic techniques used.
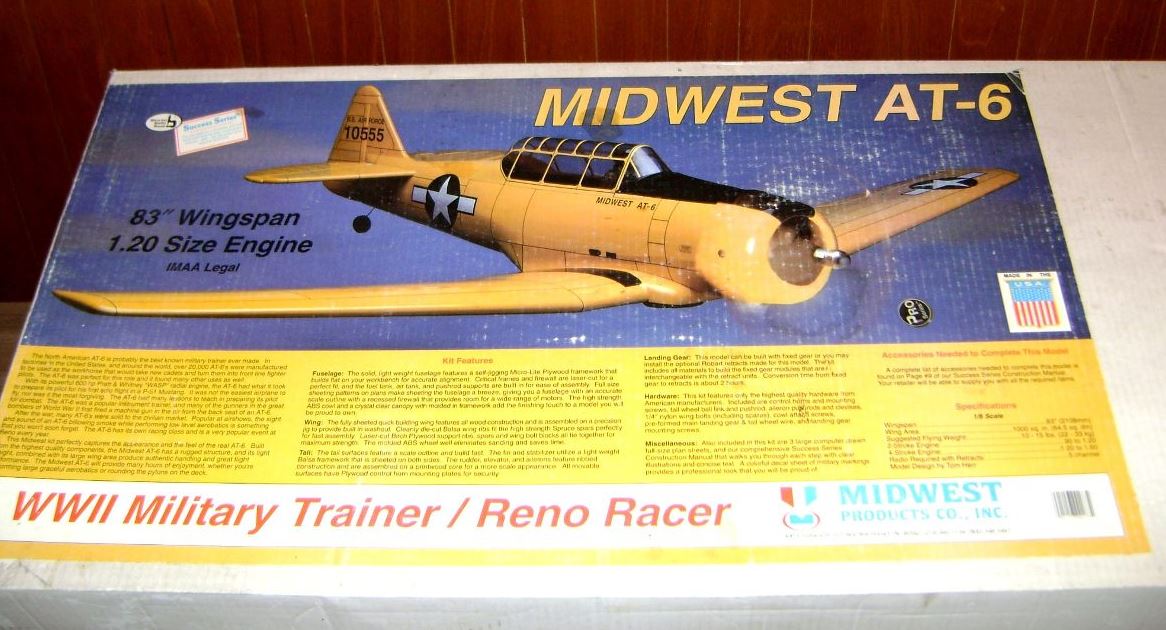
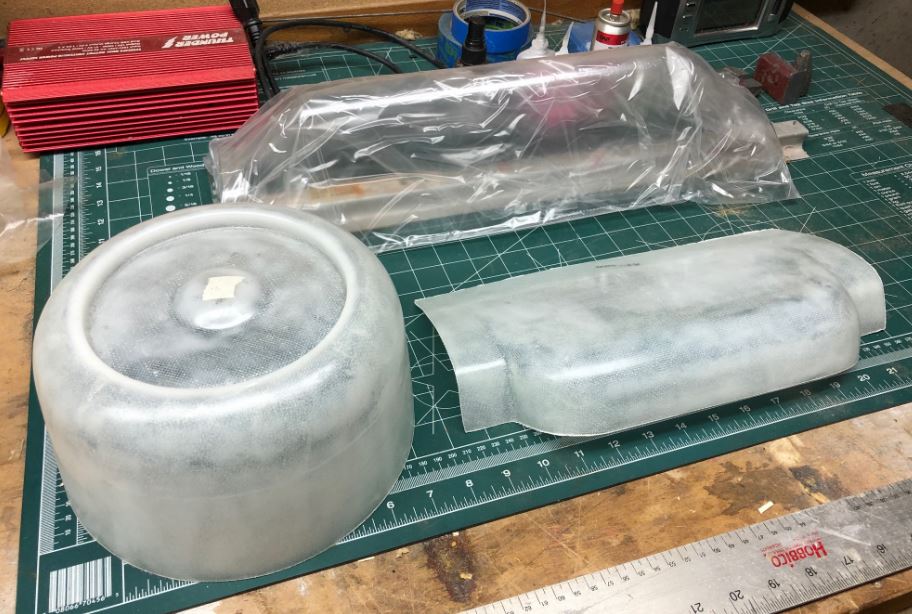
The Texan has an 83 inch span making it about 1/6-scale. A great thing about the model is that there are still parts available for it including the Robart retracts (air or electric) and formed parts like the fiberglass engine cowling, wheel well fairing and the vacuum-formed greenhouse canopy. These are available from Fiberglass Specialties. The fiberglass parts replace the original vacuum-formed ABS plastic kit parts.
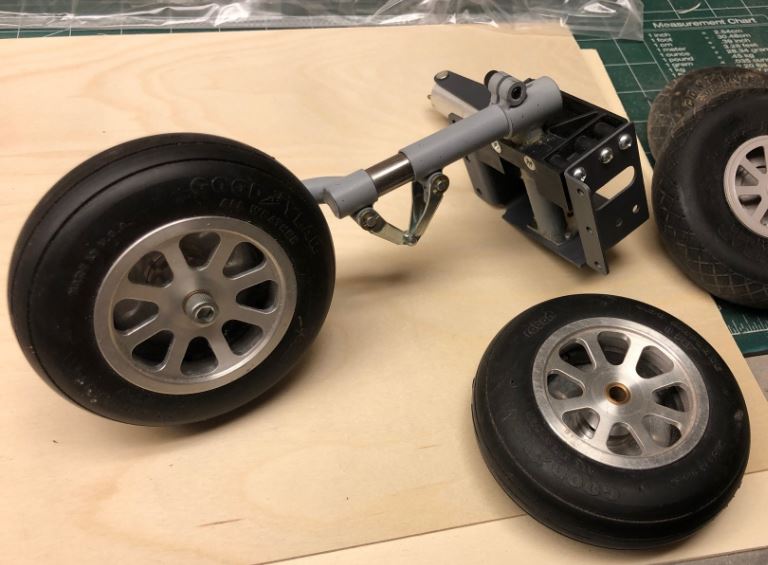
I also scored a set of “like new condition” Robart 1/6-scale AT-6 Texan retracts from the Facebook Marketplace for RC airplanes. The scale 4-inch wheels and tires are still available from Robart Mfg.

For the finished paint scheme we are going to duplicate the attractive scheme of Nick Ziroli Jr.’s full size Texan.
At the Workbench
Being an vintage kit from the 1980s, sometimes some of the parts will be missing or damaged during storage. With my kit I had to replace some of the lite ply parts that were water damaged and I had to replace the firewall which was missing, along with some of the plywood wing rib doublers.
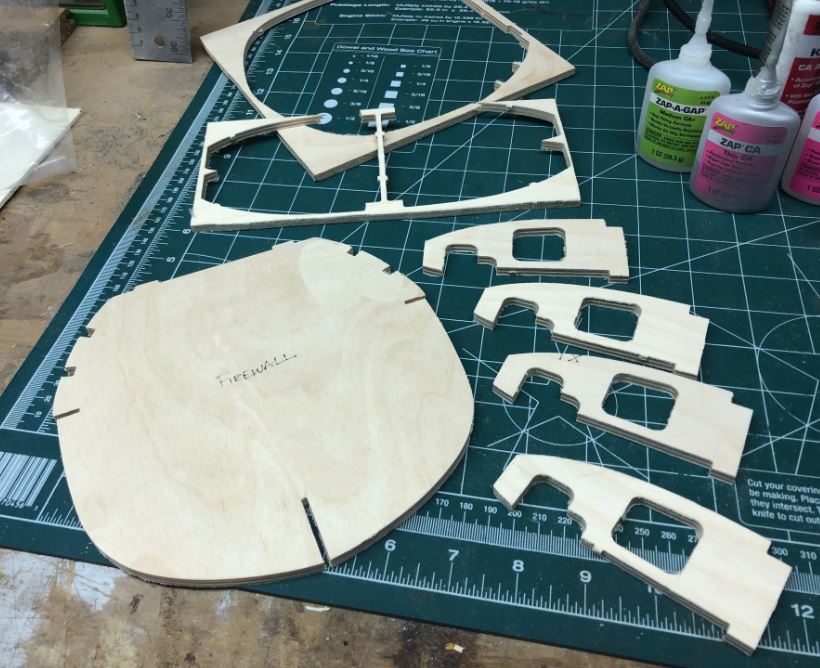
I happen to have a set of the CAD drawings from the kit designer and so it was an easy task to use my CNC router to make new 1/4 inch plywood parts.
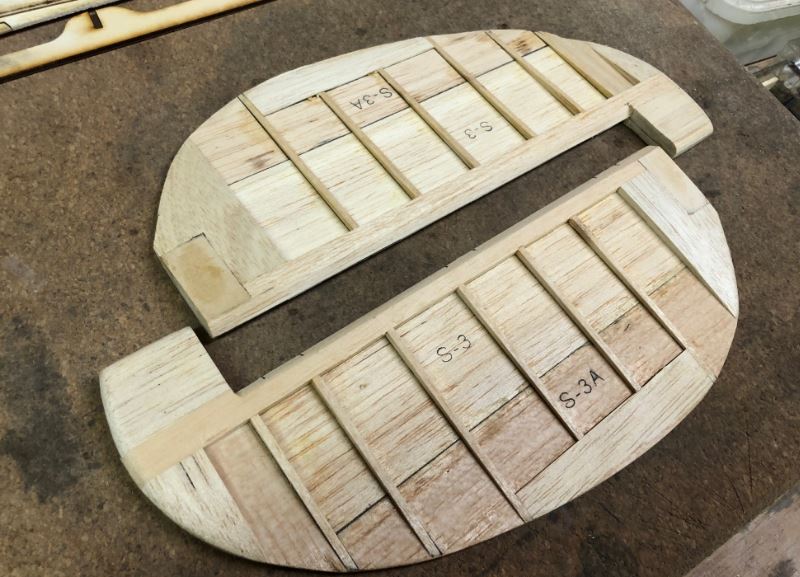
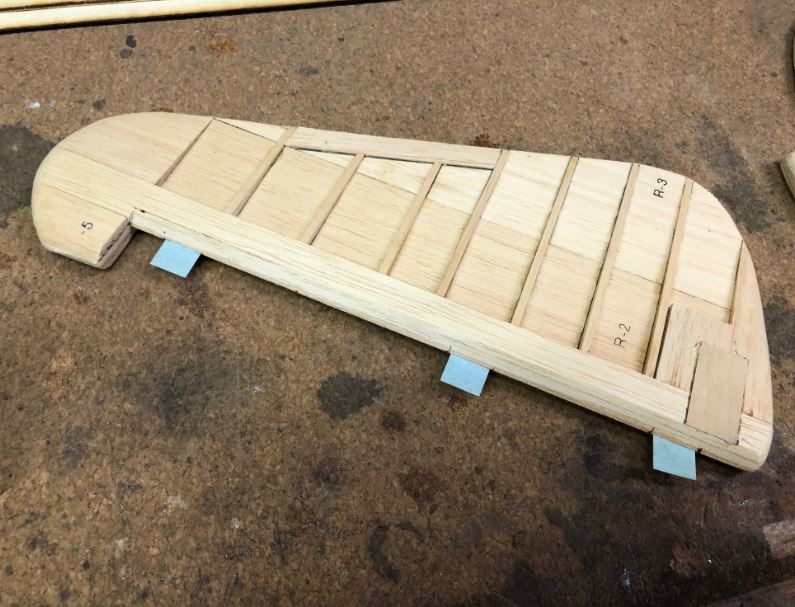
Made from the print wood kit’s parts, here are the tail feathers. The rudder and elevator have a core sheet of balsa with ribs and other parts glued to them and then sanded to shape. Each part is printed on balsa stock and you cut them to size, sand them to the line and then glue them together over the plans. I used Elmer’s wood glue as it is easy to sand.
Above you see the rudder. I cut slots for the hinges with my X-Acto knife and added temporary hinges. Later I will use a Du-Bro Hinge slot tool to make the proper slots for the pinned hinges.
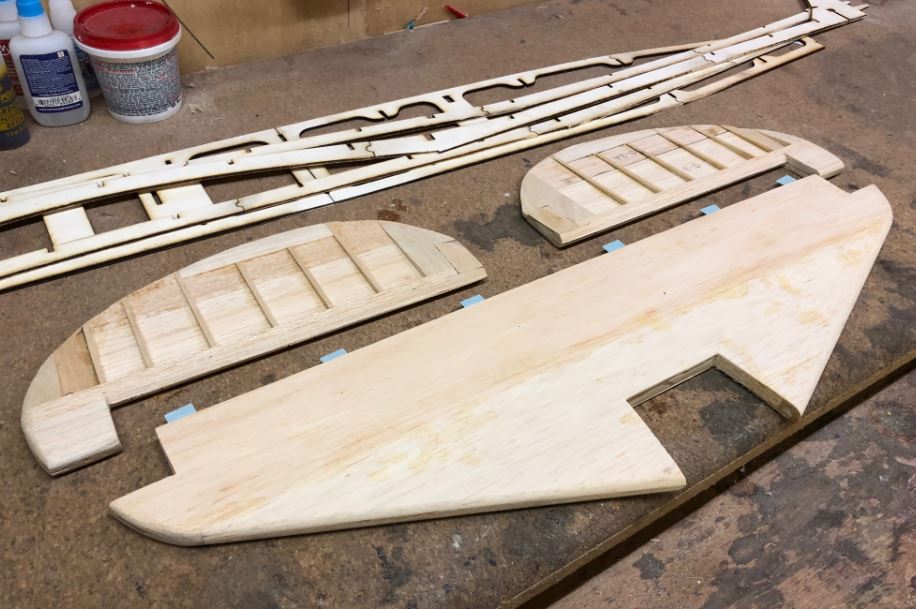
The horizontal stabilizer is first built up and then sheeted with balsa on top and bottom before being sanded and shaped to its final outline.
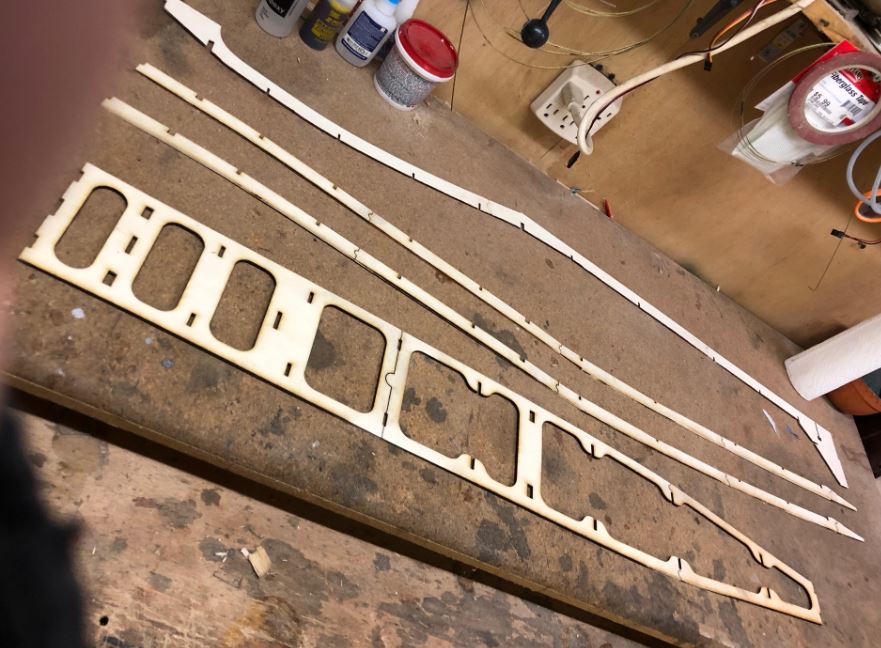
I had to replaced the damaged fuselage crutch, the keel and the two main side stringers, cutting the new parts with my laser cutter. Easy enough though I did have to cut the parts into sections as my laser cutter only has a 12×20 inch work space.
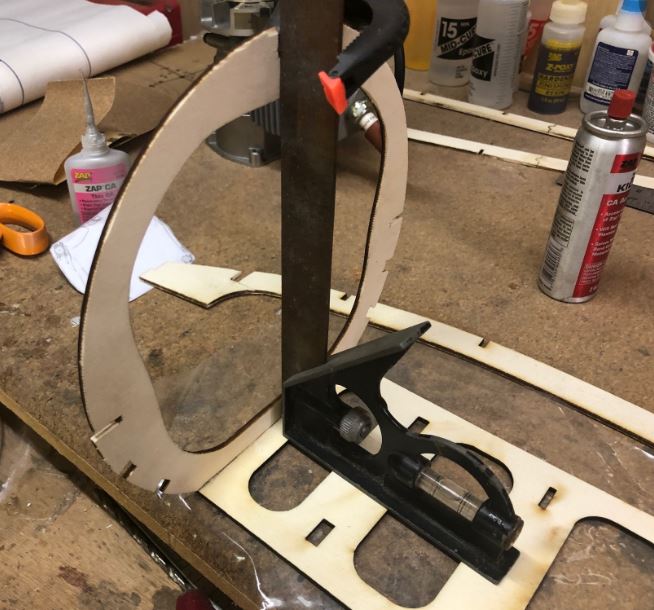
Using a square to ensue the formers are properly aligned and square to the crutch, here you see former F-1 being glued into place. I used a section of poly bag to prevent the parts from being glued to my work surface. I am using Medium Zap CA throughout construction.
Each former has tabs that are placed in its slots in the crutch. Each one is then squared and glued in place working from the front to the back.
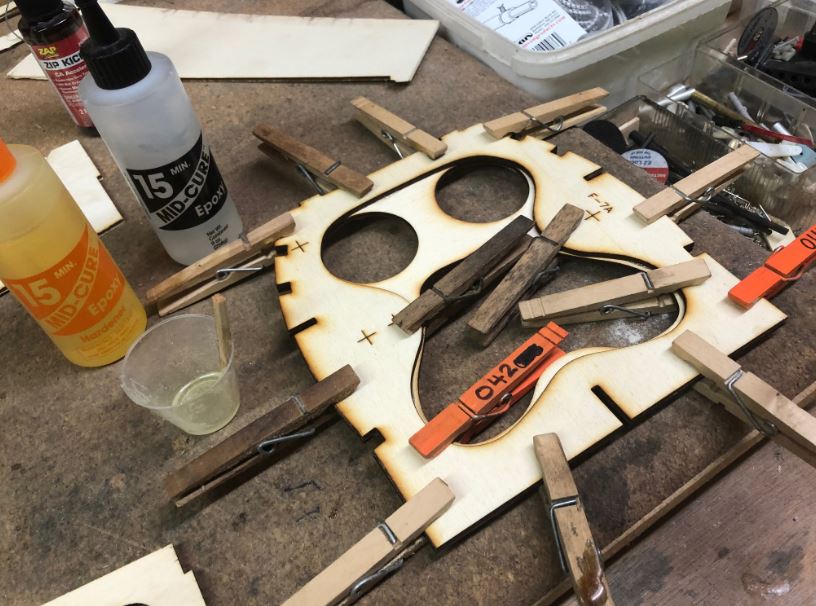
The former # 7 is laminated with 15 minute epoxy using F7A and F7B. I used clothes pins to clamp the formers together until the epoxy set.
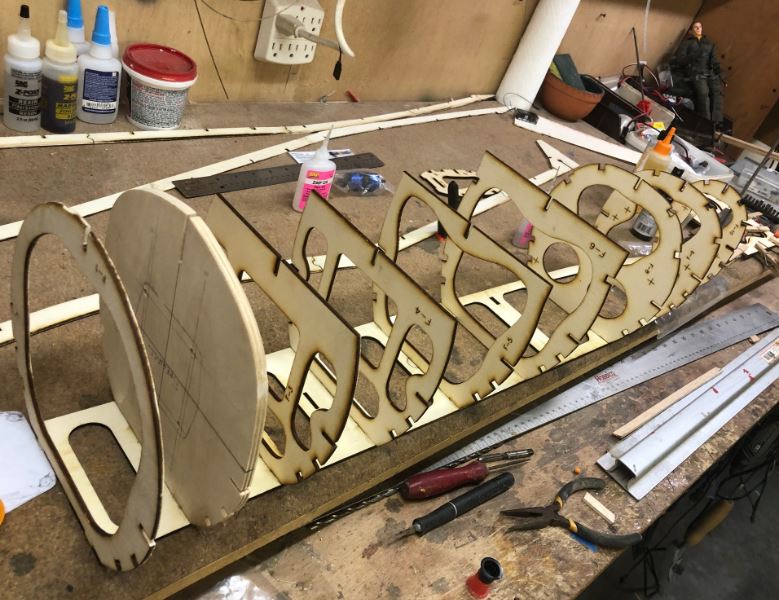
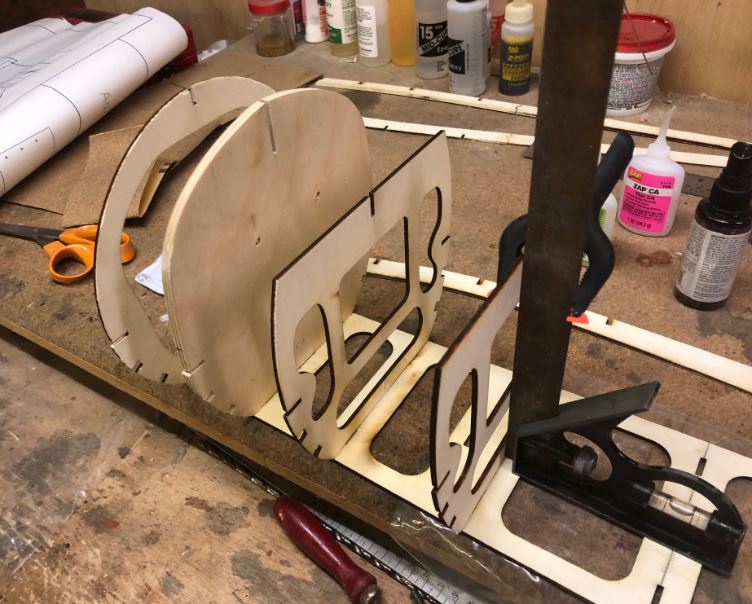
Here all the formers have been glued in place. Notice that former #2 is the firewall made of 1/4-inch plywood. All the other formers are made of 1/8 inch lite plywood as are the keel and the main side stringers.

Here the bottom keel has been slipped into place to check the alignment of the formers before the side stringers are slid into place. Nothing is glued at this time.
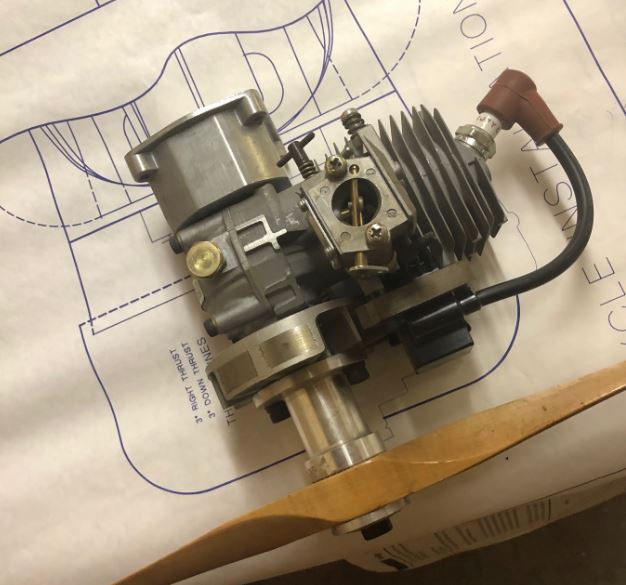
For power, I am going to use a Zenoah G-38 gas engine. With a B&B Specialties motor mount extension, it is the perfect length to be installed without any modification to the firewall. No emgine box structure required. I also bought the engine from the FB Market place.
So that’s it for this weekend. Stay tuned and we will continue this fun project. Also, planned is the installation of working 3-section split flaps. The stock wing did not have flaps, so we’ll modify the wing structure accordingly when the time comes. [EDITOR’S NOTE: Soon after writing this, Gerry stopped working on this project and so there are no additional posts on this build.]


Nice one Jerry,
I have started building one a well. I have owned the kit from new, but am finally getting around to building it. I’m looking forward to see how you build the split flaps as I would like to add these to my model as well.
I have one that I totally built, Robart electrics, modified wing for flaps, glassed, but it came out heavy and I’m scared to finish it. A buddy of mine scaled a beautiful T-6 and it snapped on landing destroying it.
I have a tendency to build heavy as well. Heavy planes will fly but you’ve got to make sure everything is 100% correct before that first flight – incidence angles, engine thrust angles, CG at the forward end of the range, wingtip washout (if any), control surface throws, etc. If you’re doubtful of your skills, have someone more experienced do the preflight checkout and put the maiden flight on your bird. Keep the approach speed up and your control correction inputs minimal and you should be fine. Enjoy the fruits of your labor, sounds like you’ve built a nice plane.
I have the same model, bought it built but it came with a G23! I have read of others powered by the G23, G26 and like yours, a G38! Kinda makes me think the one I have, while It has been flown (before I got it) is under powered. I also have Robart retracts, but the kit was not modified for flaps (still surprised it wasn’t designed for them out of the box). Will be closely following your build and eagerly awaiting its flight.
I have a midwest texan and am planning on putting in an Electric motor. Will cut as many lighting holes and possible. I would like flaps so will follow your build. Any body running an electric motor set up? Robart electrics
I have one of this kits!!!
I own one of these and have been flying it for the last twenty years. I love the way this plane flys but landing it is always a challenge, especially in the grass with the Robart air retracts. This plane loves to flip over onto its back. I’ve spent years perfecting the CG to prevent this from happening but leaves the plane on the hairy edge of tail heavy.
I fly mine with an OS120AX which is less than one third the weight of a G38. Your plane is going to require a ton of tail weight or your going to have a tremendous headache on your hands, when it flips the canopy gets destroyed. If this plane is balanced at the recommended CG and it’s not flown from black top or putting green height grass it’s a guaranteed flip or at the very least a prop strike.
Otherwise it’s an awesome T6.
Thanks Allen, I too am going to add flaps. I know of a few of my RC buddies who flew the MWP Texan with G-38 power. Flaps are needed to slow the plane during landing, also some reported that tip stalls are a think if you don’t add the washout. Will be updating MAN posts so stay tuned
GY
Apparently my first set of comments were not well received and probably was not what you want people to read about your build project. I’m sure you are going to build a gorgeous T6 and I just so much want you to succeed I felt since I am a twenty-five year owner of this model that I needed to help on giving you valuable information that will make you happy with this model. Once again I can’t help stressing if you put a 4 plus pound engine in the nose of this plane you will be very disappointed. My T6 has a 21 ounce engine with only a couple of additional ounces of lead and flys beautiful. Anymore weight than that and you will be adding heeps of tail weight to keep this model from going over, not to mention it will fly like a cinder block and have to land fast to keep from stalling and snapping into the ground.
Just trying to help.
Has there been any more building on the AT 6?
I used to own this airplane kit. I built it and flew it, it was nice. Where can I get a complete kit from Midwest for the A-6 Texan again??
I have one I built in 1994, and it is one of the best flying models I have ever built. Maybe because its a challenge to fly correctly, but I three-point land mine every single time, as it does not like to wheel land without flaps. Like everyone else, I sure wish It would have been built with flaps. I asked Thomas Herr once why he designed it that way, and he said he wanted to keep it simple. Ha Ha.. Anyway, keep it light, make sure it’s balance correctly, and whatever you do, keep the elevator deflections down to the bare minimum. Too much throw, and she will snap like a Pitts S1. Mine was powered with a OS 1.20 pumped 4-stroke, and it was perfect. Way more than scale power for sure. Keep it as light as possible!!!! Also, Mine has never ever come close to wanting to nose over, ever. I expect there is something else going on with the mans model that posted above!!!