
Standing in the adhesive aisle of your local hobby or hardware store, you can quickly see that there are a number of different adhesives from which to choose. Picking the correct glue just involves an understanding of what material each one works best with and how it forms the bond. Armed with that knowledge, it’s easy to pick out the right one for your needs. If you want to know what the best adhesive is for your particular project, read on.
 CYANOACRYLATES
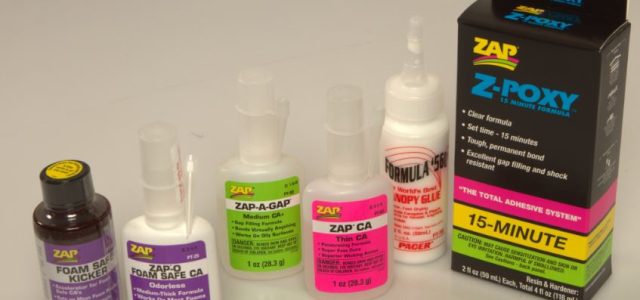
Also called “CA,” cyanoacrylate glues have become the adhesive of choice for many hobbyists. They’re very fast, need little or minimal clamping time, and can be applied straight from the bottle. Best of all, they form bonds that are in many cases much stronger than the material they are bonding. When CA cures, it emits a vapor that can irritate your nose and eyes, so take the proper precautions. Because of their popularity, there are many different types of CA.
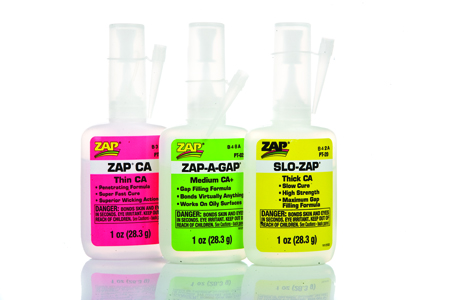
THIN CA This is a water-thin viscosity, which allows it to wick deep into the joint by capillary action and allows it to cure in a matter of seconds. This fast capillary action is why many of us have glued our fingers to balsa (a very porous surface). This is the fastest glue to bond two surfaces together. The key point when using this glue is to make sure that the surfaces that are being bonded have a very tight fit and are held together tightly while the glue cures. Because of thin CA’s deep wicking action, it will generally form the strongest bond of the CA glues.
MEDIUM CA This is a good choice for a surface that is being bonded that does not have a tight fit. The best way to use this glue is to lay down a serpentine bead on one surface and then assemble the parts, letting the pressure spread the CA out. Hold the two parts tightly together for about 5-15 seconds. You can speed up the process by spraying CA accelerator on the part without the glue, letting the accelerator dry and then pressing the parts together.
THICK CA This is a great glue to use on any plastic parts, such as cockpits and scale details that need to be attached to the aircraft. (Do this before you add the canopy as the vapor we talked about can “fog” the canopy.) When used with a CA accelerator, thick CA can be used for filling or modifying any voids in place of putty. Thick CA bonds fiberglass, metal, hardwoods and rubber very well. Bonded parts will need to be held together for about 10-25 seconds; this can also be shortened with the use of CA accelerator.
DEBONDER This will soften cured CA and, if you ever stuck your fingers together with CA, you will want to always have a bottle of this around. A few drops of debonder will dissolve the glue in about a minute. Apply to bonded skin, wait a little bit, and then start rolling your fingers apart. Once unstuck, use acetone to clean off the softened CA, and then wash with soap and water. CA is essentially an acrylic plastic, so anything that dissolves CA will also soften most plastics. Be careful when using debonder around plastic parts.
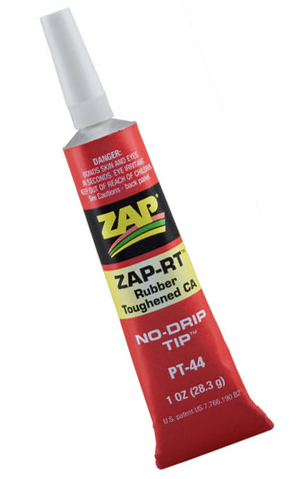 RUBBER-TOUGHENED CA This CA forms a shock-resistant bond to most non-porous surfaces like metals, fiberglass, carbon fiber, rubber and other advanced materials. This is great stuff for bonding bulkheads, formers and servo rails to the inside of fiberglass hulls and fuselages. A good adhesive for RC tires. Setup time is from 20-40 seconds.
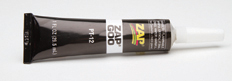
CA GEL This CA is extremely thick and can come in a tube like toothpaste. It has all the same bonding curing times and characteristics as thick CA. The big difference is that when CA gel is applied, it stays in one spot. It can even be applied upside-down, and it holds onto the surface without dripping off. Because it is in a tube, it will continue to flow out of the tube after you’ve released it, so stop squeezing the tube before you get to the end of the surface! This is a great CA to have in your field box for on-the-spot repairs.
ACCELERATORS (ALSO CALLED “KICKERS”) Accelerators are a catalyst that allows CA to quickly cure. For difficult materials such as foam, accelerators can be applied to one surface and CA to the opposite surface. When the two surfaces are joined together, the glue forms an instant bond. Some brands of glue/accelerator will work together regardless of the type, but with some brands you’ll need odorless/foam-safe accelerator for odorless/foam-safe CA. Some CAs can be affected by accelerators and are generally a little less brittle and have higher strength when they are allowed to cure on their own.
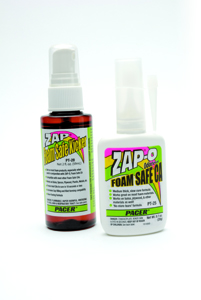 ODORLESS CA (ALSO CALLED “FOAM-SAFE”) These CA glues do not attack foam and are often used to assemble and repair plastic and foam ARFs. They take 2 or 3 seconds longer to cure, and most people use them with a foam-safe accelerator if they’re working with foam. They don’t have the irritating fumes, so they are perfect for the small shop or someone who is bothered by CA fumes. The best practice when bonding foam to foam is to spray a very light fog of accelerator to one piece and then apply the odorless CA to the other before joining. This will create a milder bonding reaction with less heat. If the parts are just glued together and accelerator is sprayed over the area, the reaction may create so much heat that it could possibly melt the foam. Odorless CAs come in both thin and medium thickness.
EPOXY GLUES
This is perhaps the staple versatile glue of the model world. It is a two-part glue that has part A (resin) and part B (hardener). Epoxies are mixed with equal parts of A and B and you will have a limited working time depending on the glue you are using. Epoxy glues come in 5-, 15- and 30-minute working times. The advantage of using epoxies is that they can stick to just about all surfaces, and they have a very solid bond that is durable and permanent. Also they are much cheaper than CA glues. On the downside, they are heavy and require a little more prep than other glues. In cold weather, epoxy takes longer to cure and is harder to get out of the bottle (if needed, bottles can be heated in a microwave for about 10 seconds to make them flow a little easier). All epoxies can be cleaned up with rubbing alcohol or acetone before they cure, but after that, the epoxy becomes part of that surface.
5-MINUTE This epoxy warms as it cures, so it can be applied in lower temperatures. It is slightly flexible, which allows it to form a lasting bond in areas subjected to high vibration or stress. This epoxy can be handled after about 15 minutes and has full strength after 1 hour.
FINISH EPOXY This is a very good low-odor substitute for polyester resins, which is why most modelers like it. Do not use this epoxy for general bonding of parts. However, it does bond wood and foam very well and can be used for wing sheeting. It is most often used with fiberglass cloth or on balsa itself to create a smooth surface that is ready for paint. It also hardens areas on your aircraft that are subject to abrasion, such as landing skids. It is the easiest epoxy to sand and should be heated to over 85 degrees for best results, but never applied when the temperature is below 70 degrees F. Finish epoxy has a 20-minute working time and completely cures in 8 hours.
15-MINUTE This allows for more working time and is a good all-around choice for larger areas. It will accept glue modifiers such as microballoon fillers and carbon-fiber pieces. These modifiers reduce the working time by about 25% depending on how much you mix in. This mid-cure epoxy is still flexible and is ideal for fiberglass surfaces. It has a 15-minute working time, 45-minute handling time and full cure after 2 hours.
30-MINUTE This class of epoxies is generally waterproof and heat-resistant. It’s a great choice for larger areas if you have the time to wait overnight for parts to fully cure. It can accept all glue modifiers and has the highest strength. This epoxy is a great choice for hinge-points, fillets and reinforcing the aircraft. It is workable for 30 minutes, bonded objects can be handled after 8 hours and the epoxy reaches full strength in 24 hours.
 THREAD-LOCK These are anaerobic adhesives that cure in the absence of air, which is what happens when a threaded fastener is tightened down. These are generally for metal components and are not compatible with plastic nuts and bolts. Full strength is reached in about 1-3 hours. There are three different types of thread-lock.
Blue: A medium thickness and medium strength adhesive that is applied to the threads before assembly. Use this if you are not looking for a permanent bond and will need to disassemble the fastener.
Red: Also medium thickness, this high-strength thread-lock is applied to the threads before assembly. This is a permanent bond and, once cured, the fasteners cannot be disassembled.
SPECIALTY GLUES
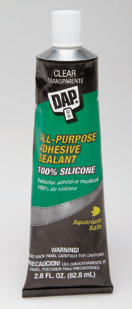 SILICONE SEAL GLUE: Use this on any rubber parts, such as tubing, when gluing them to other material. High-temp silicone seal can also be used as custom gasket material.
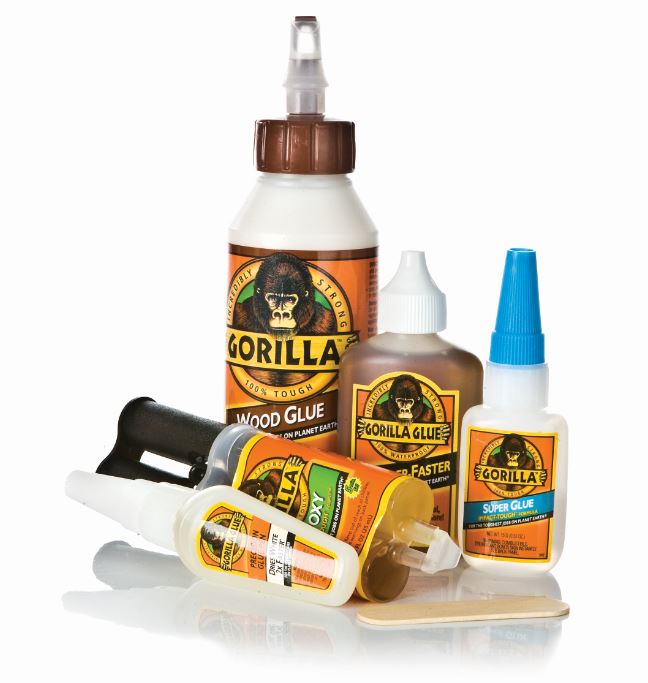 GORILLA GLUE: Available in several types, the basic water activated poly-urathane Gorrilla glue forms a very strong bond which is ideal for gluing skins to foam wing cores. It takes a while to completely cure. It also expands as it cures so it requires space for the expanding glue to escape. It’s a great glue to use especially where gap-filling is required.
BRUSH-ON CA: This is a medium viscosity glue for plastics and cures clear. This also makes a good glue for adding strength to foam planes in areas such as skids and ducted-fan intake openings.
 GOOP GLUE: This is an all-purpose adhesive and sealant that bonds virtually everything, dries clear and remains flexible. Use this where no other glues will work.
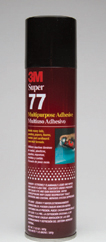 3M 77 SPRAY ADHESIVE: This is a good adhesive for large surfaces, such as bonding balsa sheets to foam wing cores.
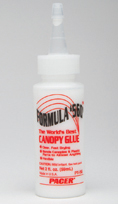 CANOPY GLUE: As the name implies this glue dries clear making it the perfect glue to use for attaching airplane canopies and vacuum formed ABS parts. The shock resistant flexible bond means the parts will stay put even when subject to high vibration and speeds. When applying use water to clean up excess glue that flows out of the joints. Also great for plastic hinges.
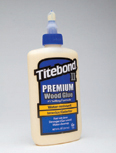 TITEBOND II: This is another great glue for bonding balsa wood and it is easy to sand. You can also use this glue as a hinge glue for hinge points.
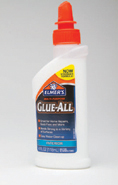 WHITE GLUE: Made famous as Elmer’s glue, this can be used to bond balsa and plywood. When thinned with water, it makes a great filler for balsa.
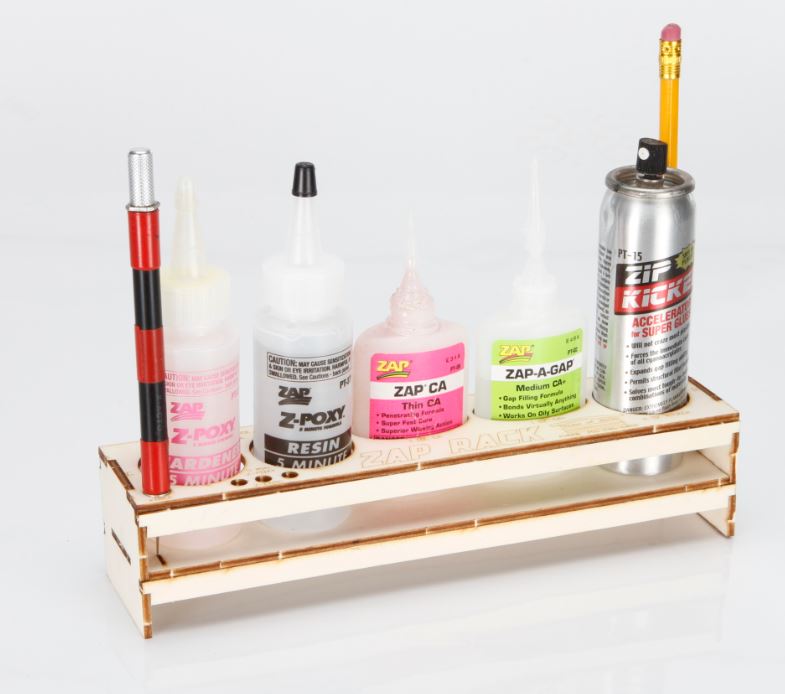
GLUE CADDY
When it comes to keeping glue safe and prevent the bottles from tipping over, consider a glue caddy like this ZAP RACK from ZAP Glue. There’s nothing worse than spilling glue regardless of type on your plans and workbench!
BY GERRY YARRISH


My favorite glue for balsa is Super’phatic by Deluxe Materials. It’s similar to Titebond II, but thinner and wicks almost as well as thin CA. It dries relatively quickly, though I leave it overnight to make sure it has full strength. It has a little flexibility after it dries, but is very strong.
BTW, what is a local hobby shop? I can’t find one in my area unfortunately.
Canopy glue Formula 560 is the best foam repair glue I have found. You can repair a foam “pressed” hinge and it will be better than new. It stays elastic for foam joints. Deep fills take time to dry so I may do that in layers with big gaps. During assembly, you can goop up both sides of the joint, assemble them and slosh them around, then use a wet paper towel to remove the extra. If the joint isn’t crushed, it will be same as new. Doesn’t seem to matter what kind of foam, it all works well. It doesn’t get brittle and the joints don’t break.